
BetaFPV Lite Radio 2 – The perfect remote control for beginners?

![]()
![]()
BetaFPV sent me the new BetaFPV Lite Radio 2 for this article. This new remote control with FrSky protocol costs less than US$ 40. In this article you will find out why I think it is currently the best remote control for beginners and people with TinyWoops.
Inhaltsverzeichnis
Where to buy
You can find BetaFPV Lite Radio 2 in the following online shops:
- China: betafpv.com, banggood.com
- Germany: fpv24.com
Whats in the box?
- BetaFPV Lite Radio 2 remote
- 1x 350 mAh 2S LiPo
- manual
![]()
Features
- supports the following protocols: Frsky D8, Frsky D16 FCC / LBT or Bayang protocol
- can be charged via USB
- haptic feedback through vibration motor
- ergonomic design
- 8 channels
- 4 switches (2x 2-way, 2x 3-way)
- OpenTX Trim function
- can be used for simulator
- Trainer function
- internal antenna
- „real“ gimbals
- weight: 230 g
Size & processing
The BetaFPV Lite Radio 2 is only minimally smaller than the Tango 2. It feels good in my medium-sized hands. I think it is ideal for children, in the long run it is not really suitable for people with very large hands.
![]()
Antenna
The remote control has an integrated antenna on the top, which is attached to the transmitter module via a U.FL connection. If you want to install an external antenna, the glued PCB antenna can simply be replaced by a hole with SMA connection.
![]()
Gimbals
Yes, this remote control has „real“ gimbals. A big criticism of cheap remote controls are usually the gimbals. For a US$ 40 remote control, these gimbals feel really good!
![]()
The sticksends can be adjusted from a height of 18 to 22 mm.
![]()
If you want to use alternative stick ends, you can simply screw on other M3 stick ends.
![]()
The throttle stick can be adjusted. If you want to set the stick a little harder, you can tighten the screws on the metal bracket. You can also adjust the stick more loosely.
As a second option it is possible to use the „ratchet“ on the throttle stick. For this, the metal strip must be completely unscrewed and screwed on the right side again. Then the throttle stick feels „ratcheting“.
![]()
Switches
The BetaFPV Lite Radio 2 has a total of 4 switches. The switches are also marked with a pictogram.
![]()
There are 1x 2-way switches on both sides at the bottom. There is also a 3-way switch on each sides.
![]()
The 9 mm long switches can be switched easily and there is also space between the two switches to fit your finger.
![]()
The switches can be relatively easily repaired or replaced if necessary.
![]()
Here is a sample configuration of the modes for Betaflight.
![]()
OpenTX
BetaFPV advertises this remote control as OpenTX remote control, but the only thing that can be sensibly set with the OpenTX control is the subtrim. For this, a separate OpenTX Companion version adapted for this specific remote control must be downloaded. Not, as usual with OpenTX, there is unfortunately no version for MacOSX, only a Windows version. In my opinion, trim switches would have been much easier here, but I can understand that this low-cost remote control cannot have any other buttons and switches for this price.
![]()
Adjust trim
An important point is the trim (subtrim) of the remote. In the middle position of the gimbals, each channel should send 1500us to the flight controller. Due to various circumstances, this cannot always fit exactly. That is why this remote control must be set via subtrim. Below is a step by step guide:
First, we check which channels need to be corrected. To do this, connect your drone to the Betaflight GUI and open the Receiver tab. Roll, Pitch and Yaw should always be at 1500us. If this is not the case, we will now set the trim.
![]()
Download the OpenTX Companion and install it. Please do not use the original version. Use the version from the following link.
Download: https://github.com/BETAFPV/opentx/raw/LiteRadio/companion/companion-windows-2.2.4.exe
If you have installed the OpenTX Companion, connect the BetaFPV Lite Radio 2 to the GUI as follows:
- Press and hold the SETUP button on the back
- Press the POWER button on the front and release both buttons. The LED ring will NOT light up.
- Connect the remote control to your computer using a micro USB cable
Now click on the gear icon and select „Lite Radio„. Confirm with „OK„.
![]()
Now we download the configuration from the remote control. To do this, click on the symbol on the far left. Then another window should open in which you click on „Edit Radio Settings„.
![]()
In the „Calibration“ tab you can now set the „Mid Value“ of your channels.
![]()
To transfer the changed values to the remote control, press the symbol on the left and then „Write to TX„.
![]()
Then you can check again the values in the Betaflight GUI. Repeat the process until you have Roll, Pitch and Yaw 1500.
![]()
Original instructions from BetaFPV:
charge BetaFPV Lite Radio 2
The remote control has a micro USB port with which the 2S LiPo 350 mAh battery can be charged. According to my measurement, the charging current is around 900 mA, the charging ends automatically as soon as the LiPo has reached a voltage of 8.4 V.
![]()
The battery is connected via a balancer connection and safely stowed in the compartment! If you forget to switch off the remote control, it discharges the battery until it is deeply discharged. The LED flashes red when the battery is too low, but it’s easy to miss because there is no haptic feedback or warning sound.
![]()
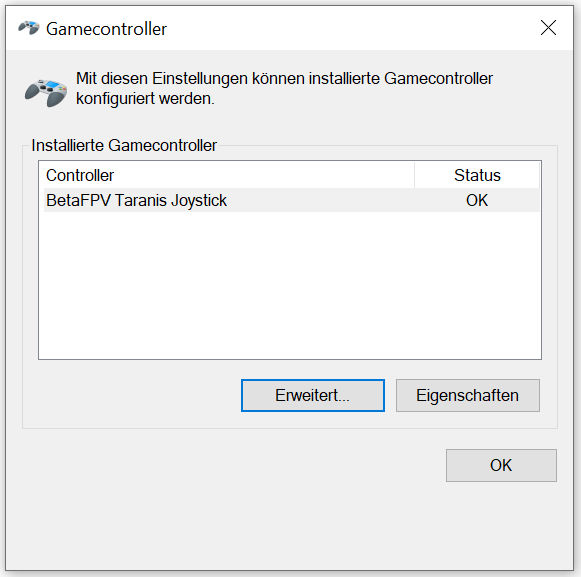
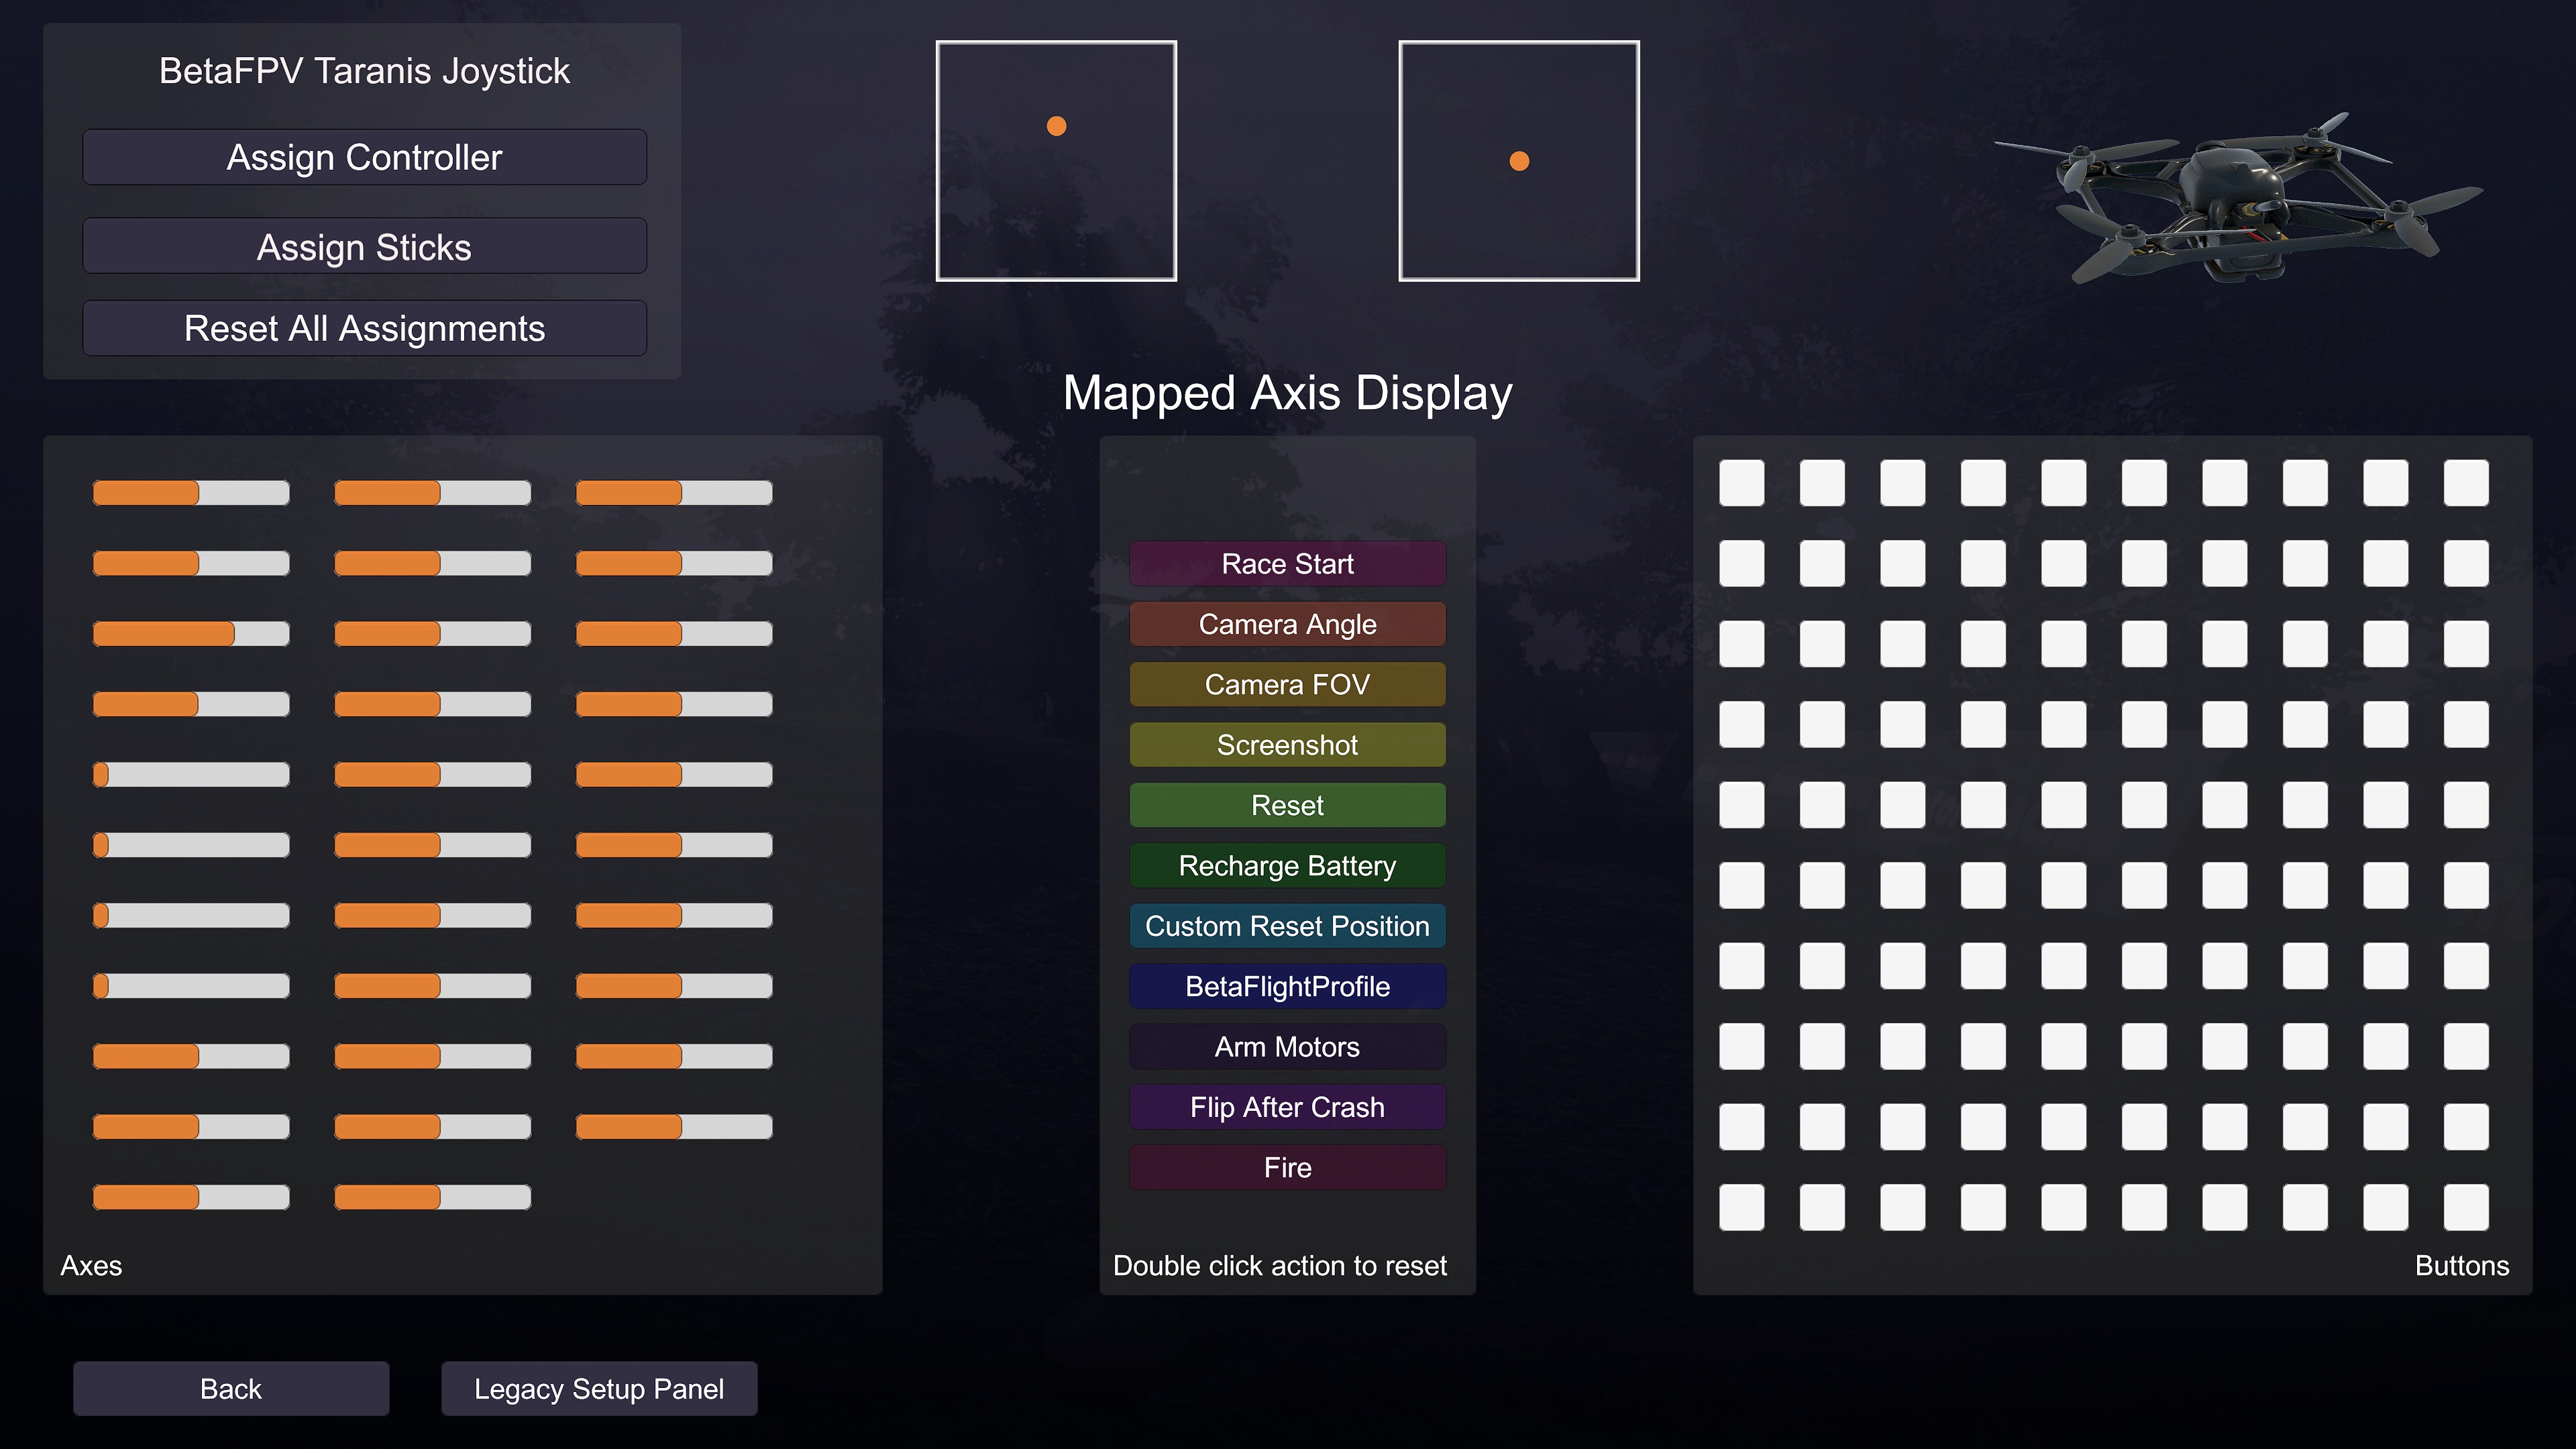
Trainer & Simulator
Especially for beginners, it is easier to practice in the simulator at the beginning. This is not a problem! Simply switch on the remote and connect via a micro USB cable and off you go!
The trainer port is located next to the micro USB input. With this port you can practice your first flights as a teacher-student setup and if necessary the teacher takes over control!
![]()
I had the problem that Windows did not recognize the remote control at first. This is a Windows driver problem and I solved it as follows. Thanks to Painless360 for the hint.

Mit dem Laden des Videos akzeptieren Sie die Datenschutzerklärung von YouTube.
Mehr erfahren
First go to the Windows Device Manager and search for „BETTER_USB_HS“
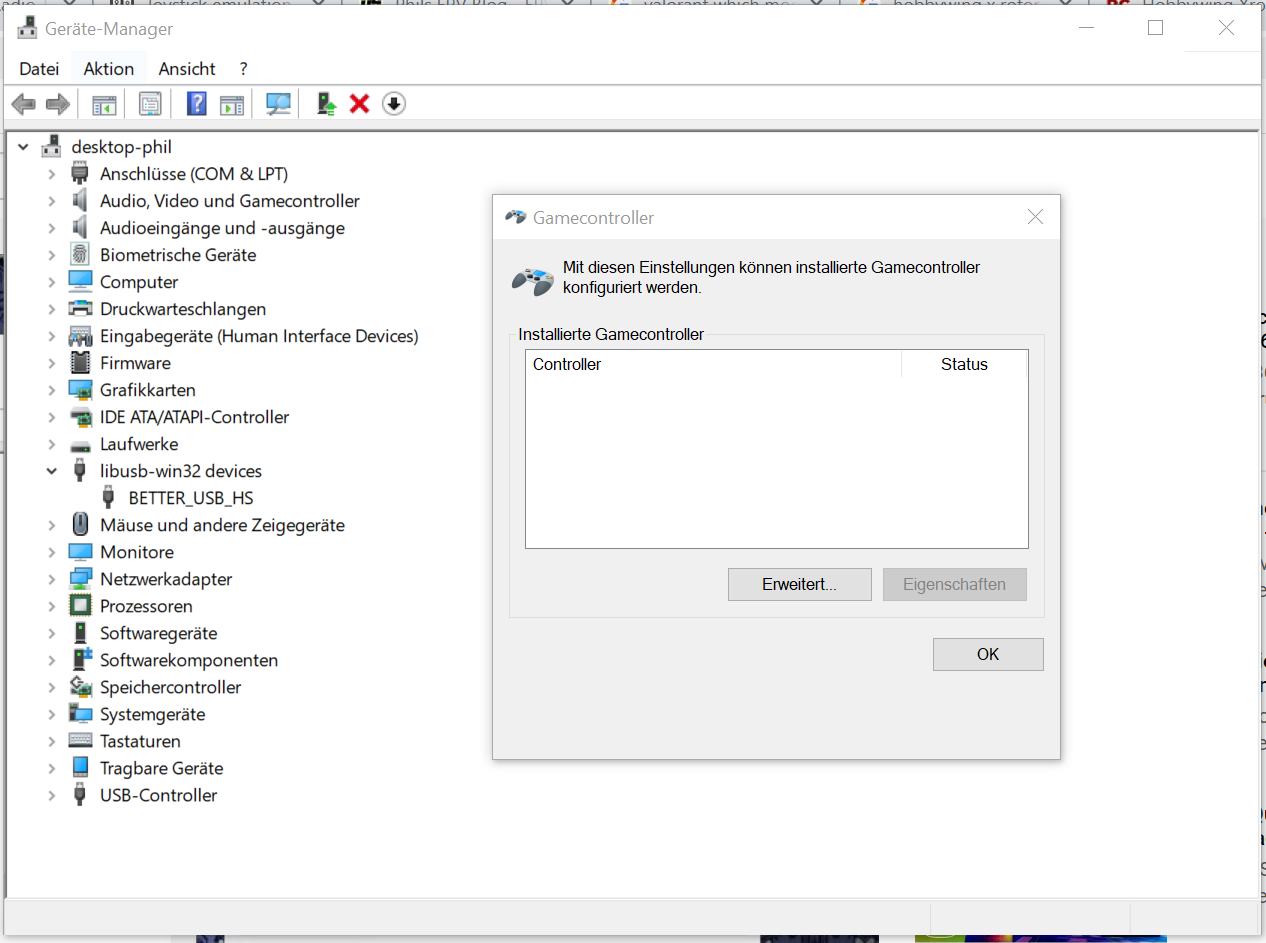
Right-click on „BETTER_USB_HS“ and select „Roll bak driver“ in the „Driver“ tab. Then click on „Previous version of the driver performed better“ and confirm with „Yes„.

After that you can use the remote control in Velocidrone without any problems.
binding
You can bind your receiver with the „BIND“ button on the back. You can switch between FCC and LBT without flashing.
![]()
Conclusion BetaFPV Lite Radio 2
For people who do not want to spend a lot of money on their first remote control but still want to enjoy „real“ gimbals and the simulator function, this remote is in my opinion the first choice. It is cheap, offers many functions and can also be used as a „main remote“ for tiny woops. Perfect for beginners or people who just want to get a taste of the hobby without spending a lot of money on high-quality remote control. Of course, there are even cheaper remote controls, but these remote controls are even smaller and significantly worse processed and really feel like a toy.
![]()
- „real“ gimbals
- Trainer function
- Simulator function
- small and light
- low price
- USB charging function
- 8 channels for flight modes and other functions
- if you forget to switch off the remote control, the LiPo will be deeply discharged
- unfortunately only available in white – will probably get dirty very quickly.
- OpenTX extremely slimmed down – only for Subtrim
- no OpenTX Companion for MacOS X
- no acoustic battery warning

Hi, the files you sent Fabian on the 2nd of July are they the files for writing the firmware on BETAFPV LiteRadio 2? if yes, is it just opening the OpenTx Companion and writing the firmware?
Thank you
Yes, but please do it on your own risk!
Moin Philipp,
ich habe iwie nicht aufgepasst und mit dem OpenTX companion falsche Settings auf die Funkte gepusht.
Könntest du mir die Firmwaredateien (Firmware.bin und EEPROM.bin) von deiner Funke zukommen lassen?
Danke dir.
Hey Fabian,
hier die Files. Sag Bescheid, obs geklappt hat!
Also bei mir hat’s geklappt, vielen Dank nochmal, Spende dafür ist auch rausgegangen … verdient!
Hi Phillipp, could you provide the original OpenTX Model and HW-Settings… I overwirted mine…
Hi Robin,
i uploaded the files here, please report back if it worked!