Flash RX5808 Diversity Modul (LaForge / True-D / Realacc)
”
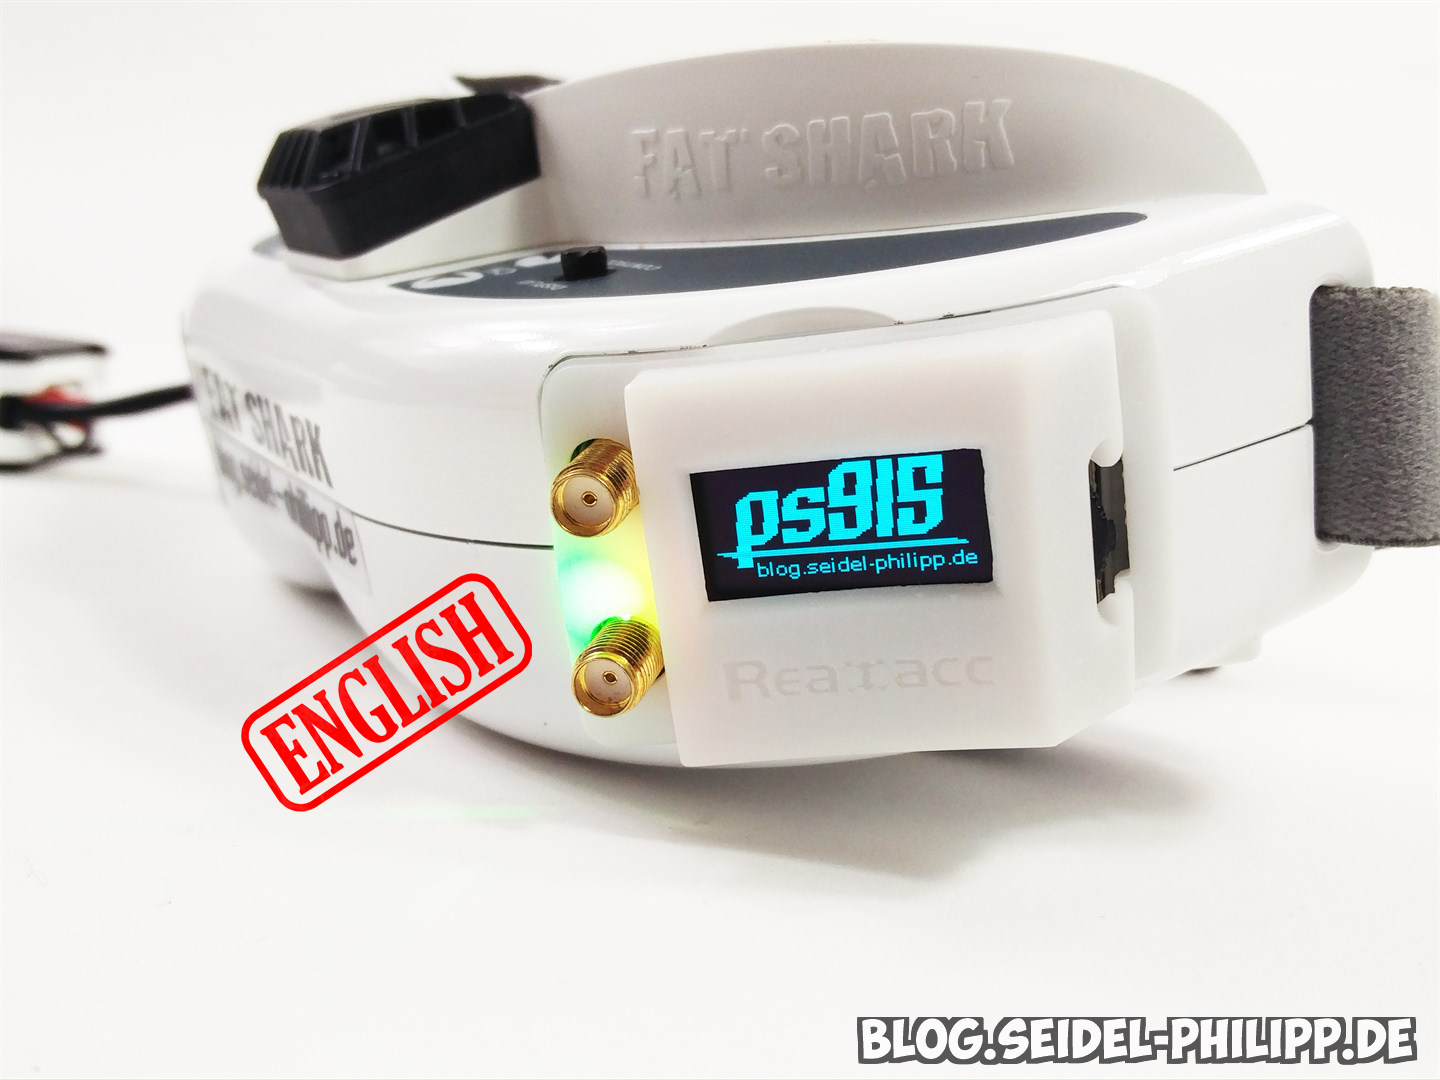
This article is about how to flash a RX5808 diversity module with the latest firmware and also change the start screen.
Inhaltsverzeichnis
The following information is only a building report, as I have done. If you are flashed by this report, it is entirely your own responsibility.
I have not tested the module with the new firmware, so just flash if you are really sure!
What is required
Hardware
- Programming adapter: CP2102 USB zu TTL (Banggood)
- Diversity Modul: True-D LaForge Realacc True-D Clone Realacc LaForge Clone
- USB extension cable
Software for the RX5808 Module
- Arduino IDE Version 1.6.8 !!!: [Portable as ZIP] [Installer Windows]
- BMP to HEX konvertieren: http://www.hobbytronics.co.uk/bmp-lcd-converter
- Diversity Software: https://github.com/sheaivey/rx5808-pro-diversity (download as ZIP) (Revision for this article)
- Adafruit Display Software: https://github.com/adafruit/Adafruit_SSD1306 (download as ZIP)
- Adafruit Display Software: https://github.com/adafruit/Adafruit-GFX-Library (download as ZIP)
Installing the software
First, you need to install the Arduino IDE. With the latest Arduino IDE a compilation error occurs, so you must use the above linked version 1.6.8.
Next, we need to expand the Arduino IDE’s capabilities with previously downloaded libraries.
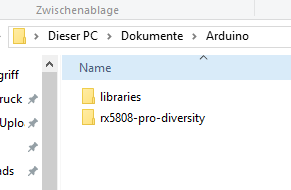
From the file “rx5808-pro-diversity-master.zip” copy the folder “rx5808-pro-diversity” into your Arduino projects folder (in the settings of the Arduino IDE)
For me it is: “C:\Users\test\Documents\Arduino\”
Copy the content from “Adafruit-GFX-Library-master.zip” and “Adafruit_SSD1306-master.zip” to your “libraries” folder
For me it is: “C:\Users\test\Documents\Arduino\libraries”
Customize the start screen


First create your logo as .BMP file in black / white with the dimensions 128px × 64px
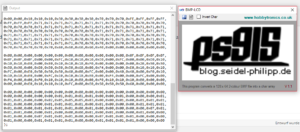
Convert image
Now you convert your logo into a HEX file with the tool “BMP-LCD.exe”. Copy the text between the brackets “{” and “};”.
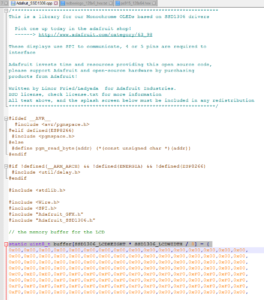
Open the following file with a text editor: C:\Users\test\Documents\Arduino\libraries\Adafruit_SSD1306-master\Adafruit_SSD1306.cpp.
Replace the old values with the previously copied HEX text.
Insert between “static uint8_t buffer [SSD1306_LCDHEIGHT * SSD1306_LCDWIDTH / 8] = {” and “};”
Do not forget to save.
Adjust the resolution
Open the following file with a text editor: “C:\Users\test\Documents\Arduino\libraries\Adafruit_SSD1306-master\Adafruit_SSD1306.h”
// #define SSD1306_128_64
#define SSD1306_128_32
// #define SSD1306_96_16
Replace with the following:
#define SSD1306_128_64
// #define SSD1306_128_32
// #define SSD1306_96_16
And do not forget to save again.
Flashing the diversity module
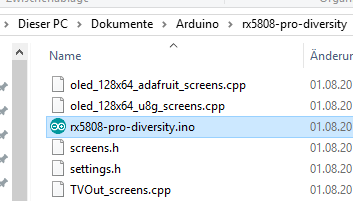
Now open the project folder “rx5808-pro-diversity.ino“
Connect the RX5808 module
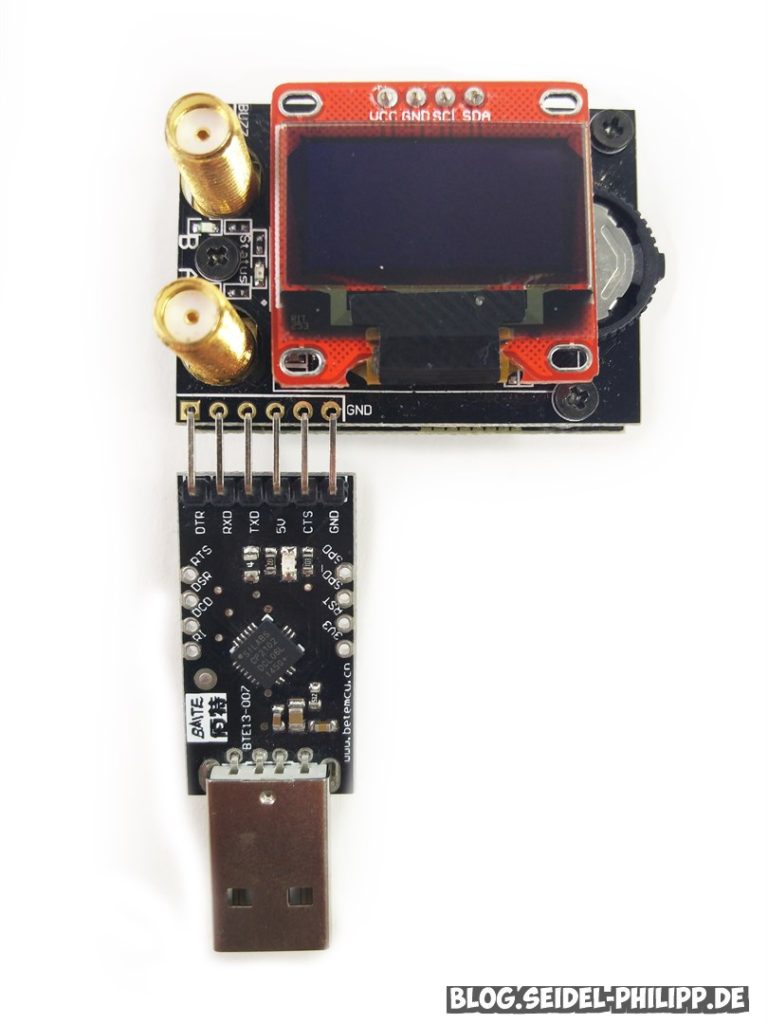
Now connect your Diversity module to your computer via the USB adapter. You do not have to solder the pins, it is sufficient, if the adapter is clamped, because it is pushed down by the USB cable strongly enough. However, make sure that no pin loses the connection during the flash process.
Start upload
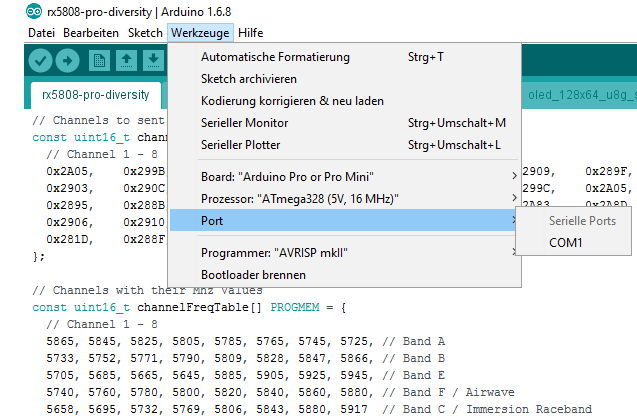
Check whether the COM port is detected and whether the programmer settings are correct.
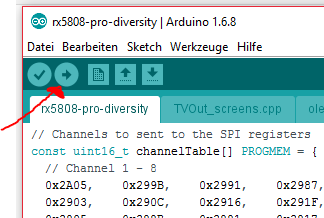
With a click on Upload you load the new firmware on your Diversity module.
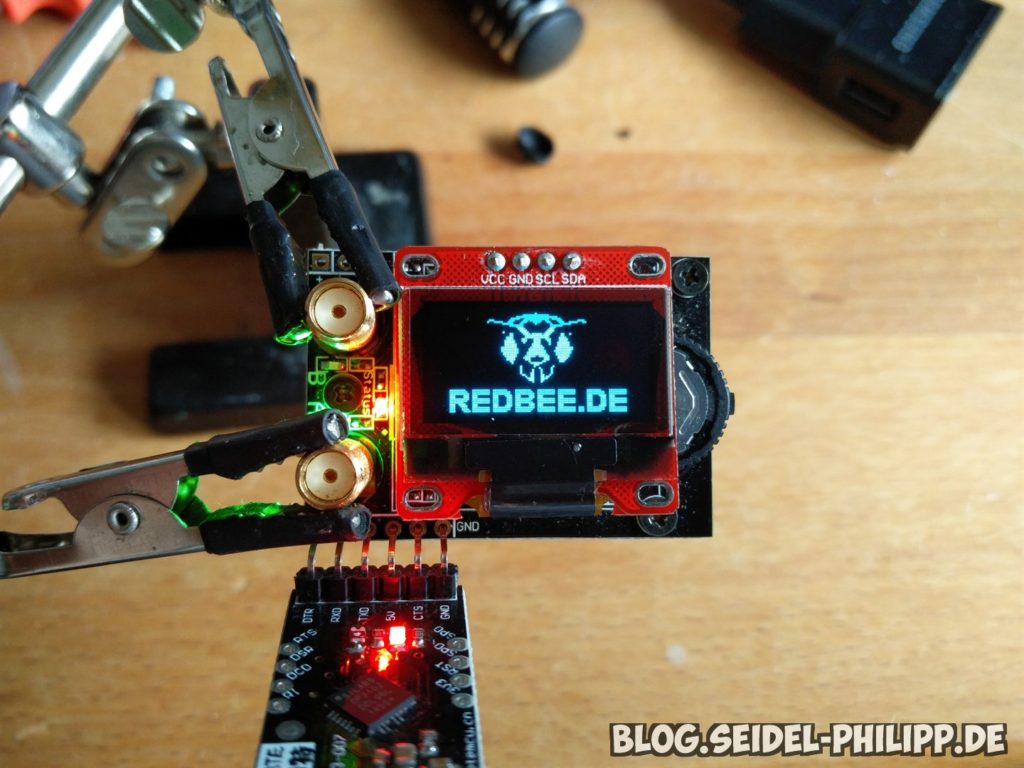
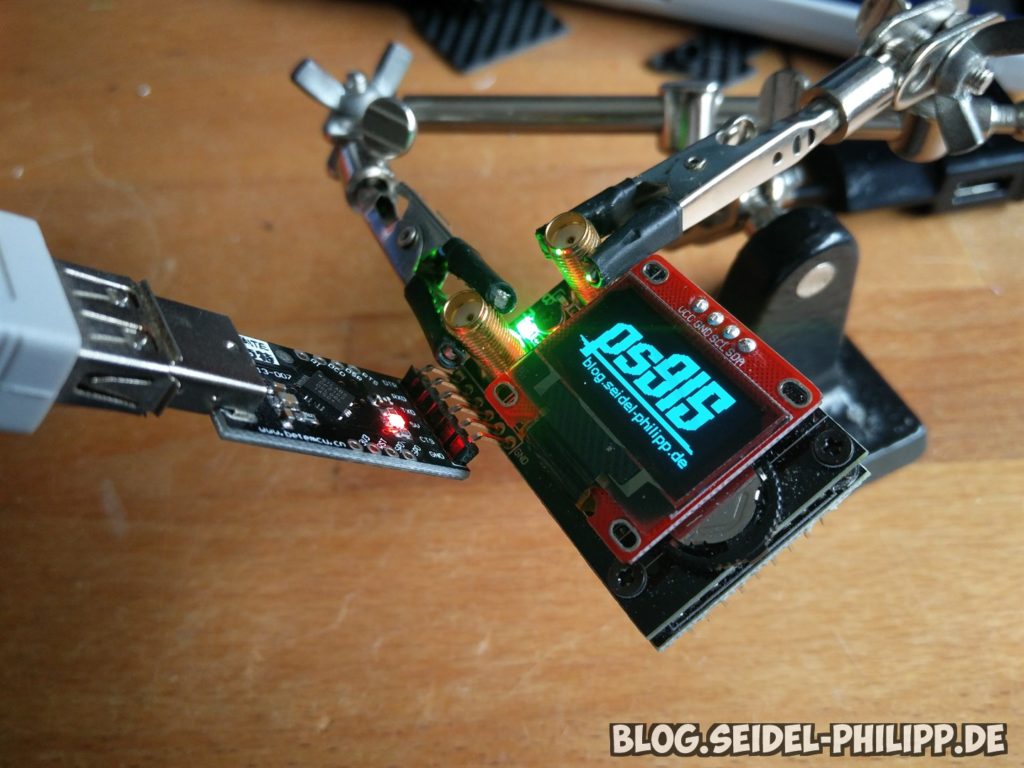
…. a few seconds later you have your own logo on your Diversity module
Credits
This article was translated by Daniel. Thank you for this! =)






Kann man auch mit dieser Methode der URUAV RX5808 EVO Modul ?
Yo im stuck at „uploading“ and nothing happens. „programmer is not responding“
hi,
please check your Com-Port and your Settings in the Arduino IDE. They must be the same as in the screenshots!