
Runcam Eagle 4:3 800 TVL Review


Info: This post was written by my guest author Lucas, not by me (Phil).
Do you want to become a guest writer? Then just contact me!
![]()
Inhaltsverzeichnis
Box contents
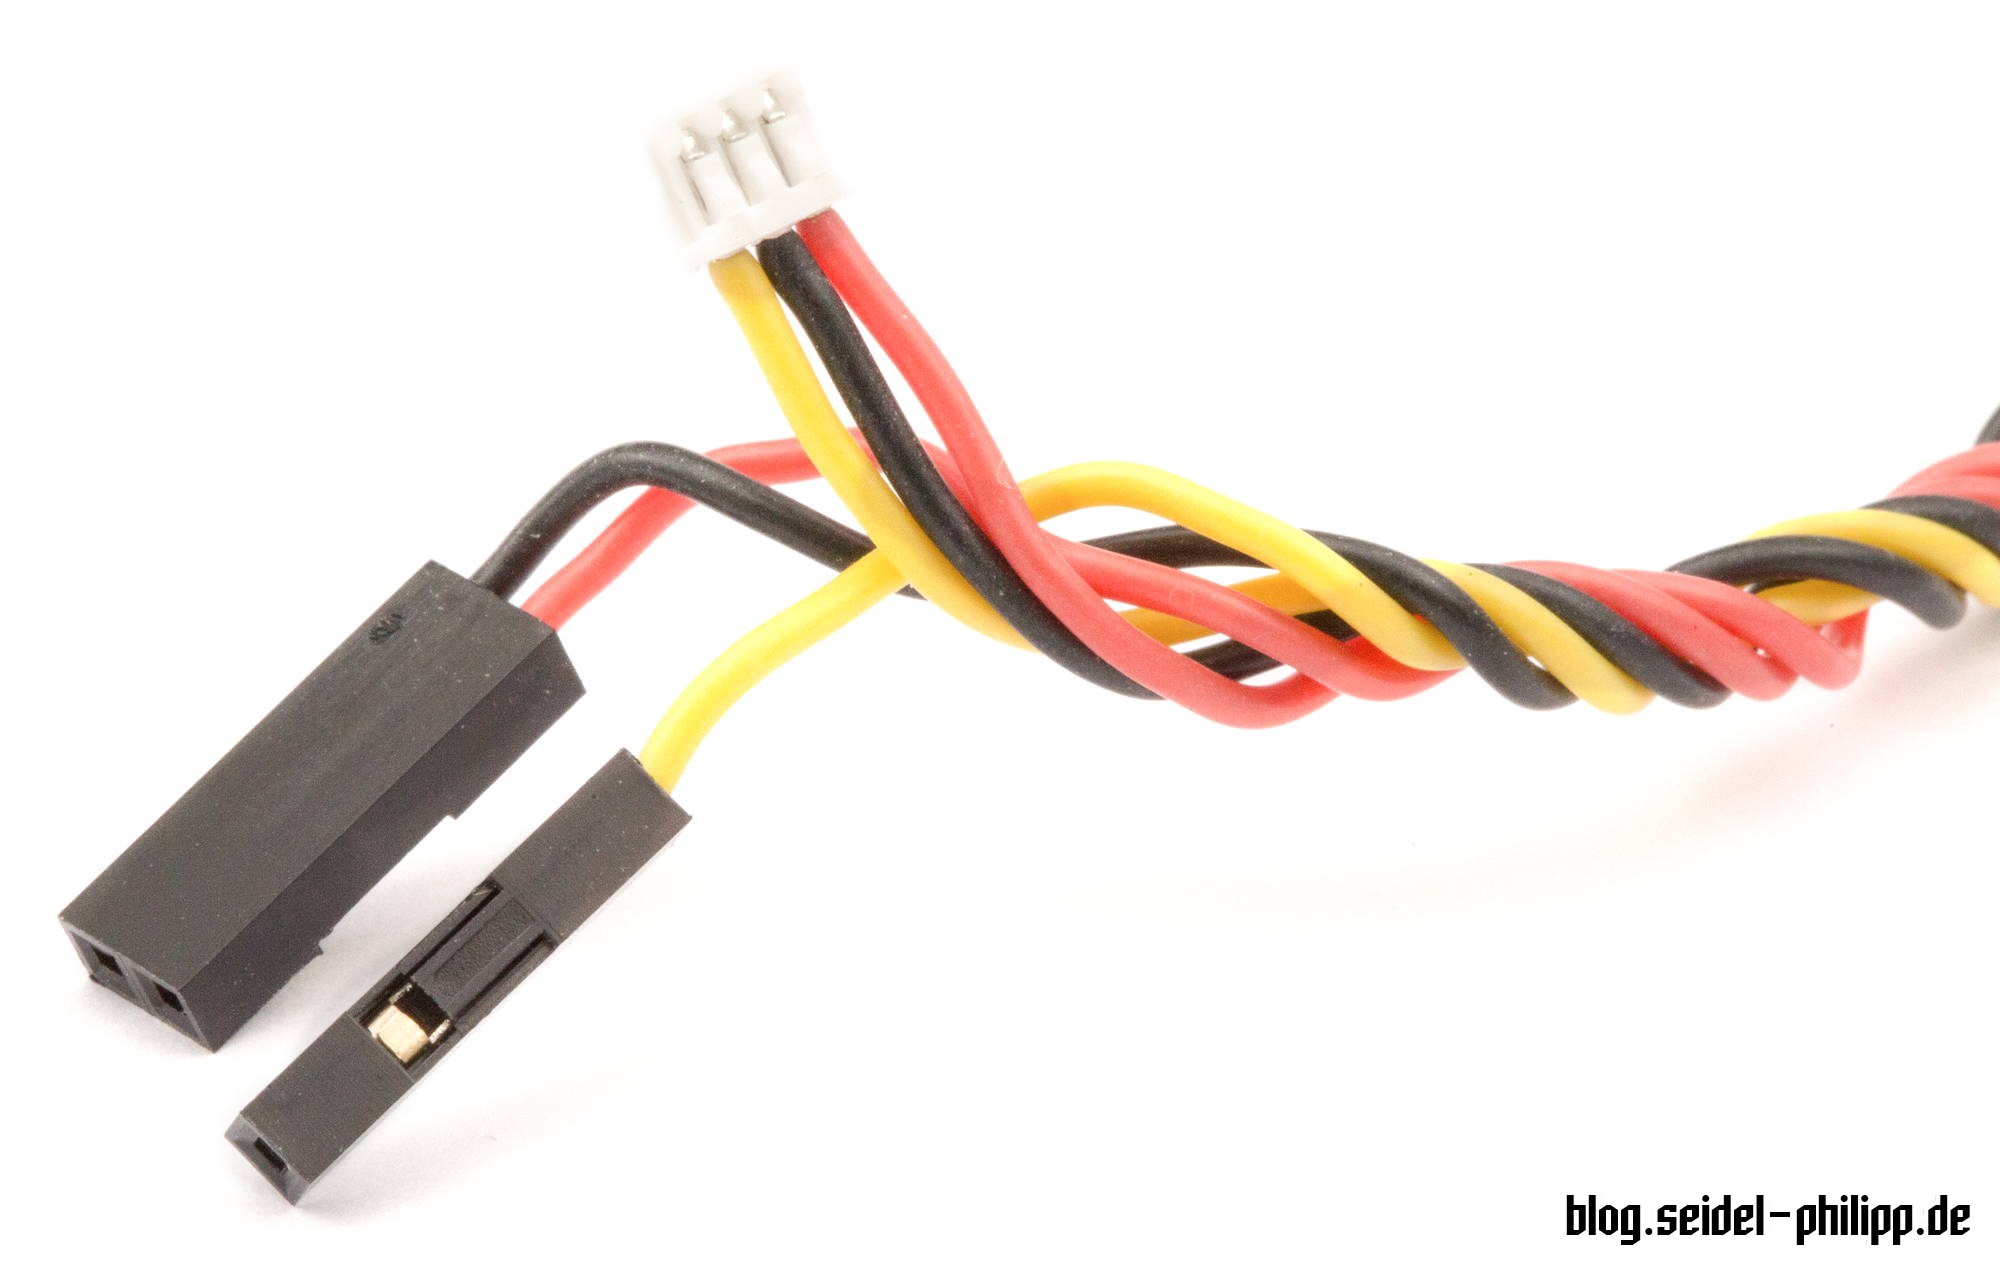
The set of accessories supplied is complete and well thought out. OSD menu cable, RCA adapter cable, servo plug cable, holding straps with spare parts and a brochure are included.
I would particularly like to mention the connection cable, to be seen in the third picture. These are silicone cables. Finally. Numerous times I inadvertently „stripped“ and molten the usual PVC cables with the soldering iron. Because of this, I needed to build connecting cables with silicone myself. Not that my special skills now become obsolete, because it’s always good to have spares, but I really appreciate the cable anyway! Unfortunately, only this one connection cable is with silicone insulation, all other included cables are still PVC …


Camera
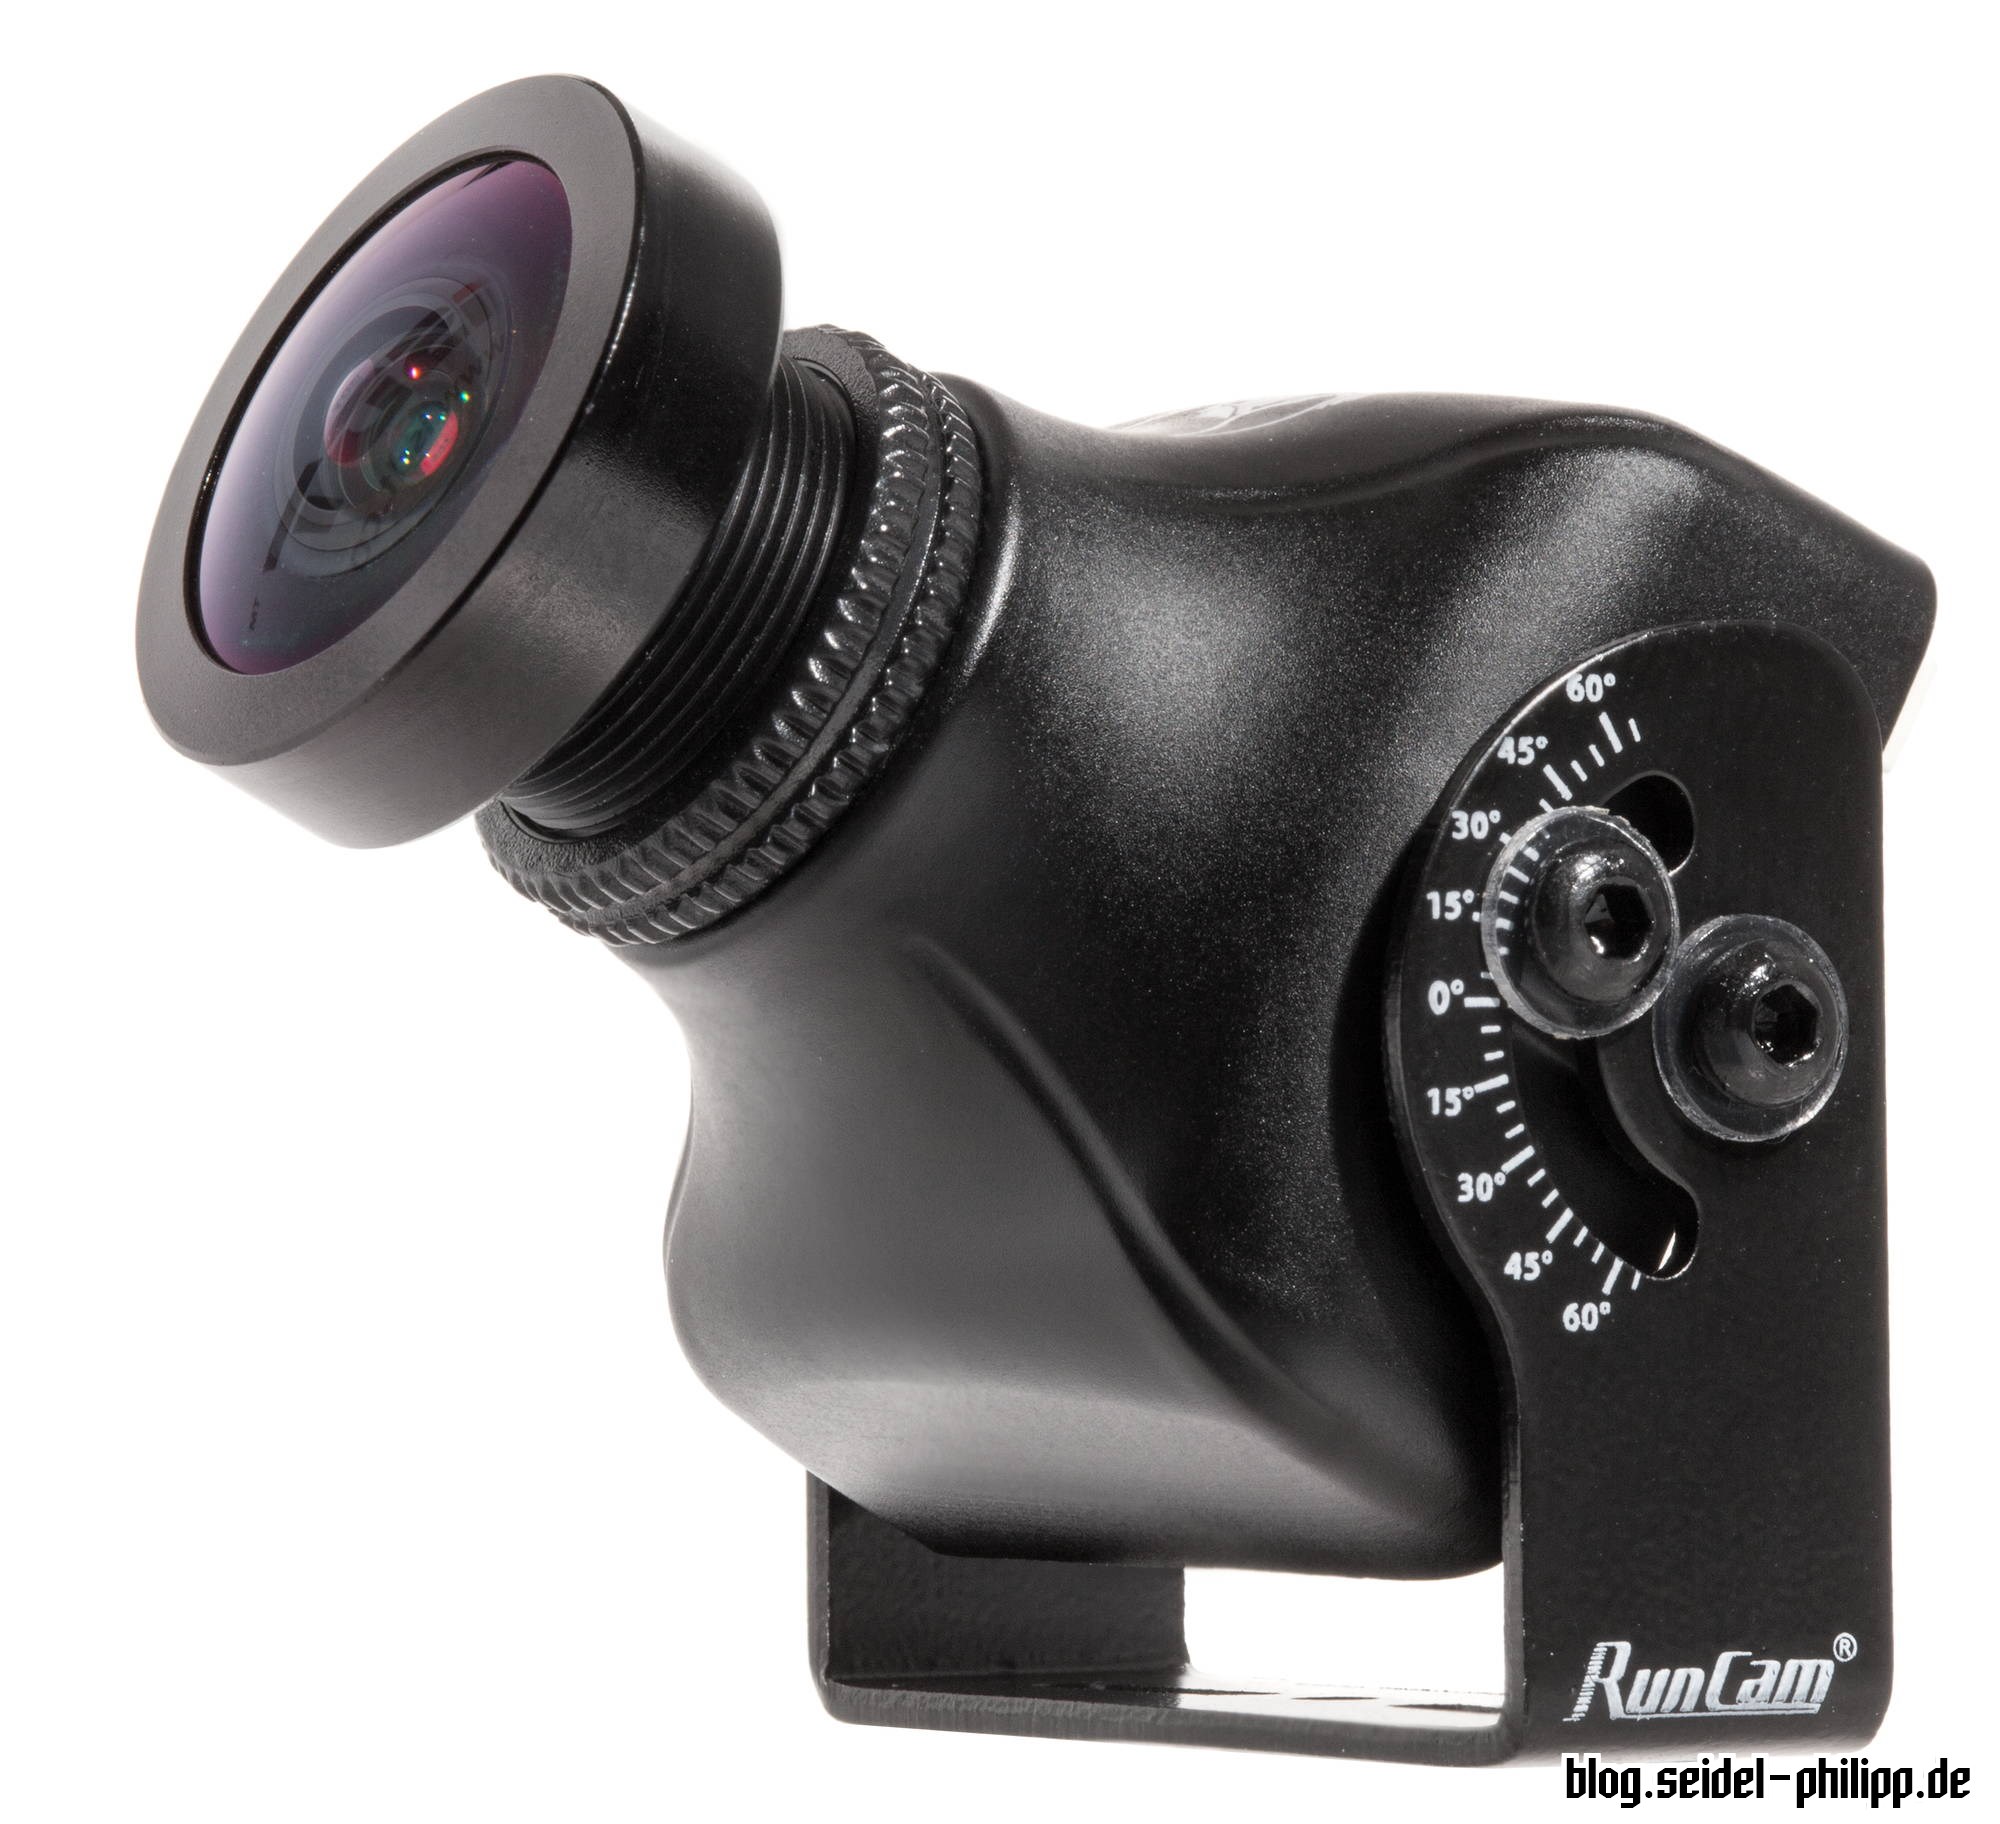
The camera itself weighs 16.4 g ± 0.2 g, without lens cap and mounting brackets. This is heavier than the 12 g of the HS1177 and is due to the magnesium housing. All around it looks nice and makes a very solid impression.
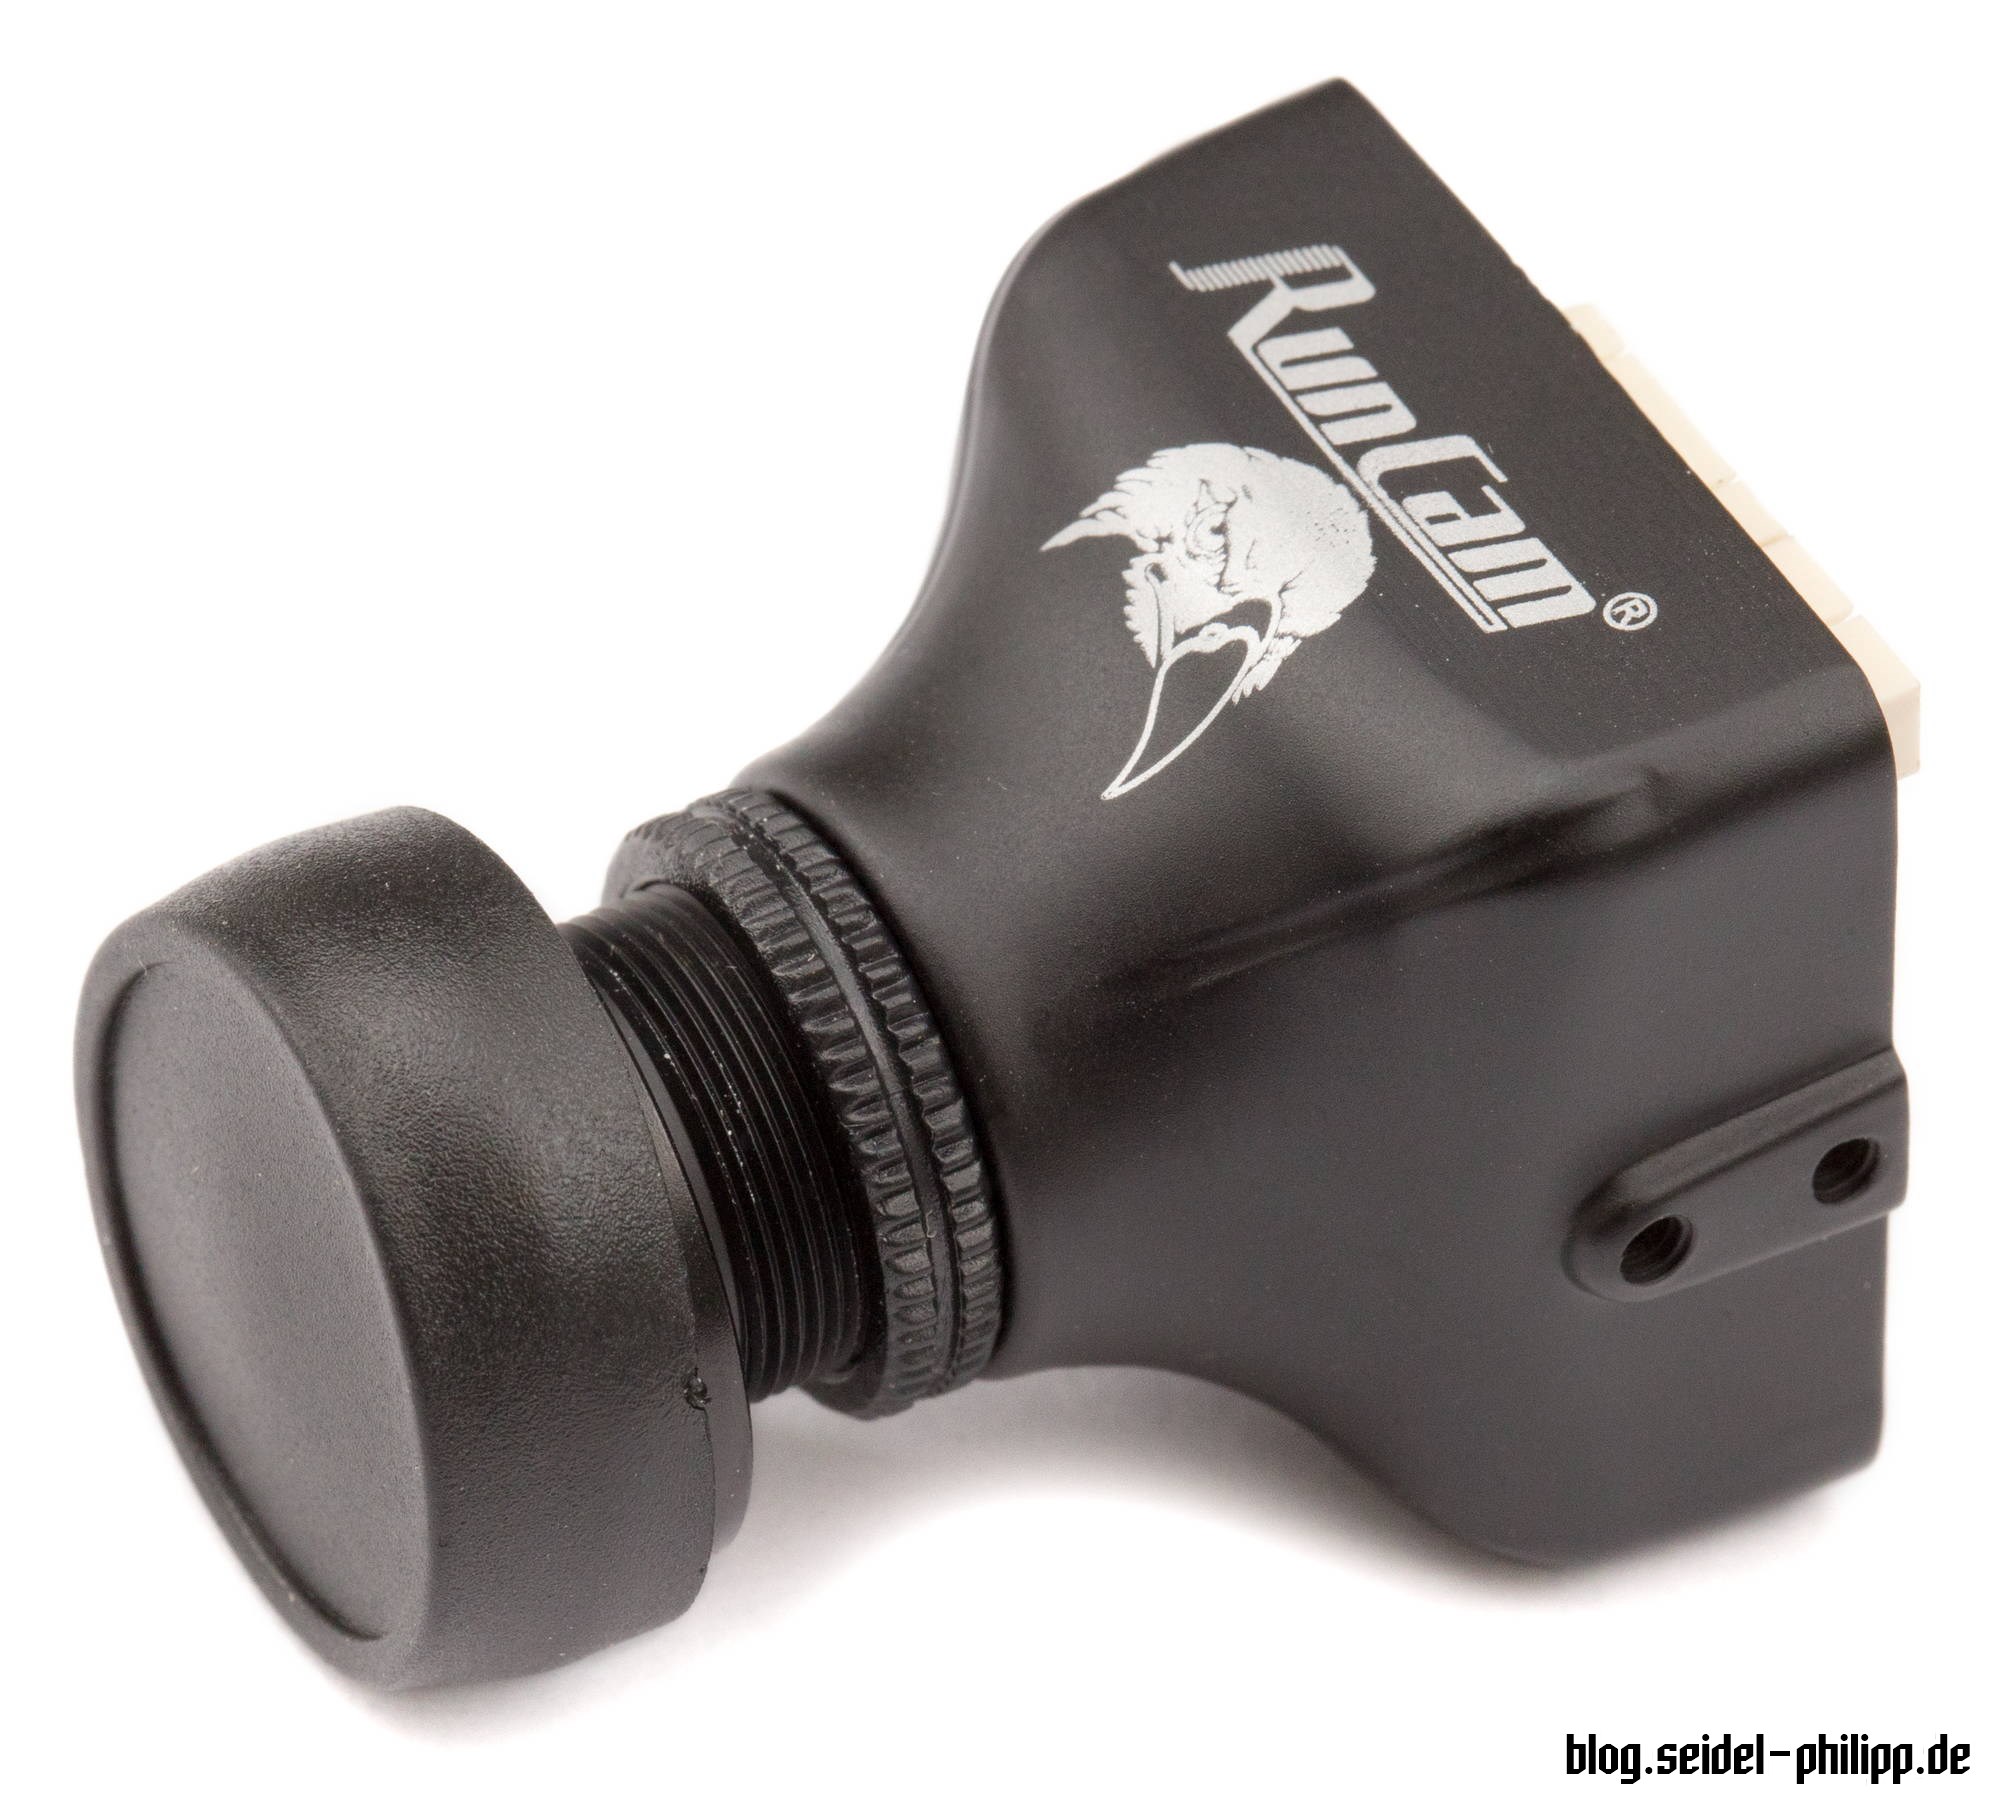
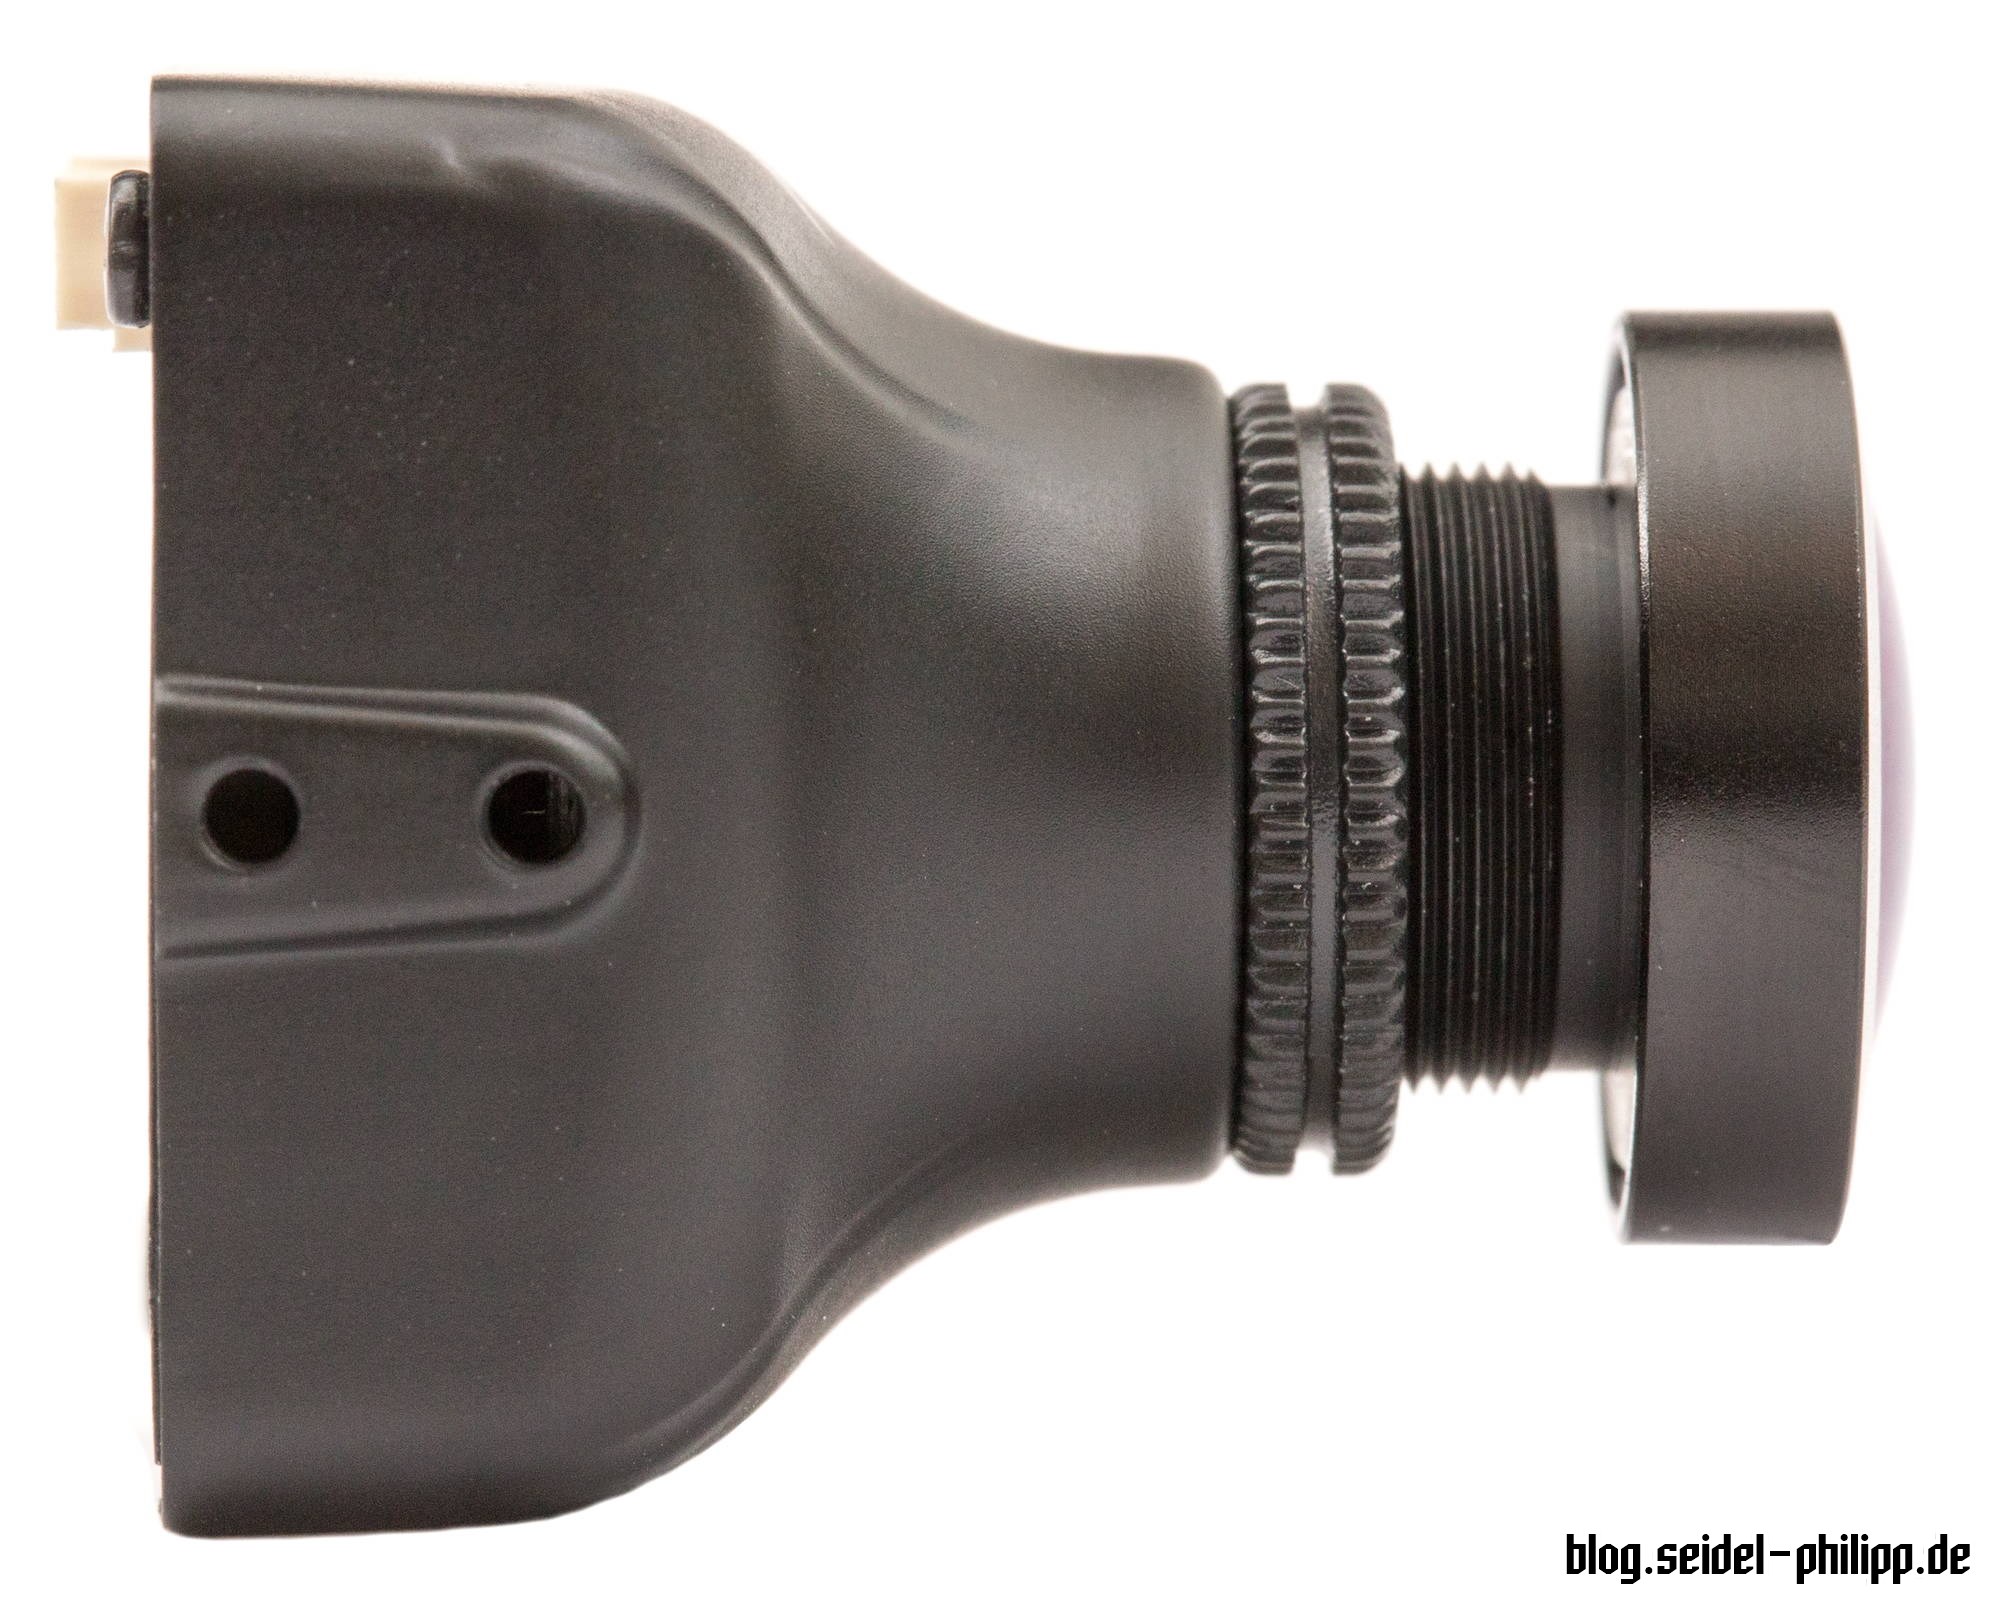

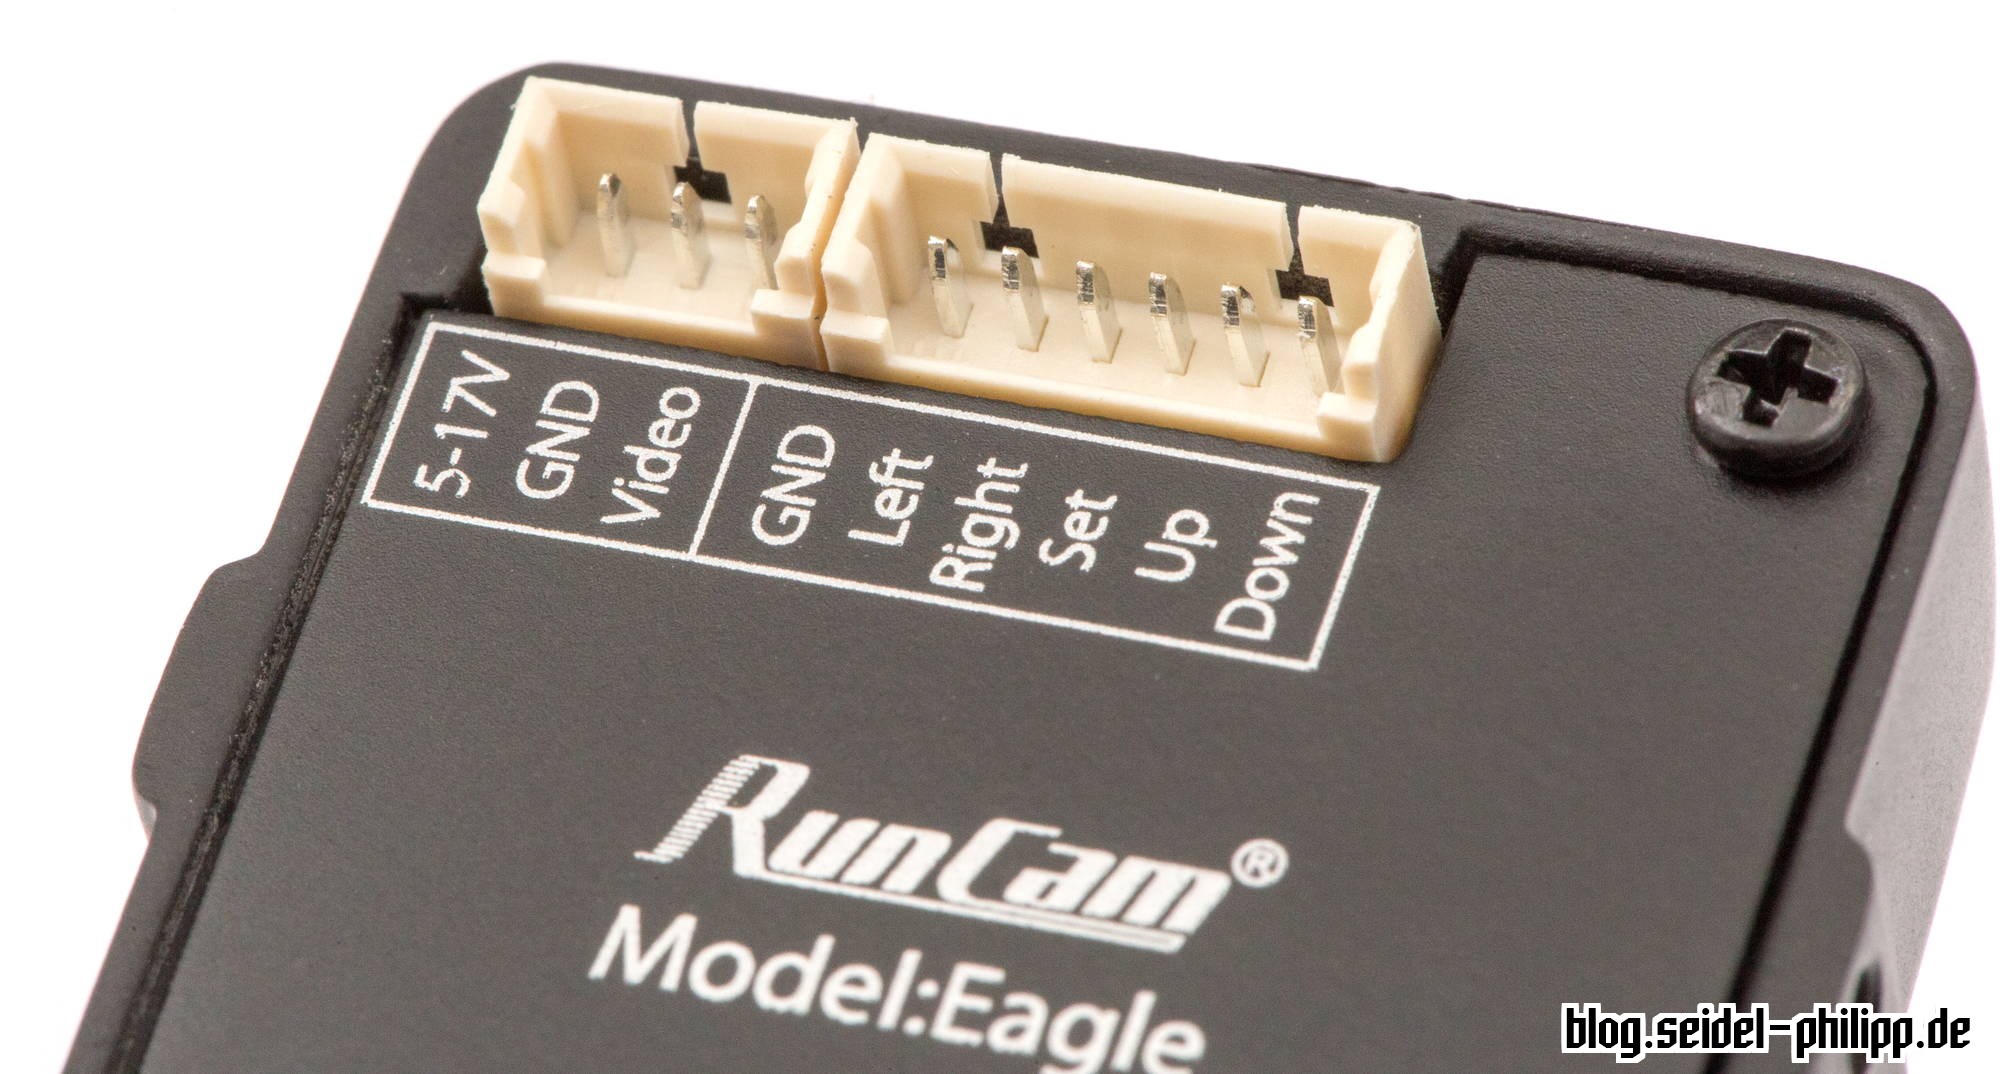
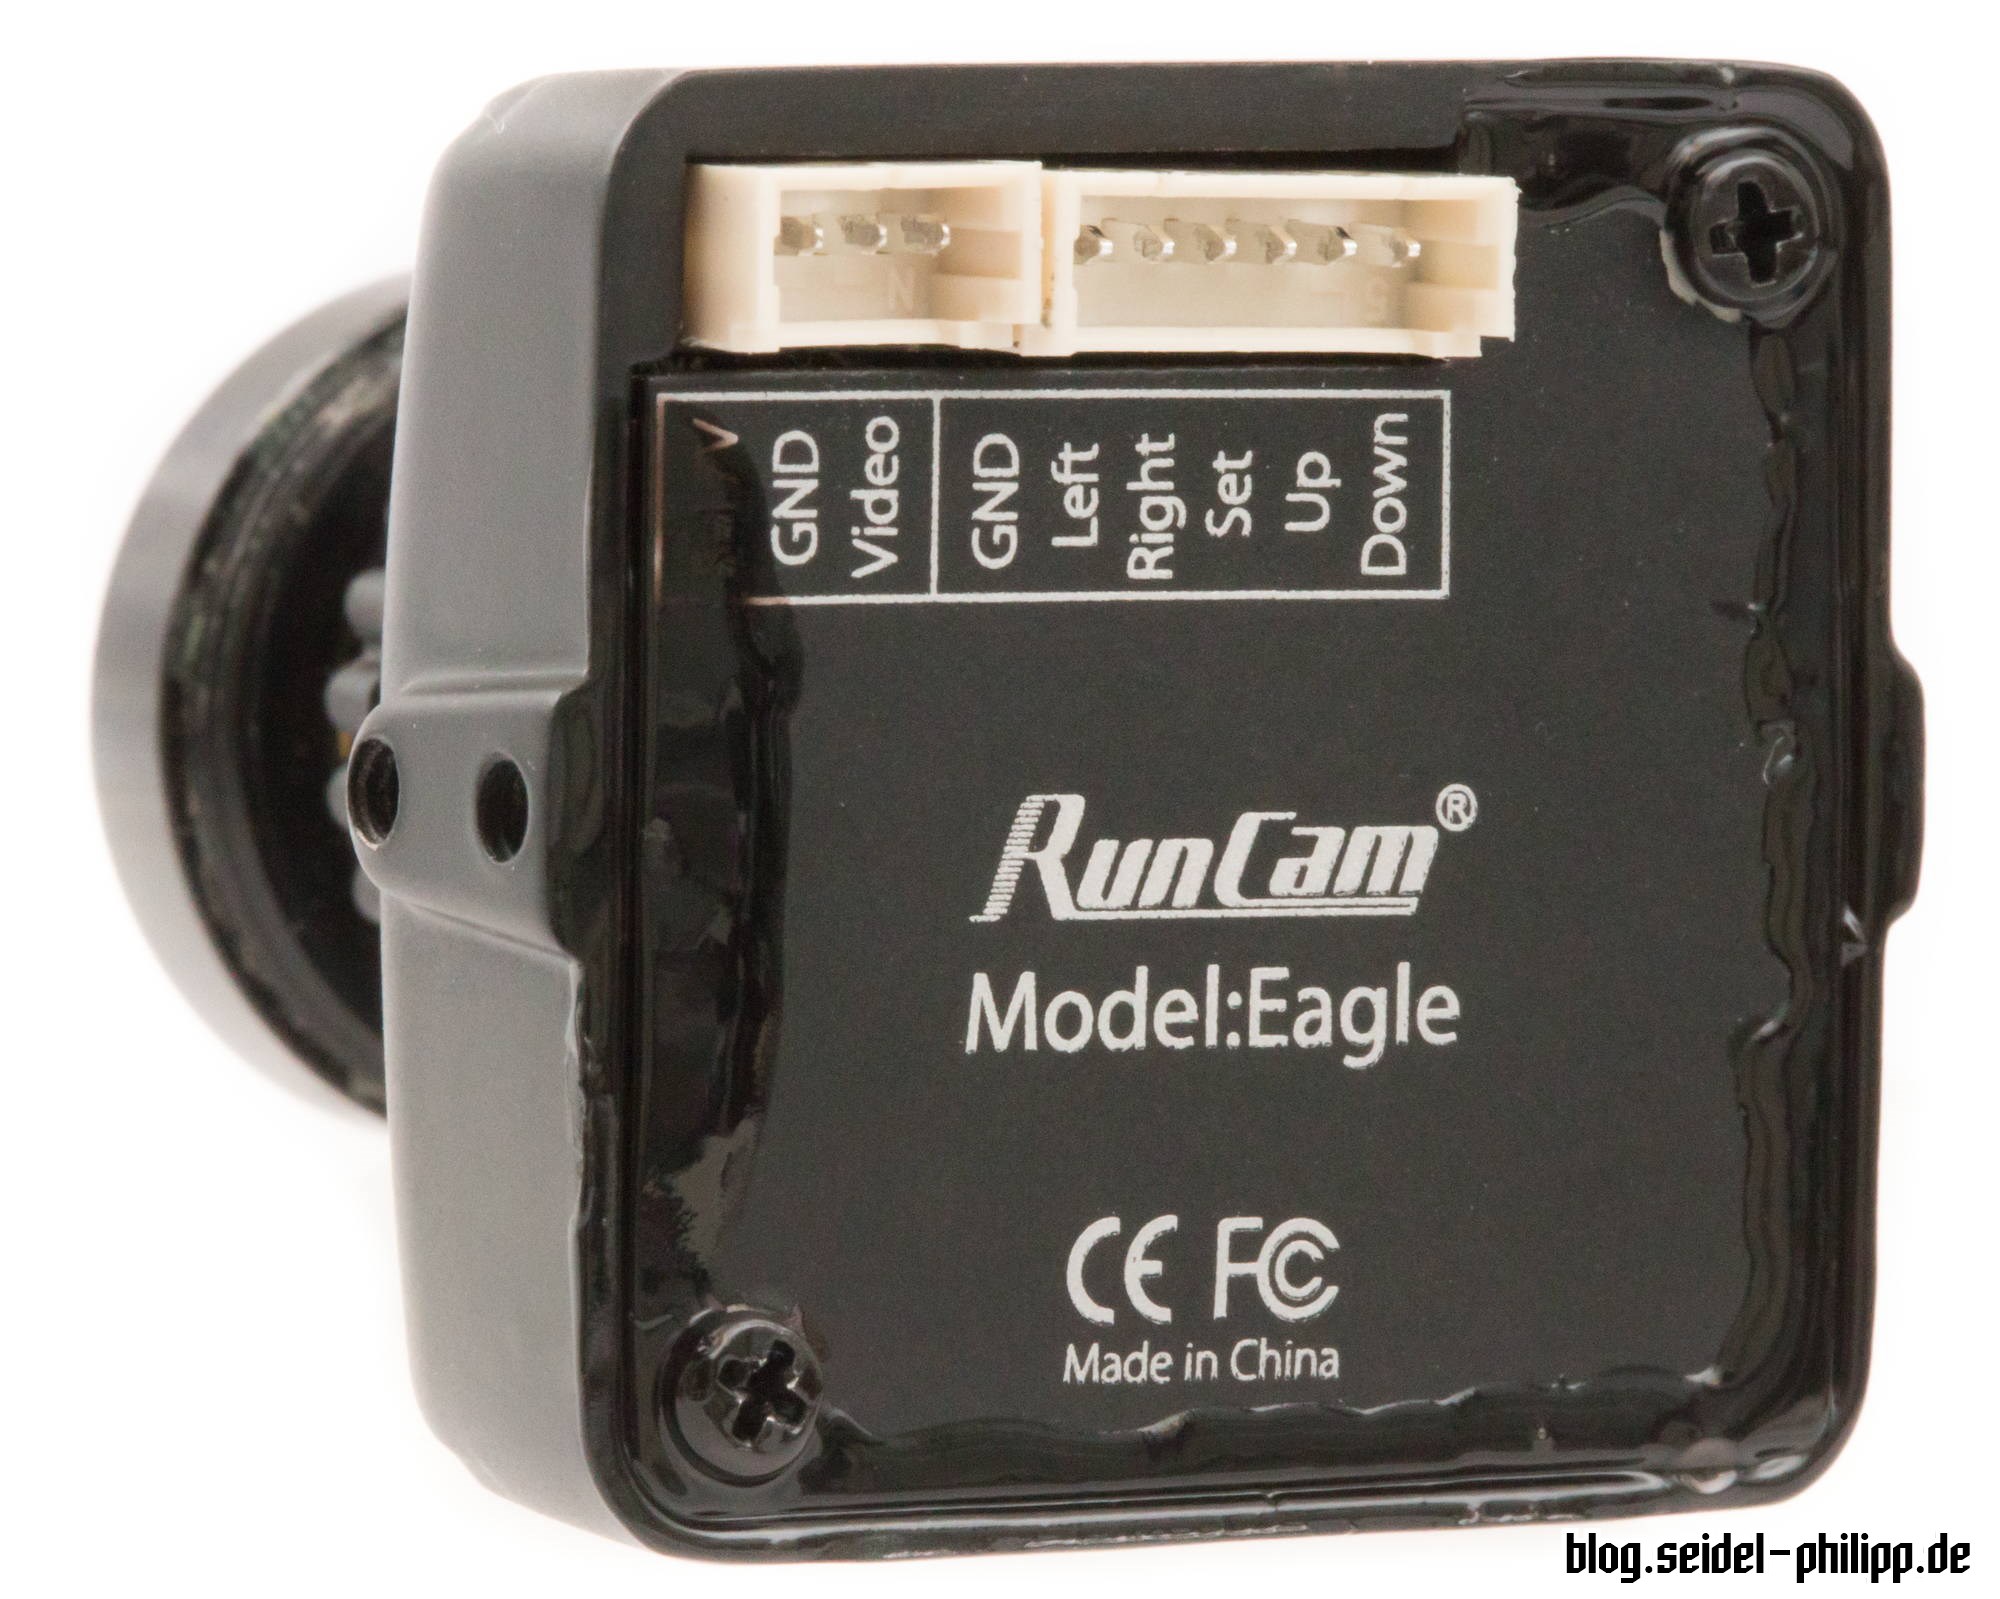
The two connectors are—as usual—Molex PicoBlade with 1.5 mm pin spacing. With this one, Runcam has decided to split them into main cable and OSD menu cable, while other models and the HS1177 only have one connector with a fourth pin for the OSD menu. A side effect of the separate pins for the OSD menu cable is that you can navigate in the menu by shorting the desired pin with GND, for emergency purposes. This would not be possible with the 1-pin solution.
The only thing that bothers me are the gaps between the cover and the housing. There’s a tighter fit on the HS1177, for example.

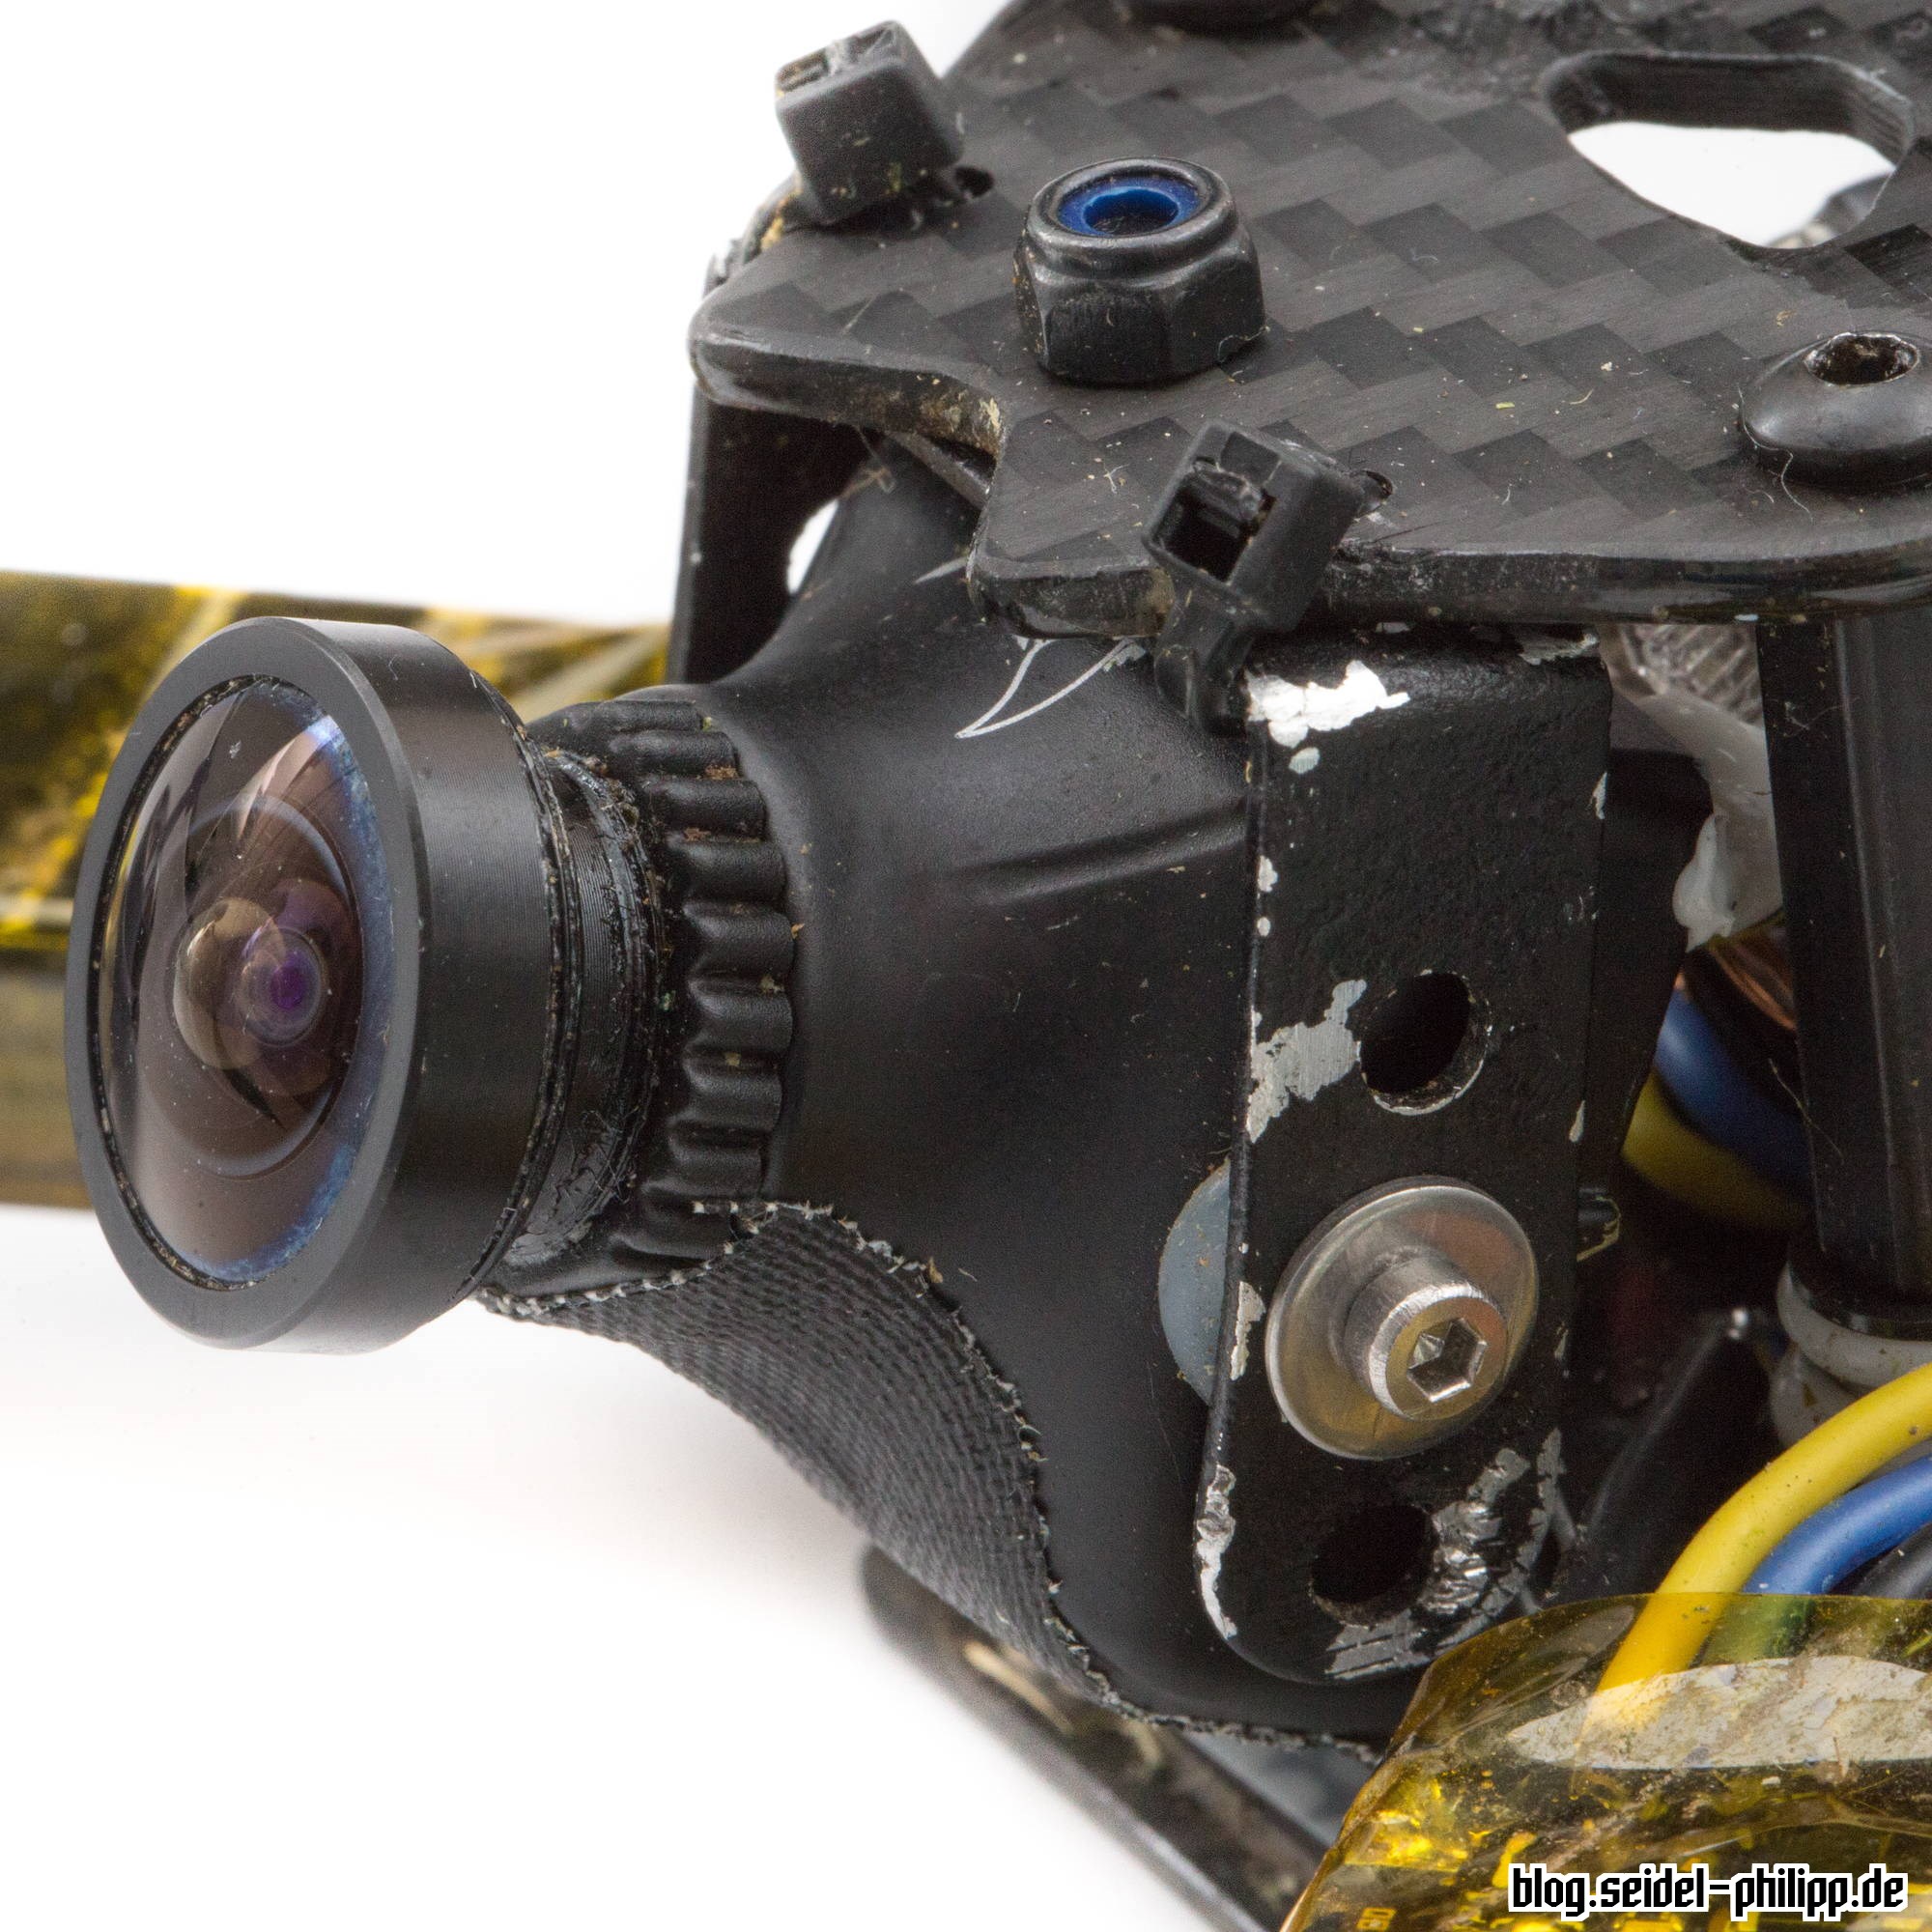
For my application and due to the current weather, I wanted to seal the case against dirt. As showed in the following picture, I applied LiquidTape on three sides. I also covered the two fastening threads on the left and right with adhesive tape on the inside, and applied Kontakt Chemie Plastik70 spray on the PCBs. If you are not familiar with this, you should not do the last step because you can isolate important electrical contacts with it.
Tear down
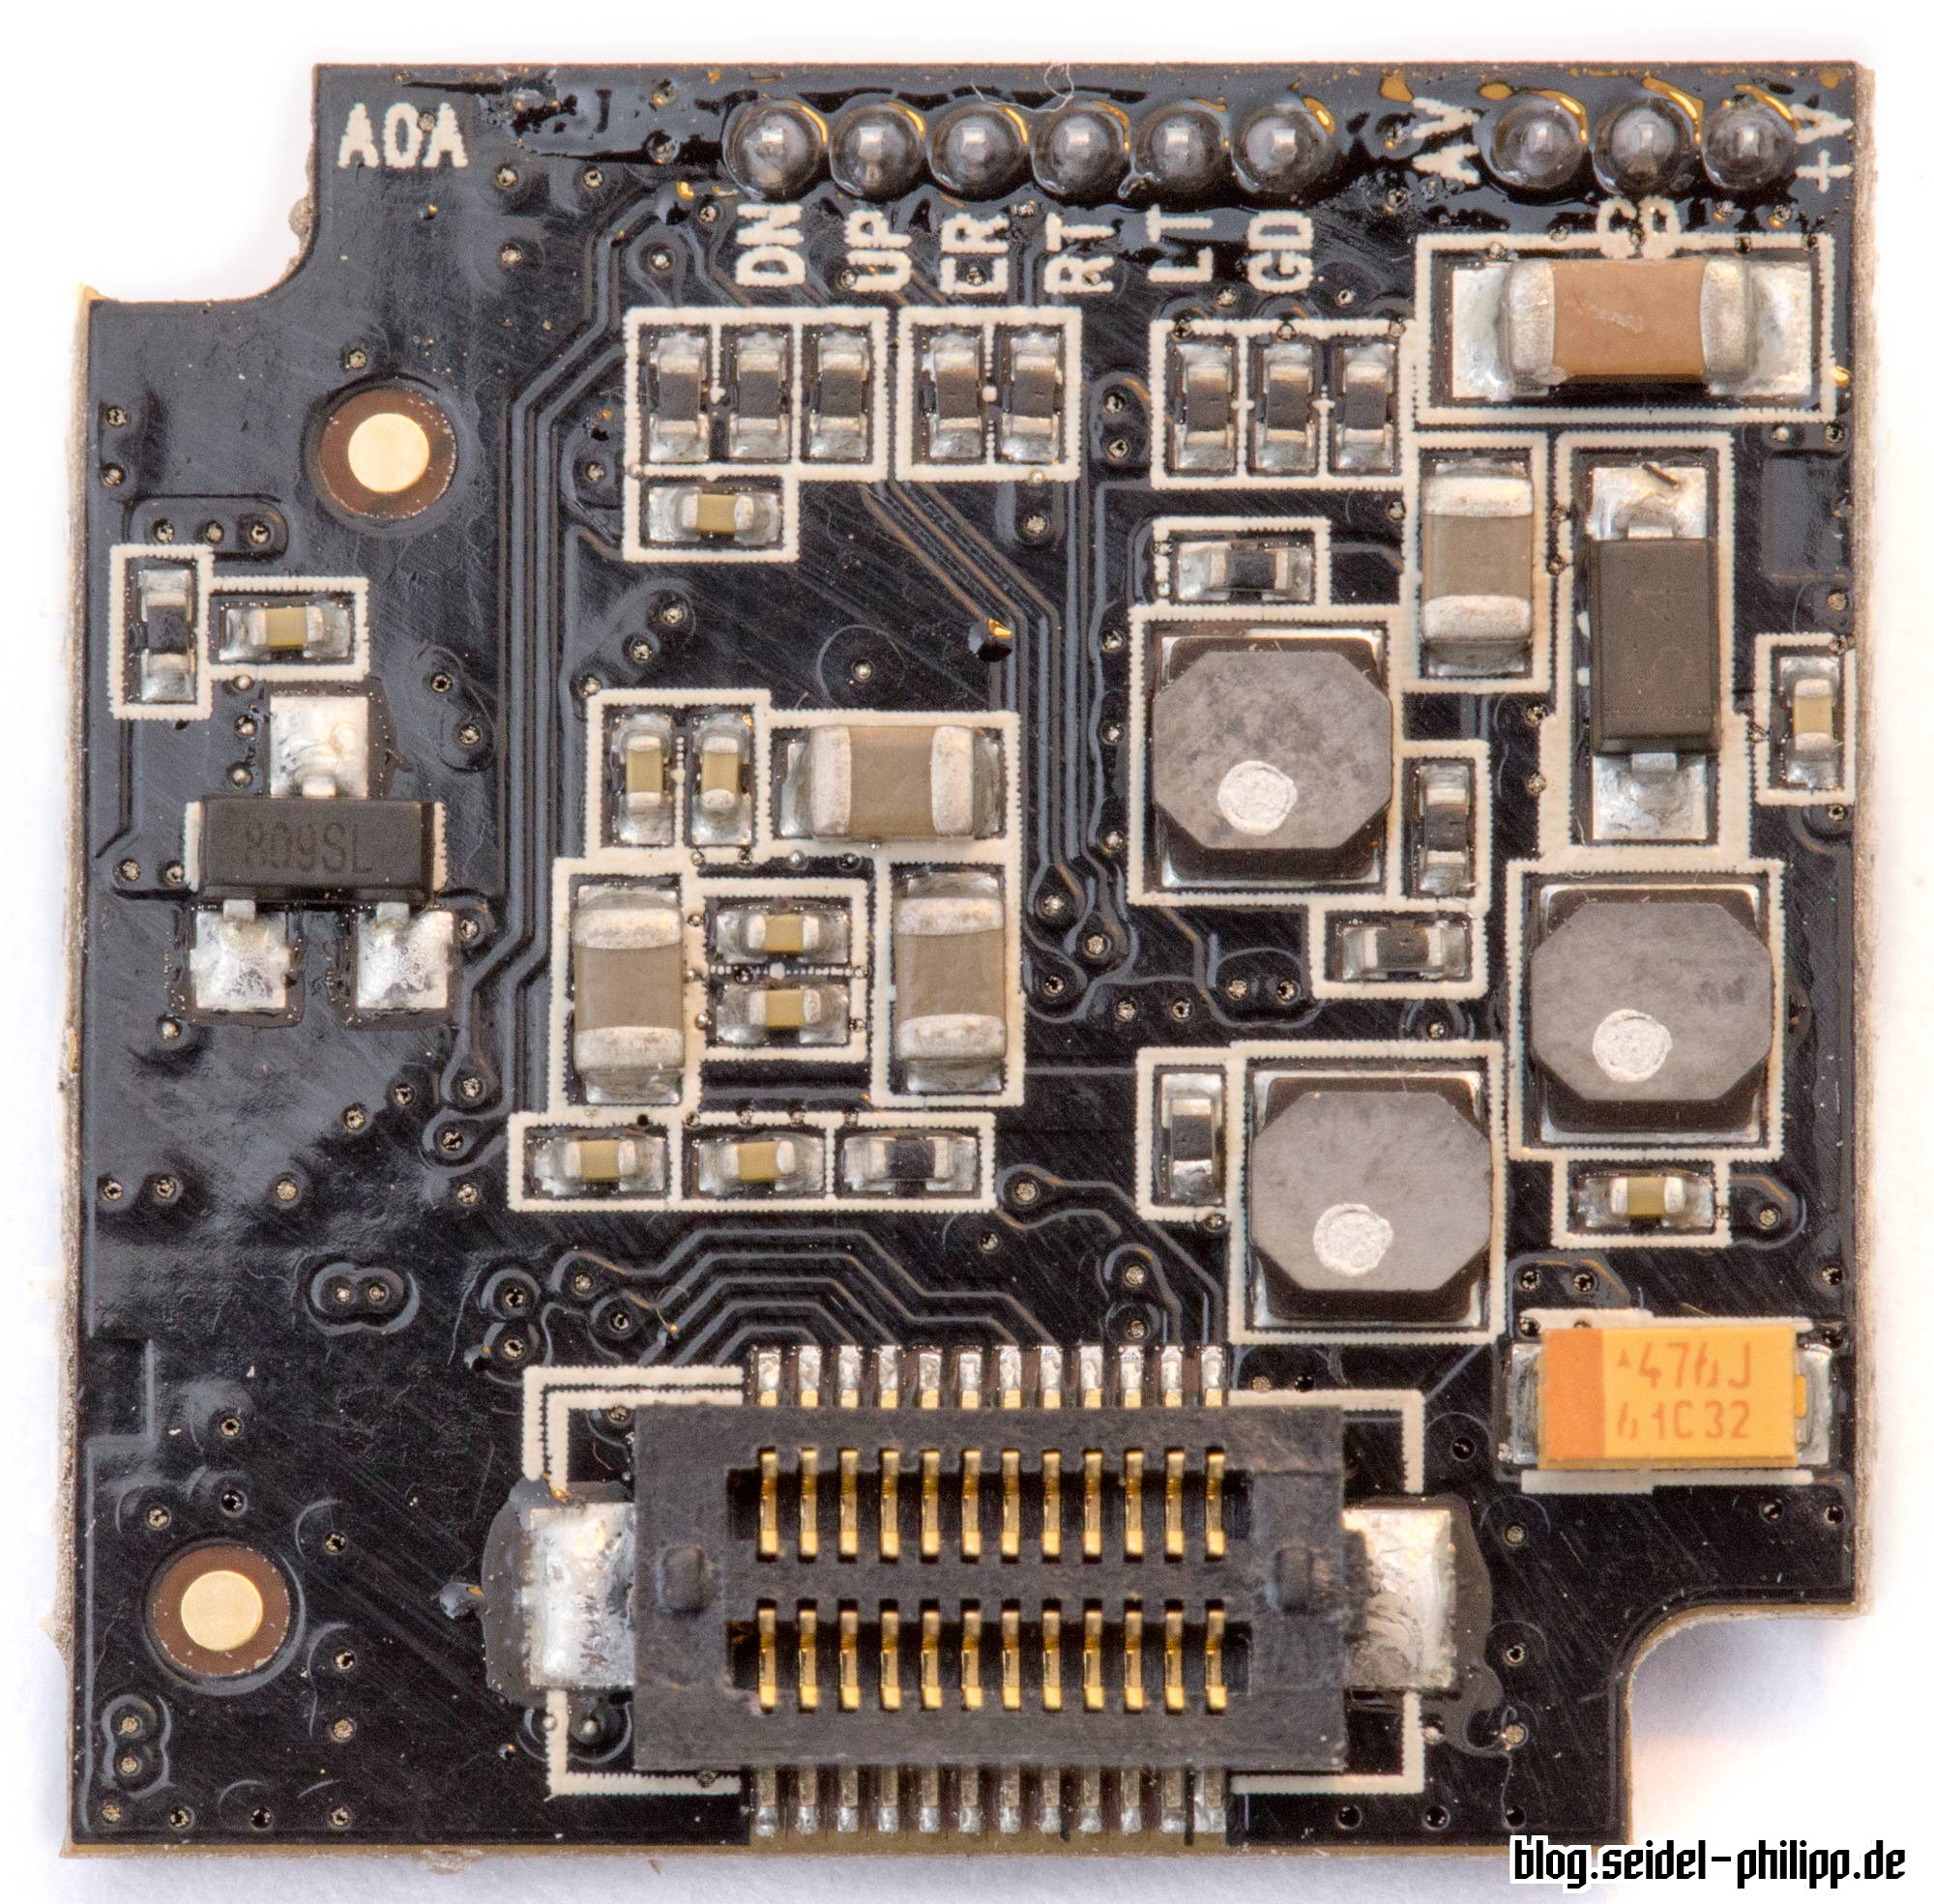
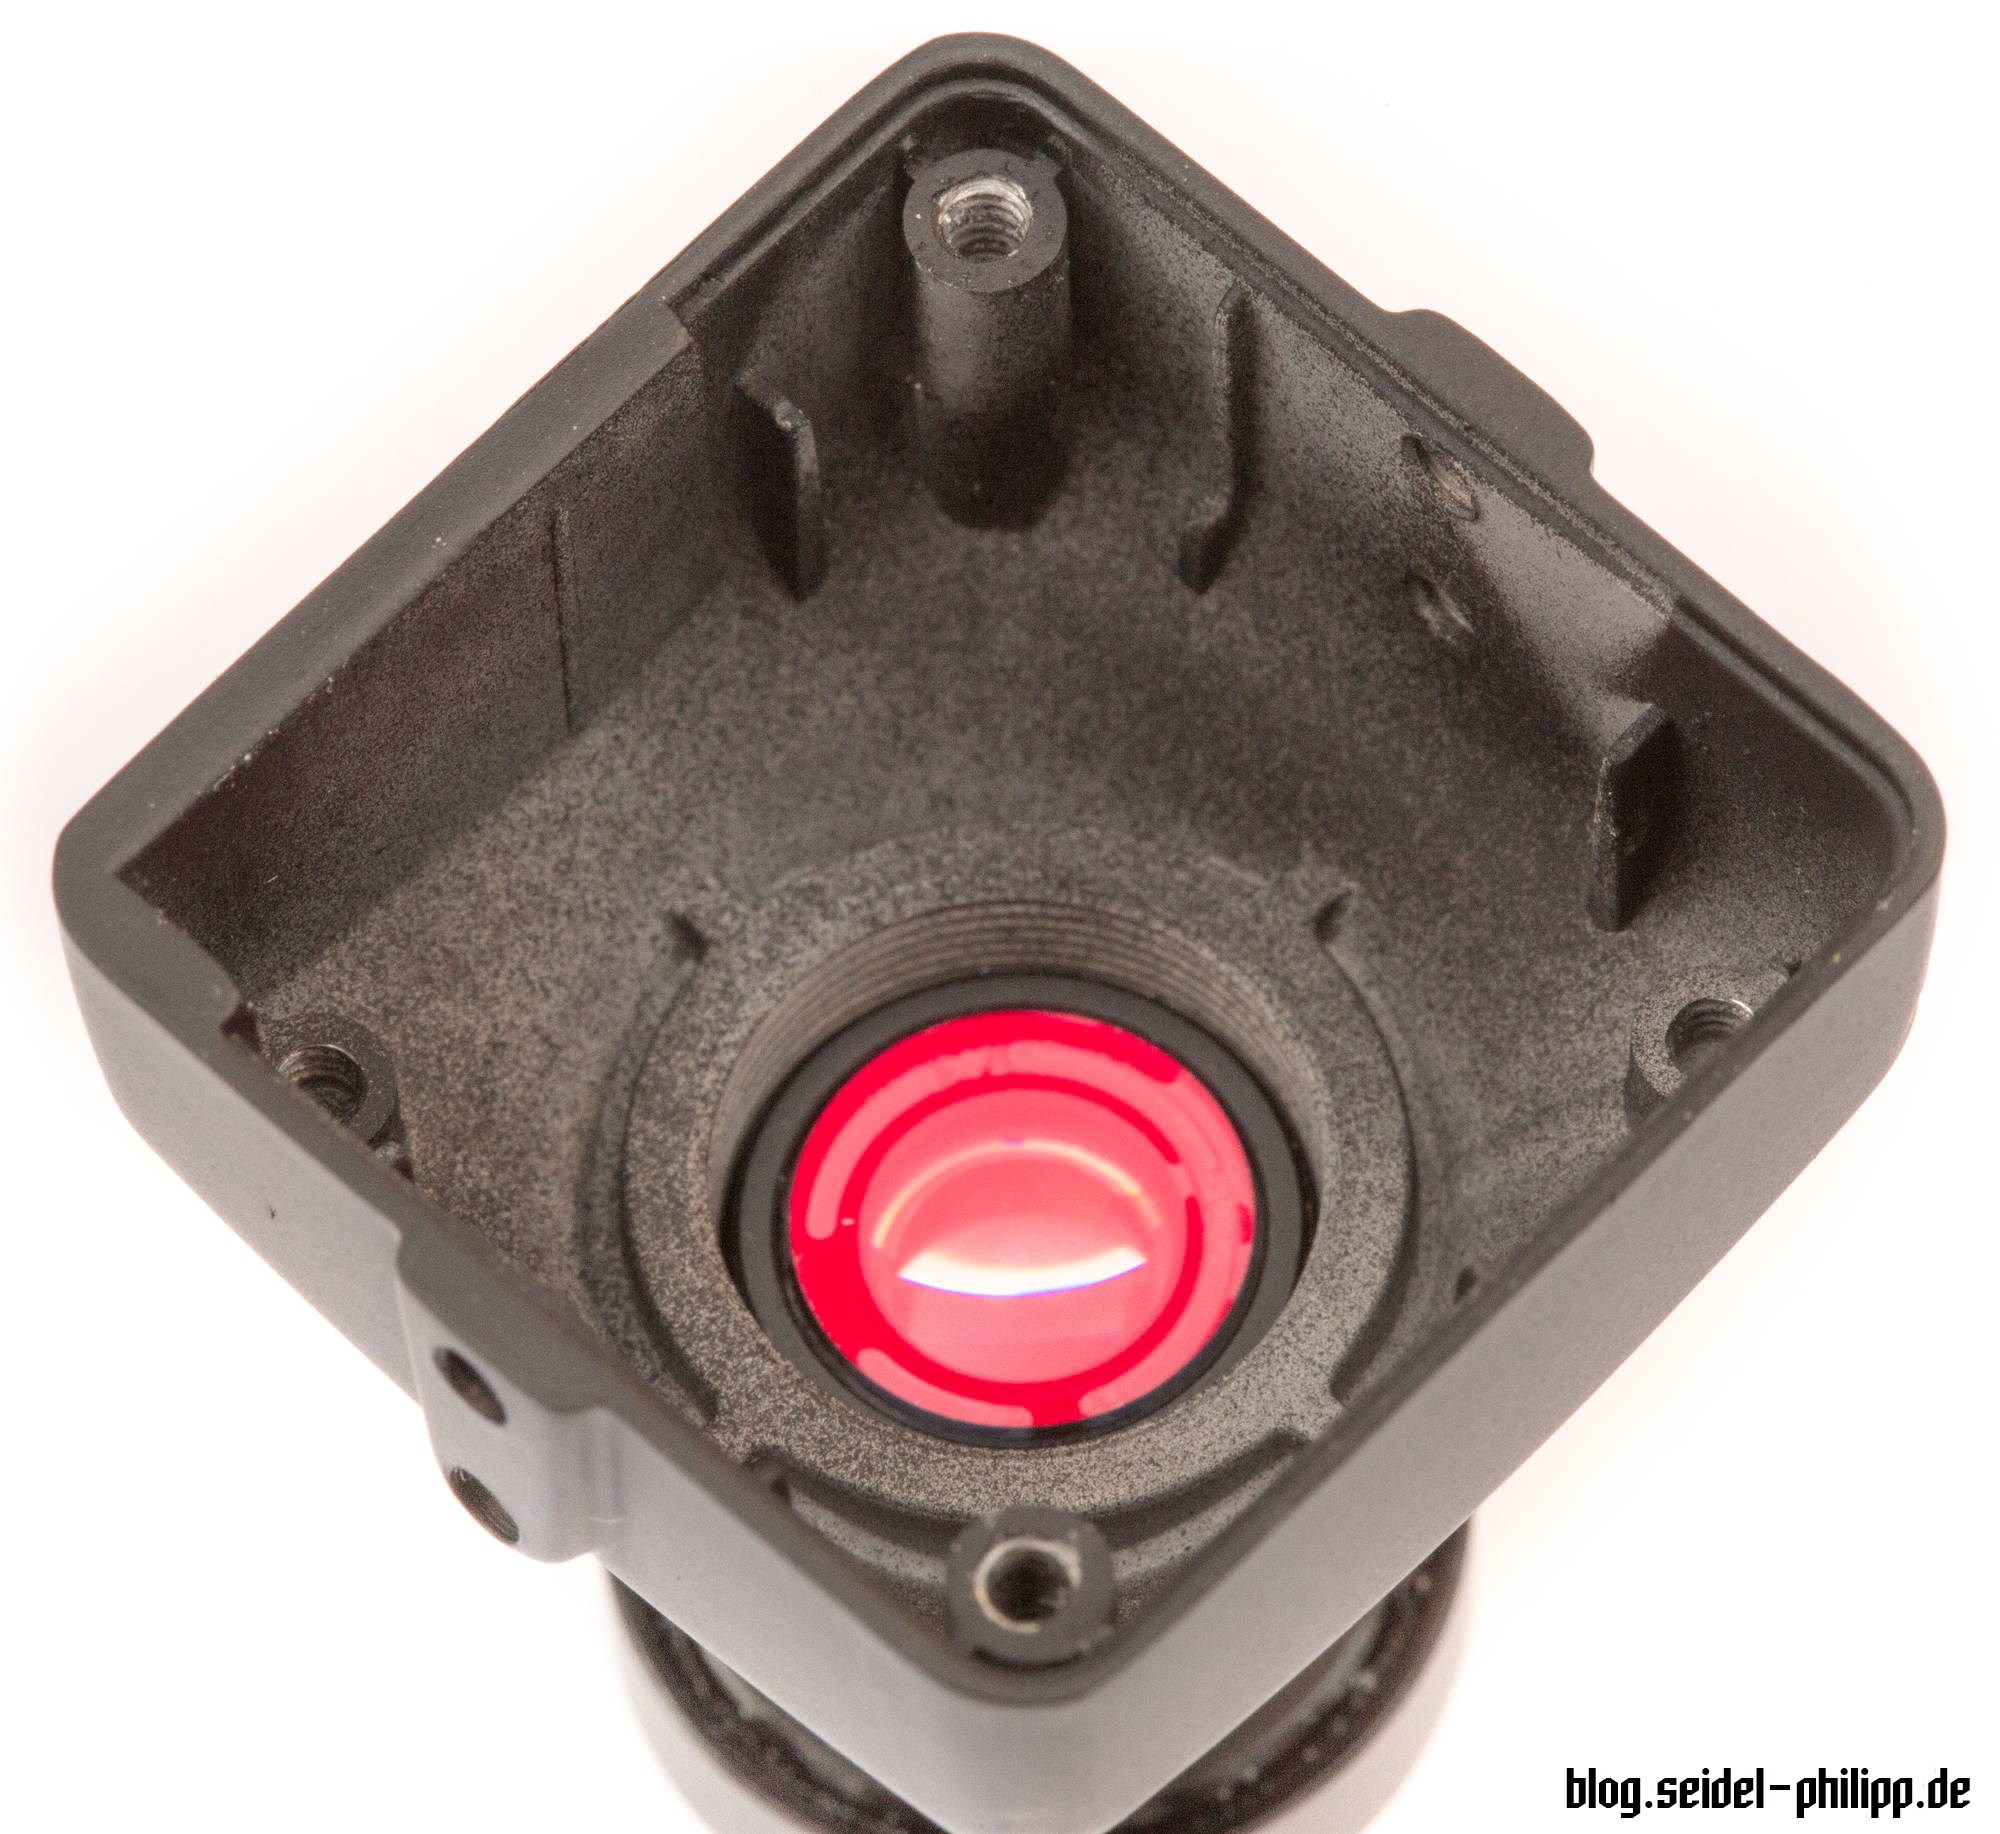
To my surprise, the Eagle includes two boards that are connected with a special plug. The rear-side housing cover has a heat-conducting pad which presses directly onto a processor. The magnesium case features small ribs that engage the circuit boards.
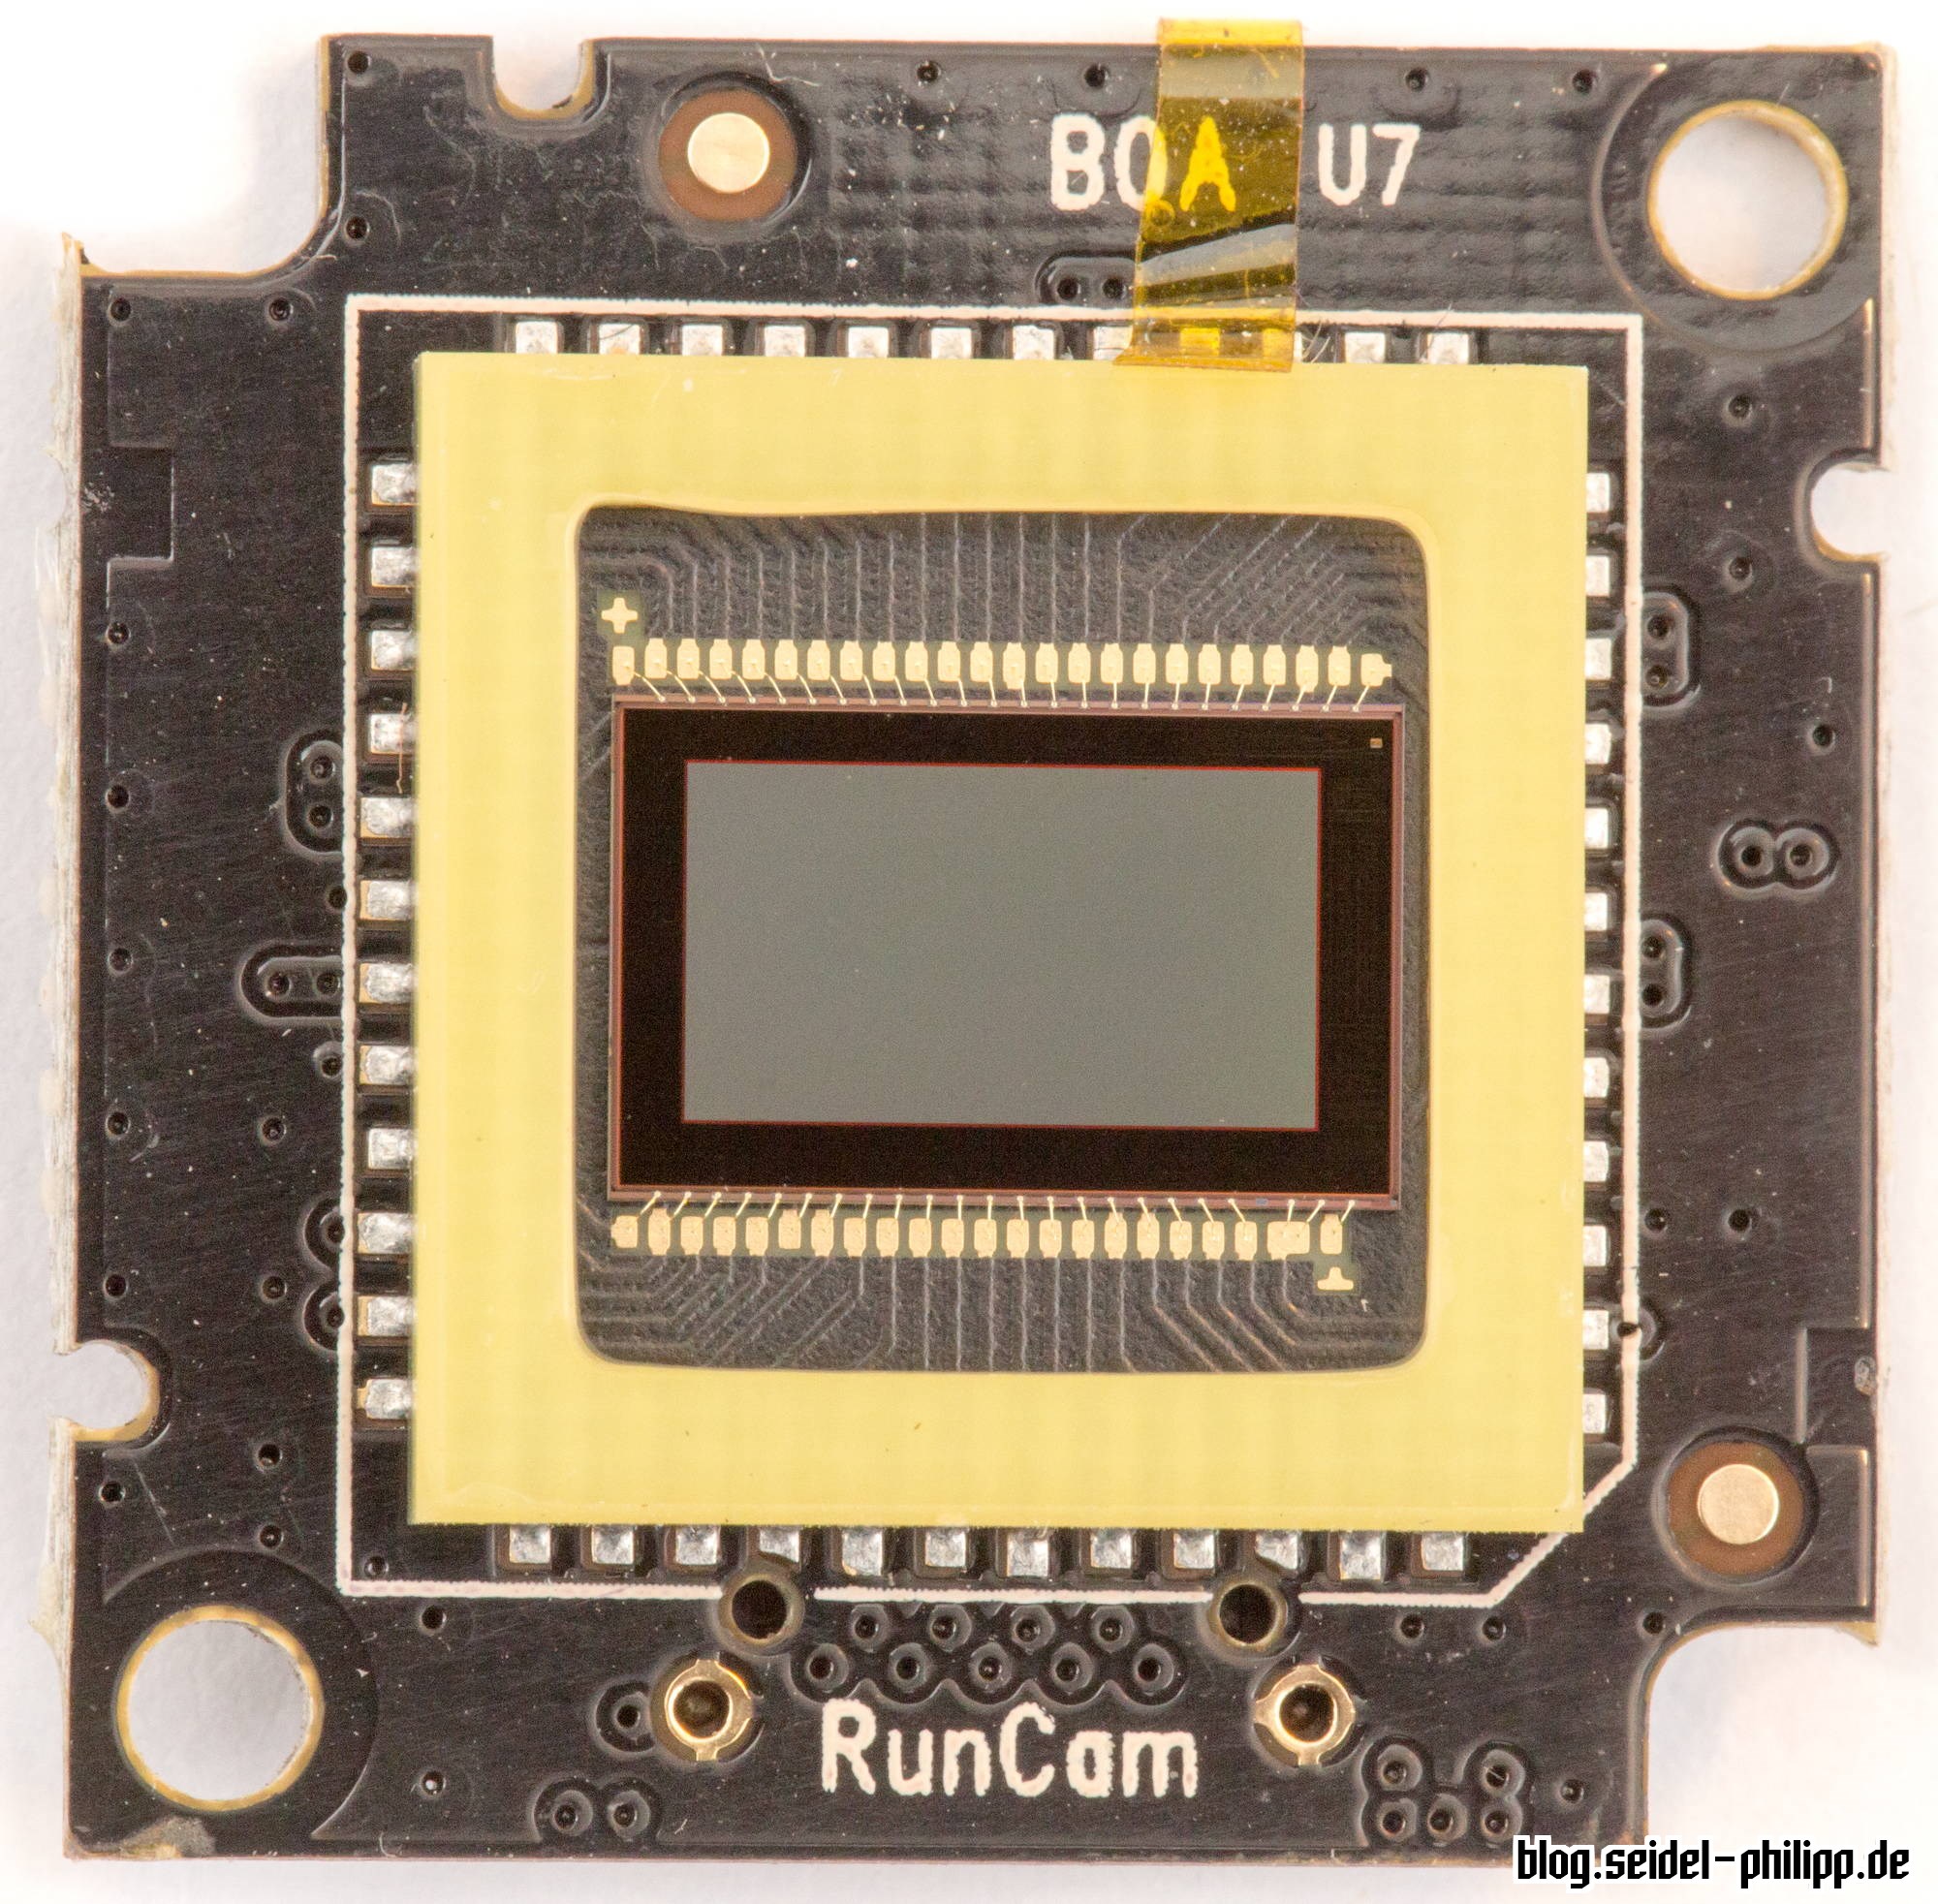
Although this camera is the 4:3 version, the CMOS sensor has a 16:9 ratio. Therefore, only a portion of the sensor for the video image is used.
The supplied lens makes a very good impression. It has a larger rear lens, similar to the frequently used GoPro Hero2 replacement lens. The IR block filter is attached / condensed to its rear lens, not to the sensor.


Mounting
The mounting solution is a metal bracket with angle indicator and a bag of four short and two long M2 screws, two stop nuts, four washers and a small allen wrench. The locking and fixing of the uptilt works well and feels reasonably sturdy. However, as always, make sure not to overtighten the screws.

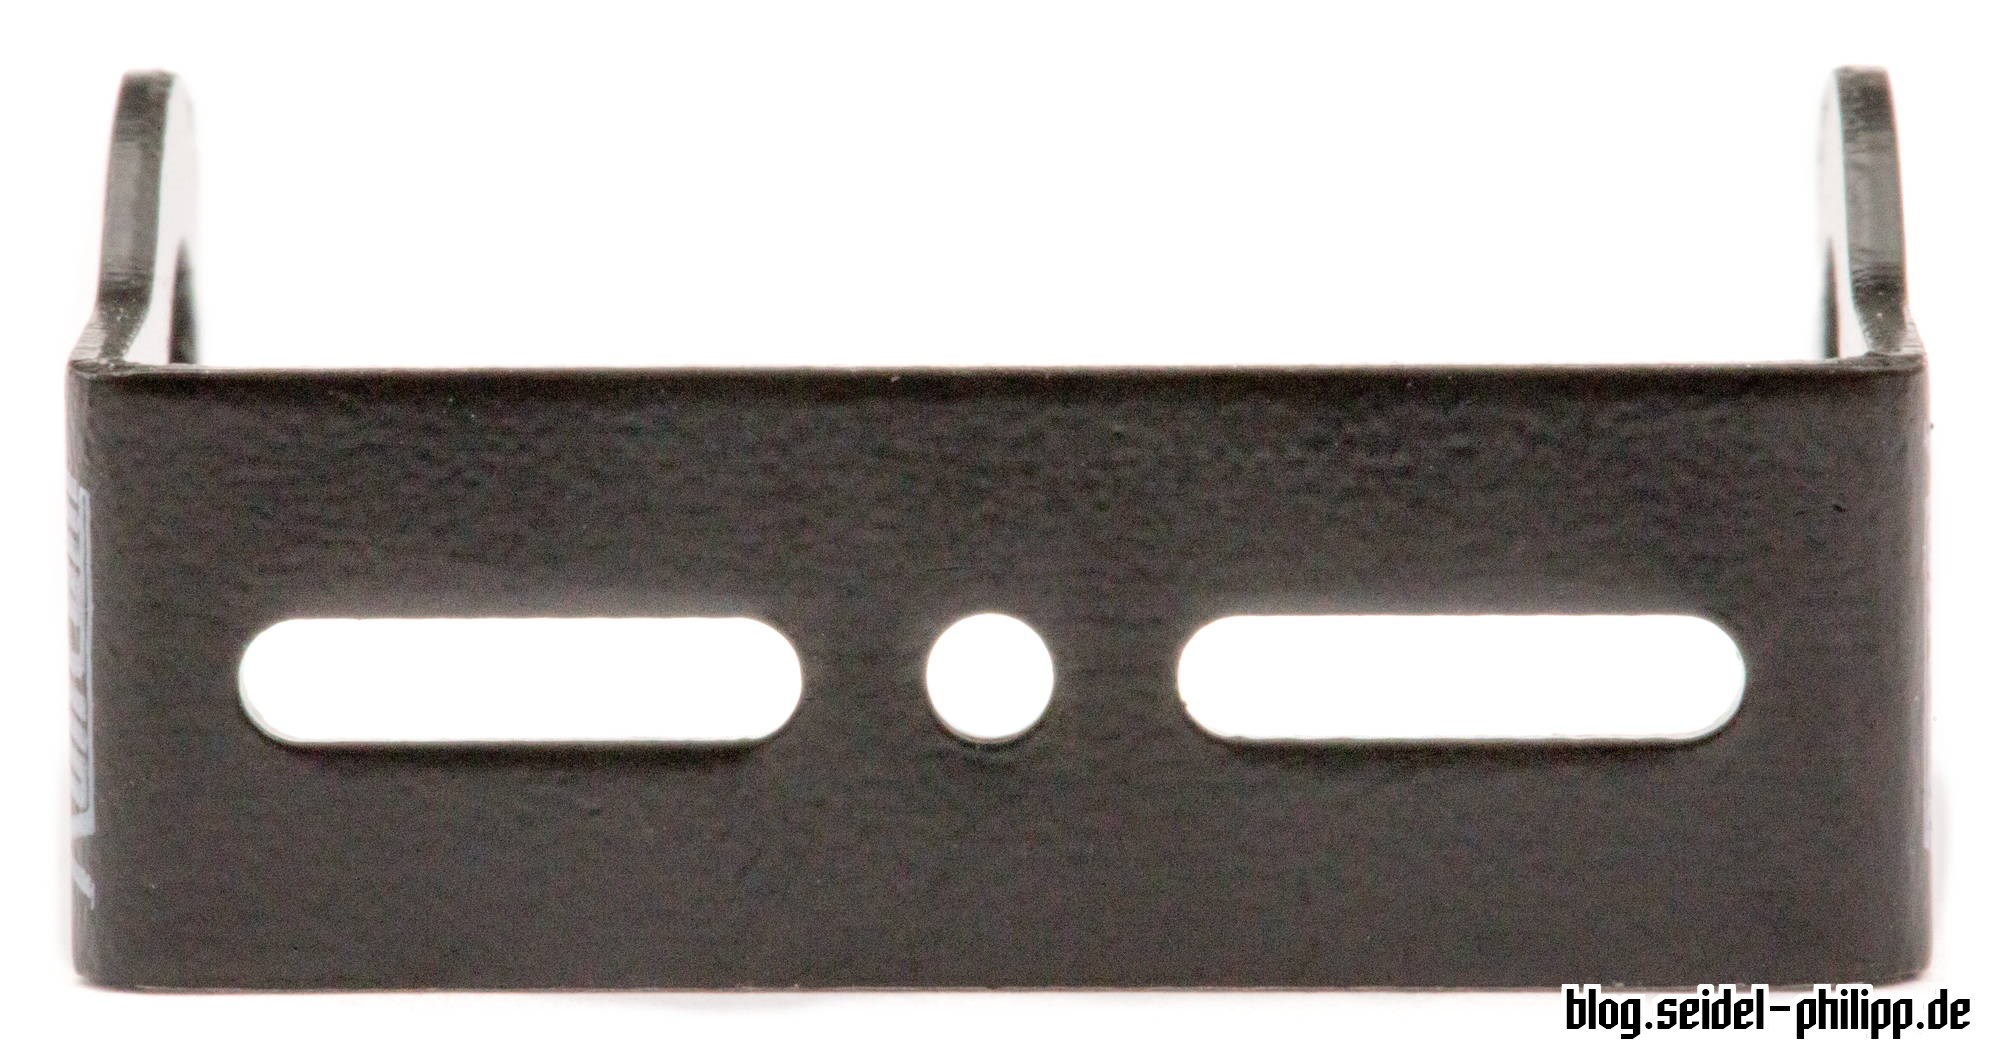
I could not test this mount for flying unfortunately, because the middle hole has 2 mm diameter, instead of 3 mm on the bracket of the HS1177 and the top plate of my Shrike, where the bracket should go. Therefore, I used the bracket of the HS1177:
This is a run through of the complete OSD menu with defaults. For some settings, there are even lower sub-items if switched to the manual setting instead of AUTO.
Comparison to HS1177

For the comparison with the HS1177 I reset both to defaults. The HS1177 could be set brighter to make the picture look slightly more similar. With the Eagle, a lower setting for sharpening could reduce the below-mentioned colorful artefacts and Moiré (see section “Image Quality” below).
The included lens was mounted on the Eagle, on the HS1177 the GoPro Hero2 replacement lens. The recordings were made directly after each other, not simultaneously. The rotating motion with the mailbox was slowed down afterwards.
My observations:
– 0:03: the HS1177 apparently uses spot-metering measurement, while the Eagle uses a larger area. It corrects the exposure earlier, while the HS1177 reacts when the center area is directed to the sky.
– 0:05: very strong Moiré pattern on the metal lattice door with the Eagle
– 0:14: Colorful artifacts (shimmering?) on the bicycle frame at Eagle, Moiré pattern at the ventilation grid in the background
– 0:16: HS1177 shows less detail in the clouds
– 0:22: with HS1177 larger white area around the sun, with Eagle again colorful artifacts on tree branches
– 0:37: with Eagle you can see the three-dimensional spread of the branches much better than with the “simpler” image of the HS1177
Image quality
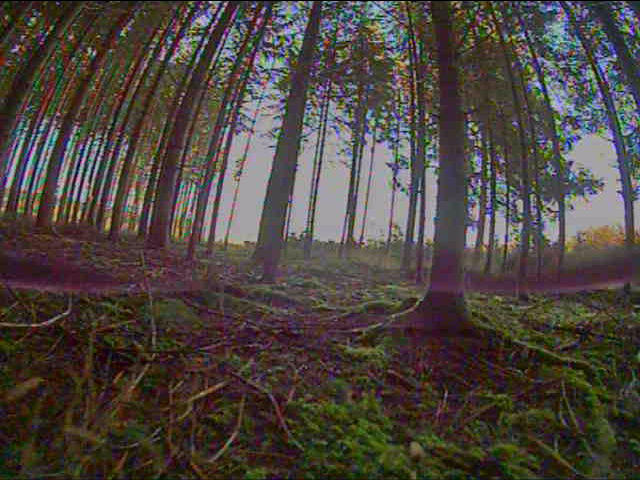
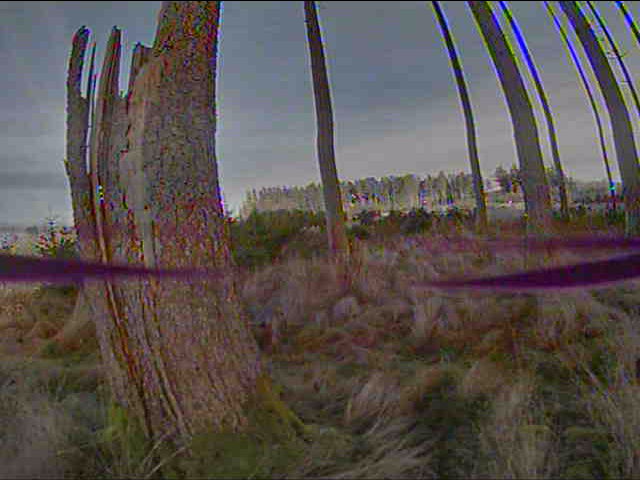
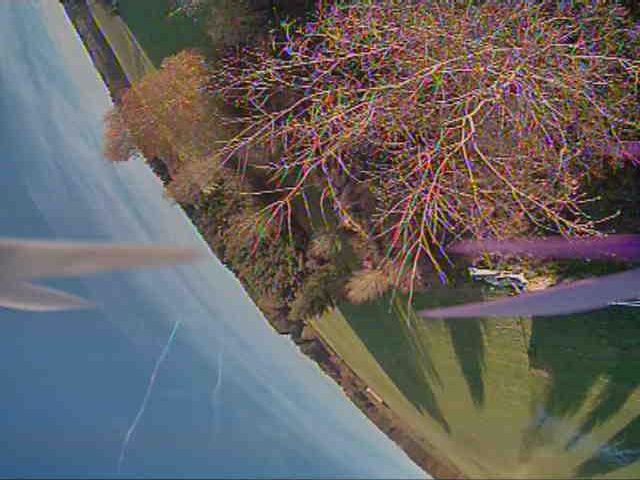
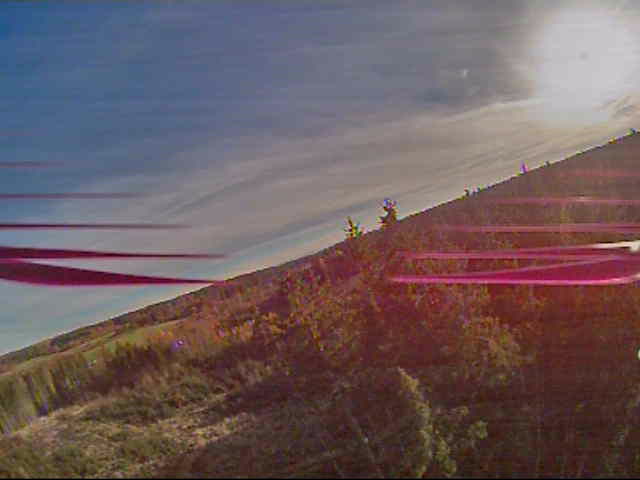
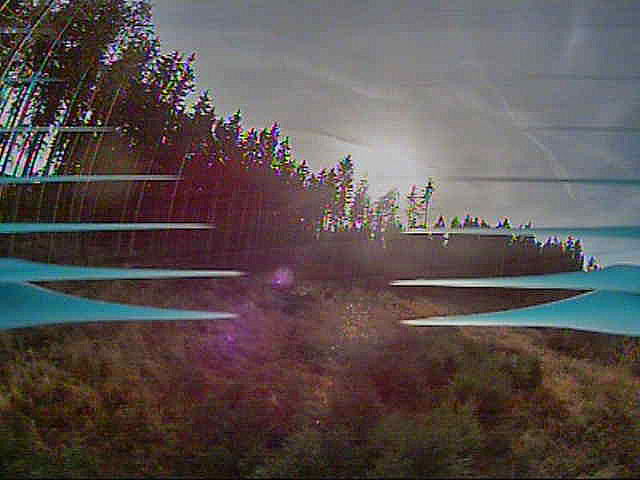
The most striking thing about the Runcam Eagle are the natural colors and dynamic range. The colors make FPV flyingx much more pleasant, in my opinion, you get more the feeling of flying around and you forget all the technology involved (“it’s old fart analog video” becomes “I’m there in the air”). You can see the sky with detailed clouds. Fine leaves. Maybe some branch will appear sooner (in my experience: always too late anyway). The dynamic range capturd helps enormously with the sun close to the horizon (as in the two following videos) and shady corners, which beconme much more enticing to explore. Wet, dark ground in the woods becomes visible and detailed. What the Runcam Eagle will give you is more oversight and less guesswork about the surroundings. This lends to a much more relaxed flying experience and thus more possibilities.
Below are two sample flights divided into three videos:
Sometimes these lines appear when the sun is in front of the lens. They aren’t a fault of the camera, just the shadows of the propeller blades:

In the flight videos I have “Sharpening” in the OSD menu set to level 5 and the “Edge” setting below it set to 10. By default, these are both set to “AUTO”, which in my experience causes the aforementioned colored artifacts:
So these settings are the more important ones. In my test flight videos the Eagle has had the GoPro Hero2 replacement lens, so flares aren’ fault of the Runcam lens, but it might have them as well.
A effect to be attributed to the Runcam Eagle is the representation of the propeller blades. Unlike the HS1177, the blades do not show up in some frames only, but are displayed at several positions in each frame, depending on the speed this becomes less noticeable. In darker light conditions, however, they blur again (see above, second example video in the forest).
HQProp 5×4×3 with Runcam Eagle
RaceKraft 5051 with Runcam Eagle

RaceKraft 5051 with HS1177
All of these example shots were taken at moderate throttle positions, not idling etc., to make the differences more pronounced.
Latency
So far, I haven’t had any extreme flying conditions that would call for quick reactions. Never the less, it felt as much direct and immediate as the HS1177 does, so the slightly higher latency of the Eagle is not a point against it for me. Joshua Bardwell has a longer video this topic, with the same conclusion:
[youtube https://www.youtube.com/watch?v=gOf4WNnWOh8&w=560&h=315]Conclusion
Analog video recording technology in our hobby has not yet reached a final state. Improving the live FPV feed means improving the overall experience, and this camera sure seems to do exactly this, with minor quirks attached. With the Runcam Eagle, digital FPV—at least in its current form—has lost it’s appeal for me, as this camera shows us what’s possible with analog.
2 Responses
[…] Vorheriger Beitrag Runcam Eagle 4:3 800 TVL Review […]
[…] in depth review on Philipps blog. Worth […]