
TS100 – portable soldering iron

![]()
Inhaltsverzeichnis
In this article, I introduce you the TS100, a super handy and surprisingly powerful soldering iron. It is particularly suitable as a portable device for fast and easy repairs on the road.
Unboxing and Test

Mit dem Laden des Videos akzeptieren Sie die Datenschutzerklärung von YouTube.
Mehr erfahren
Where it is available
The TS100 soldering iron is available on the chinese platform Banggood. The existing „Upgarde“ version, contains, in my opinion, only a little more accessories.
What is in the box

- 1x soldering iron
- 1x soldering tip
- 1x Allen key + 2 screws
- 1x brief manual
Accessories
- Power Supply (Banggood / Amazon)
- Cable for XT60 connector
- T-stand with sponge
- colored replacement housing
- various soldering tips
- manual
- original firmware
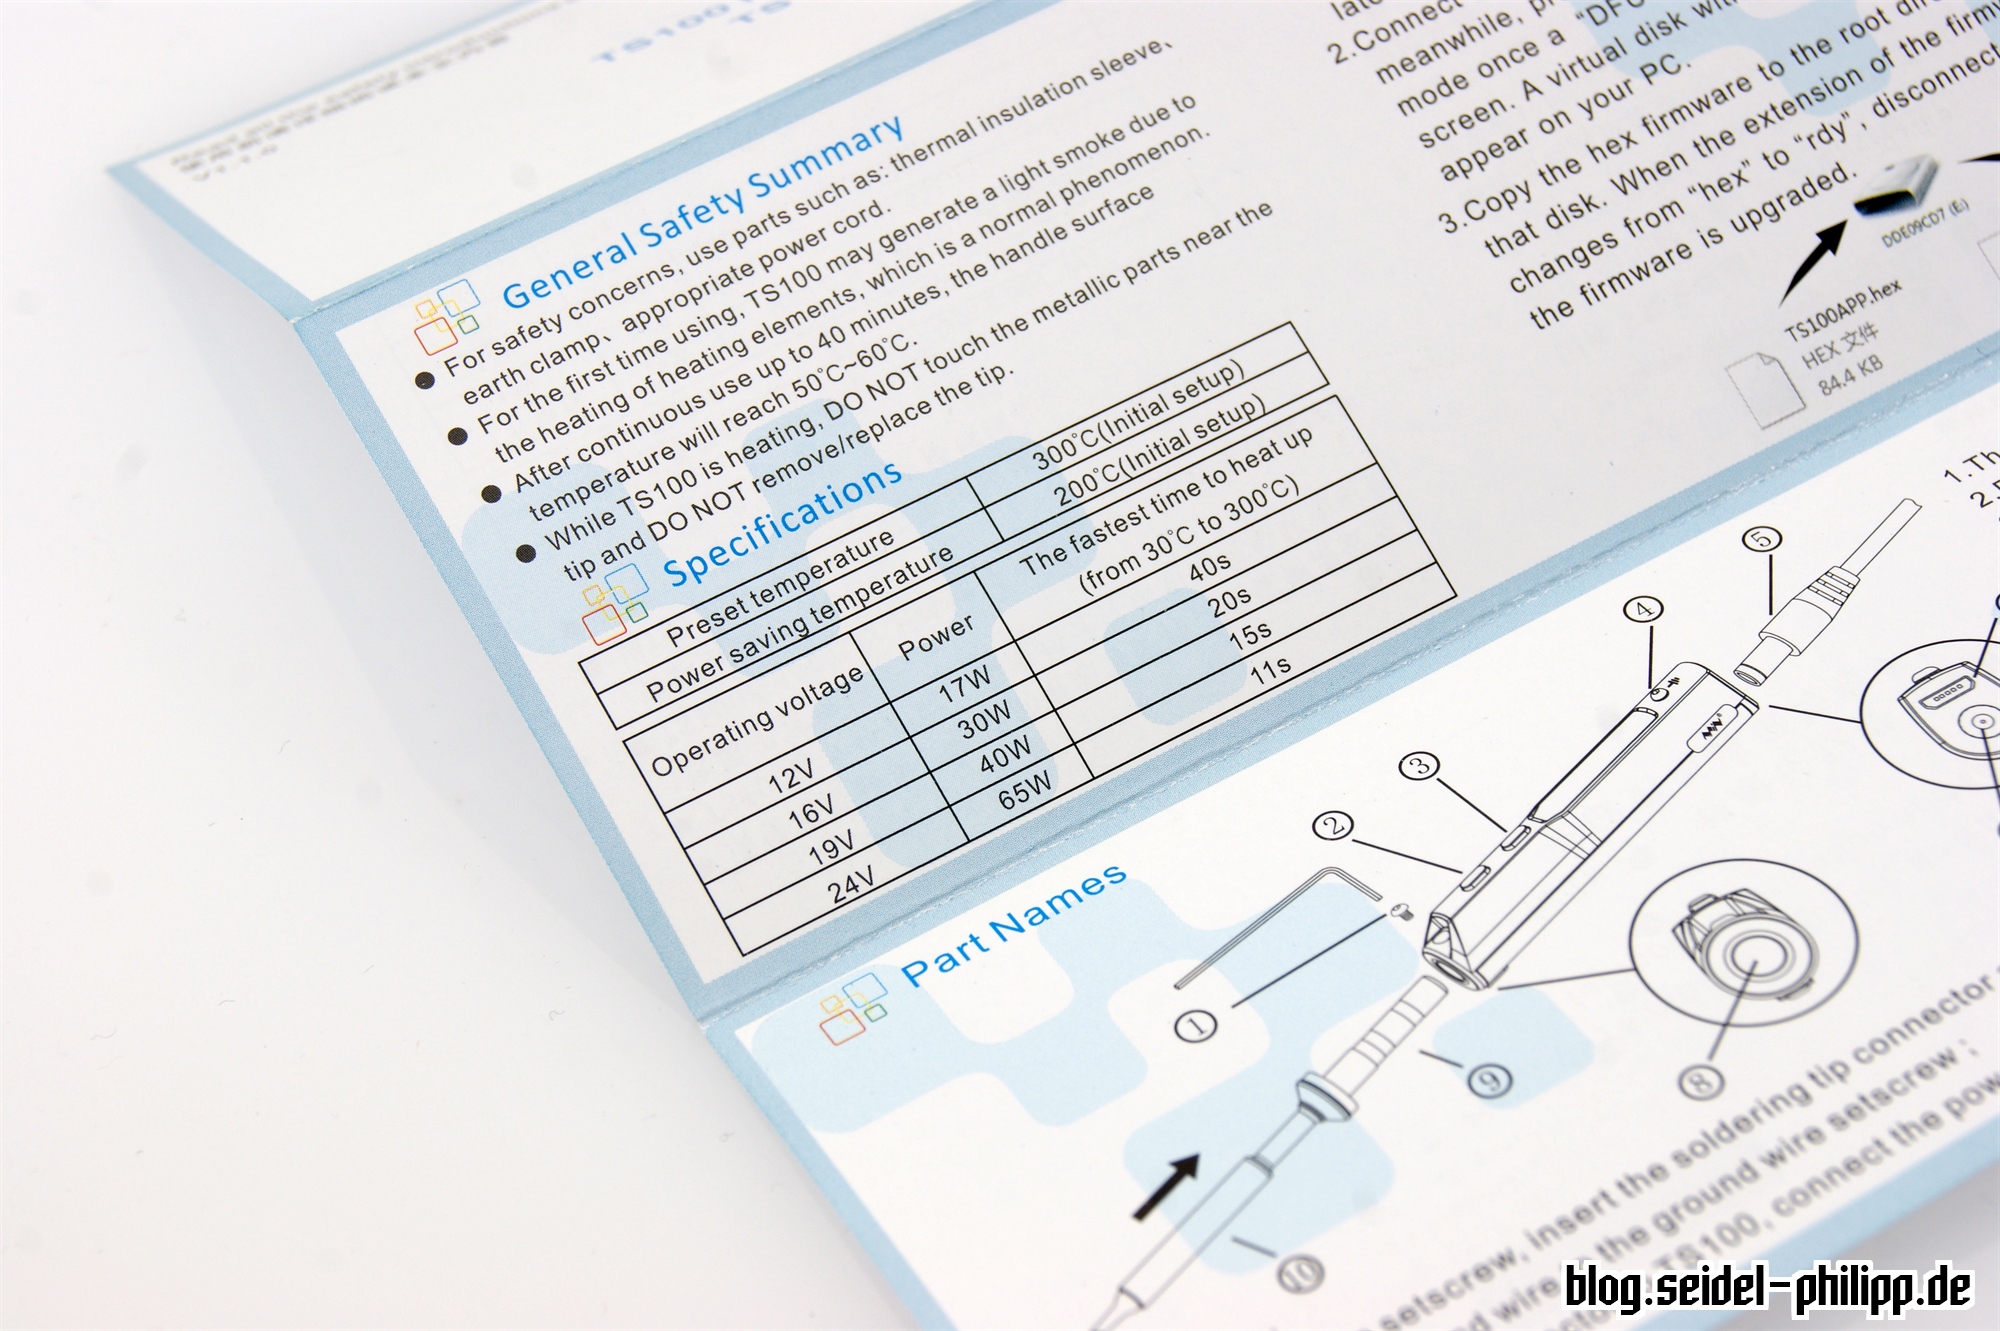
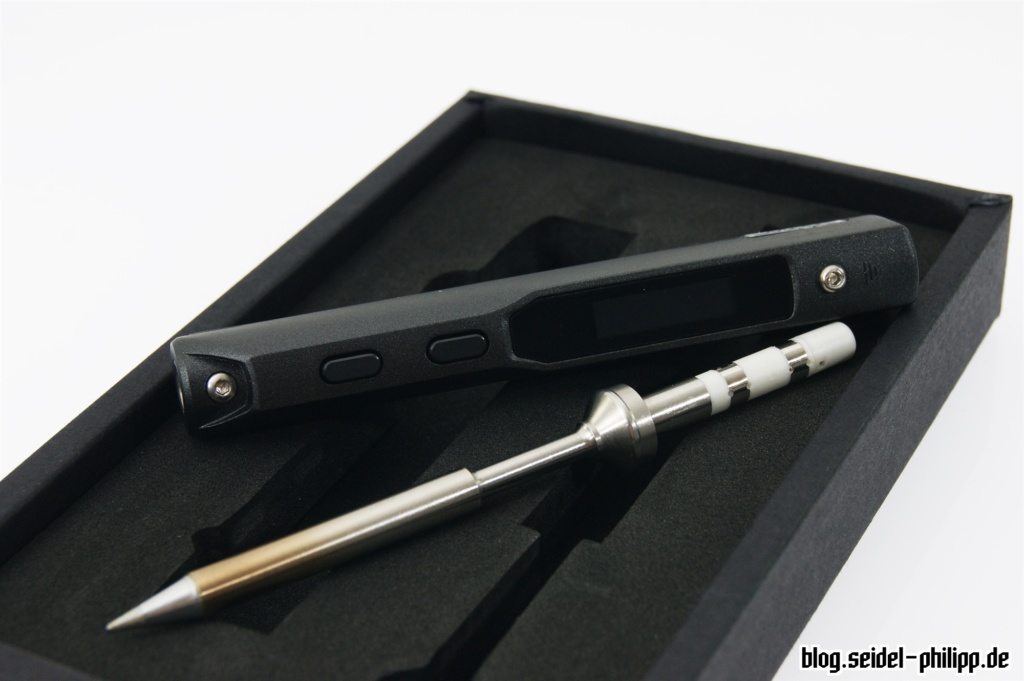
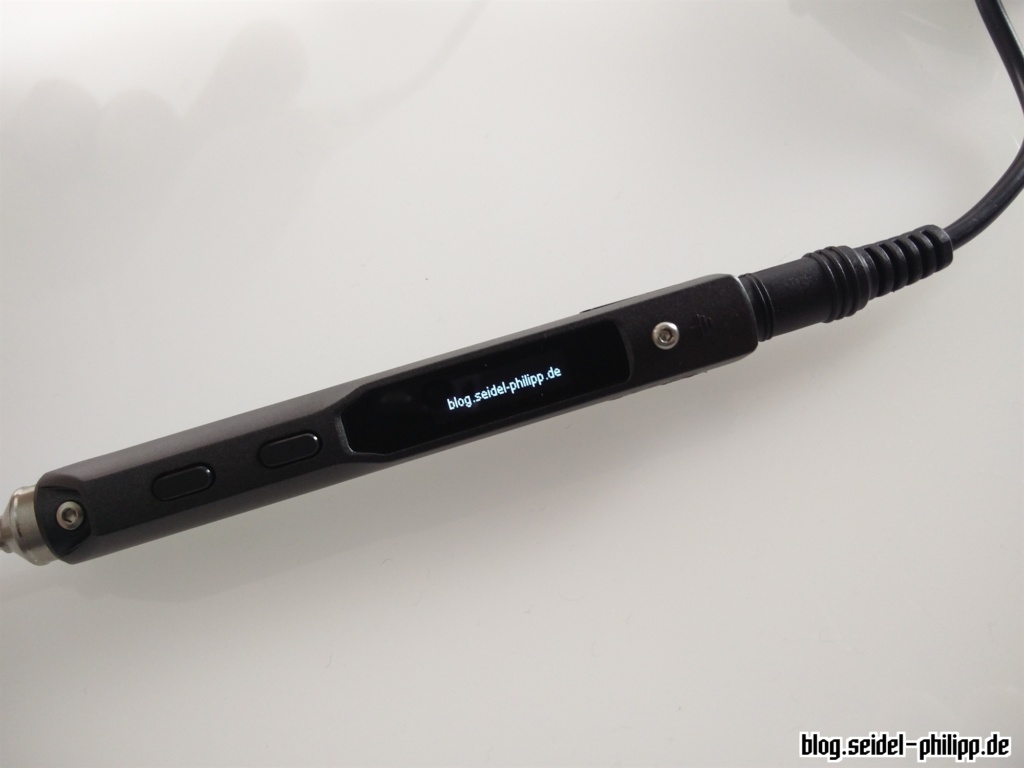
TS100 soldering iron
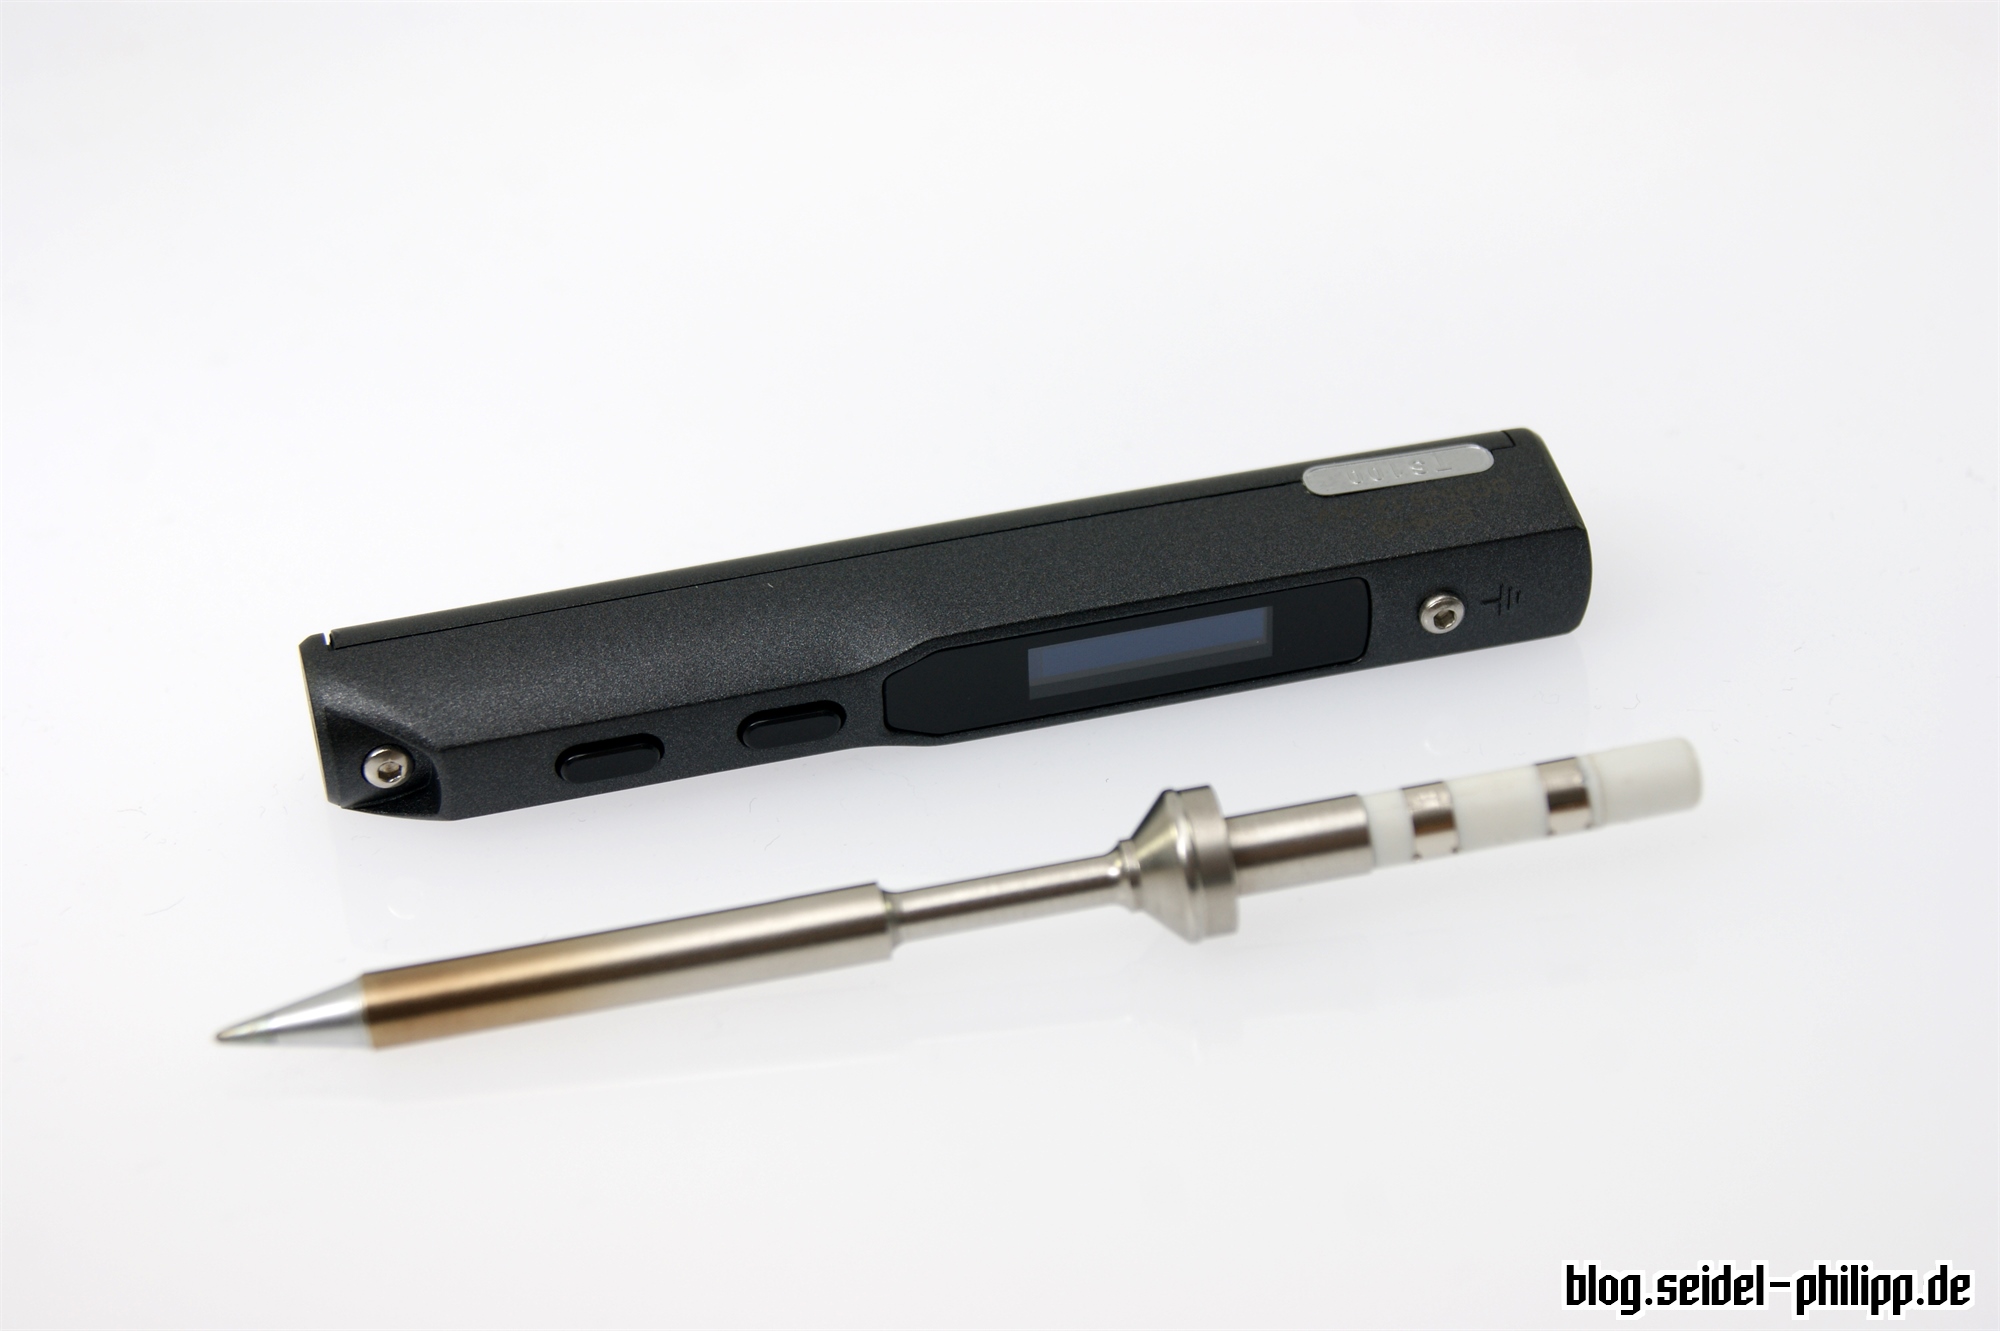
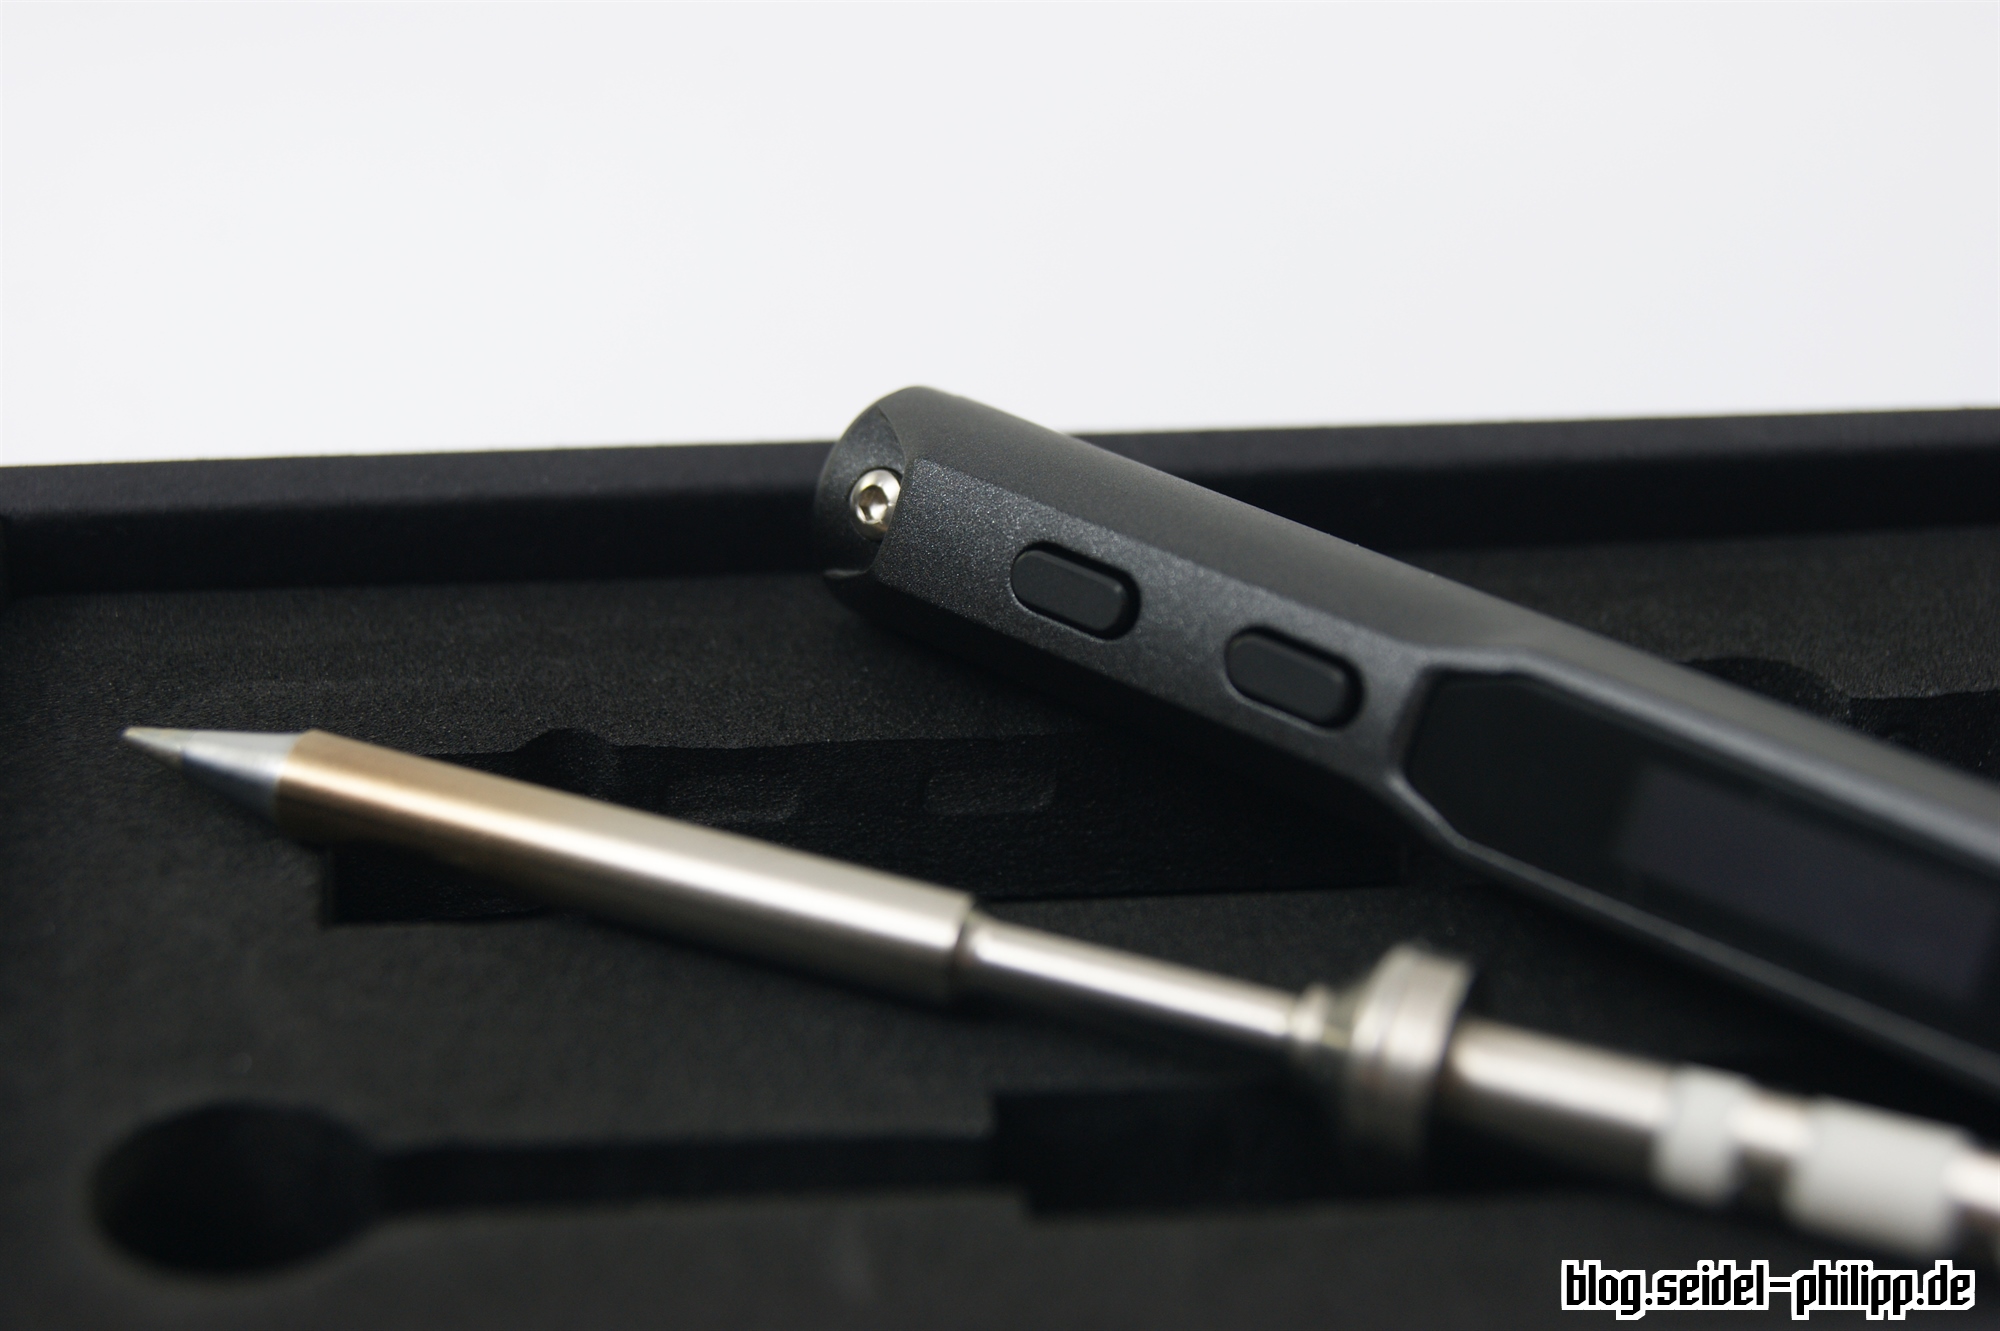
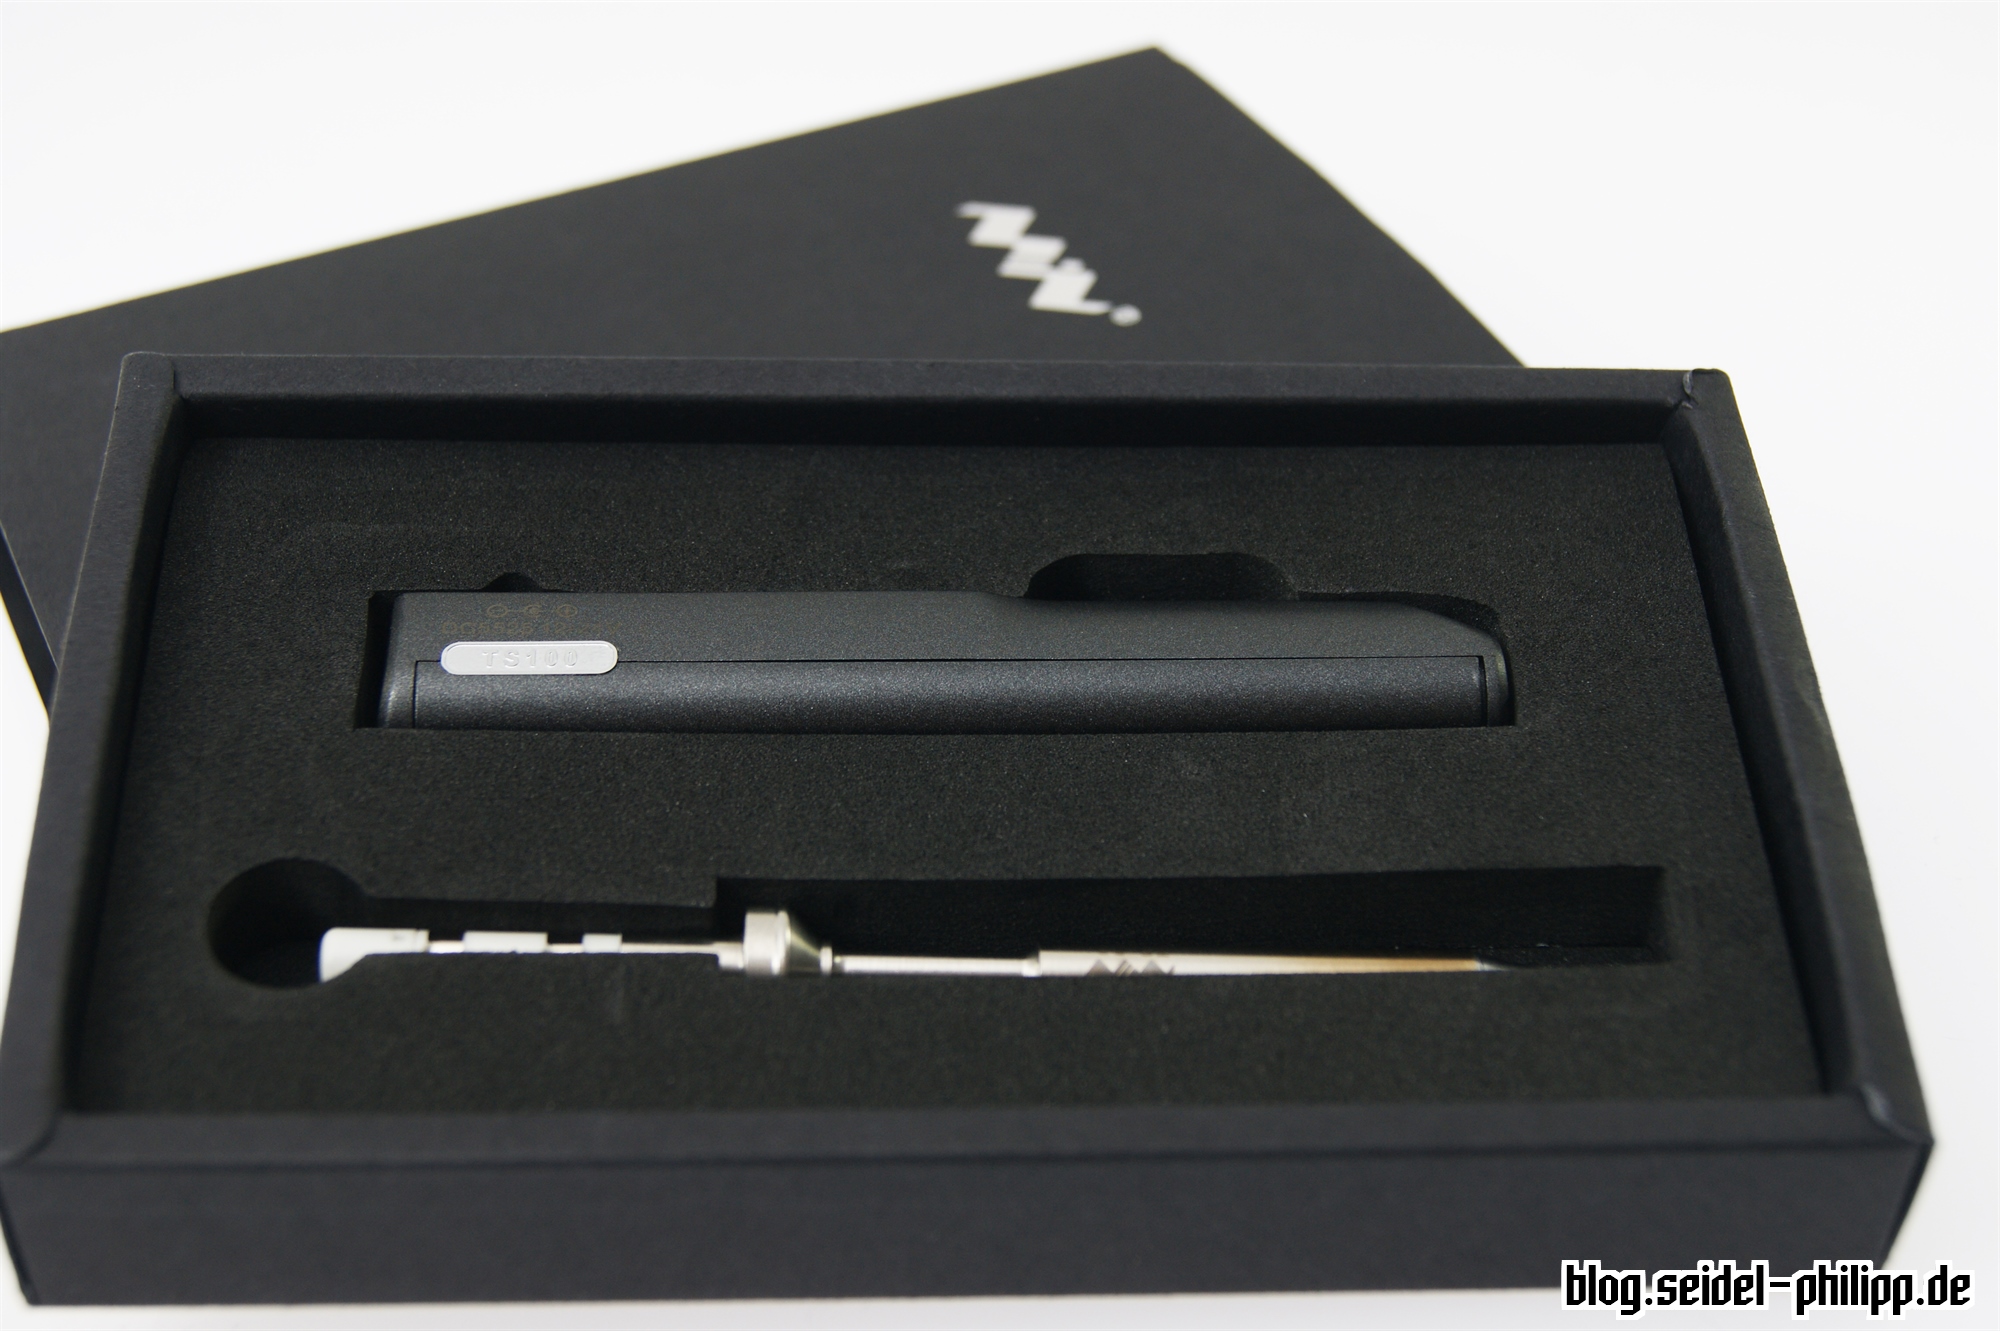
The TS100 soldering iron itself is very small and compact and fits, disassembled, easily into any jacket pocket. It can be operated with a voltage of 12-24 V. The higher the voltage, the more power the soldering iron has. With a 6S LiPo (approx. 22,2 V bearing voltage) it reaches the maximum temperature in only a few seconds.
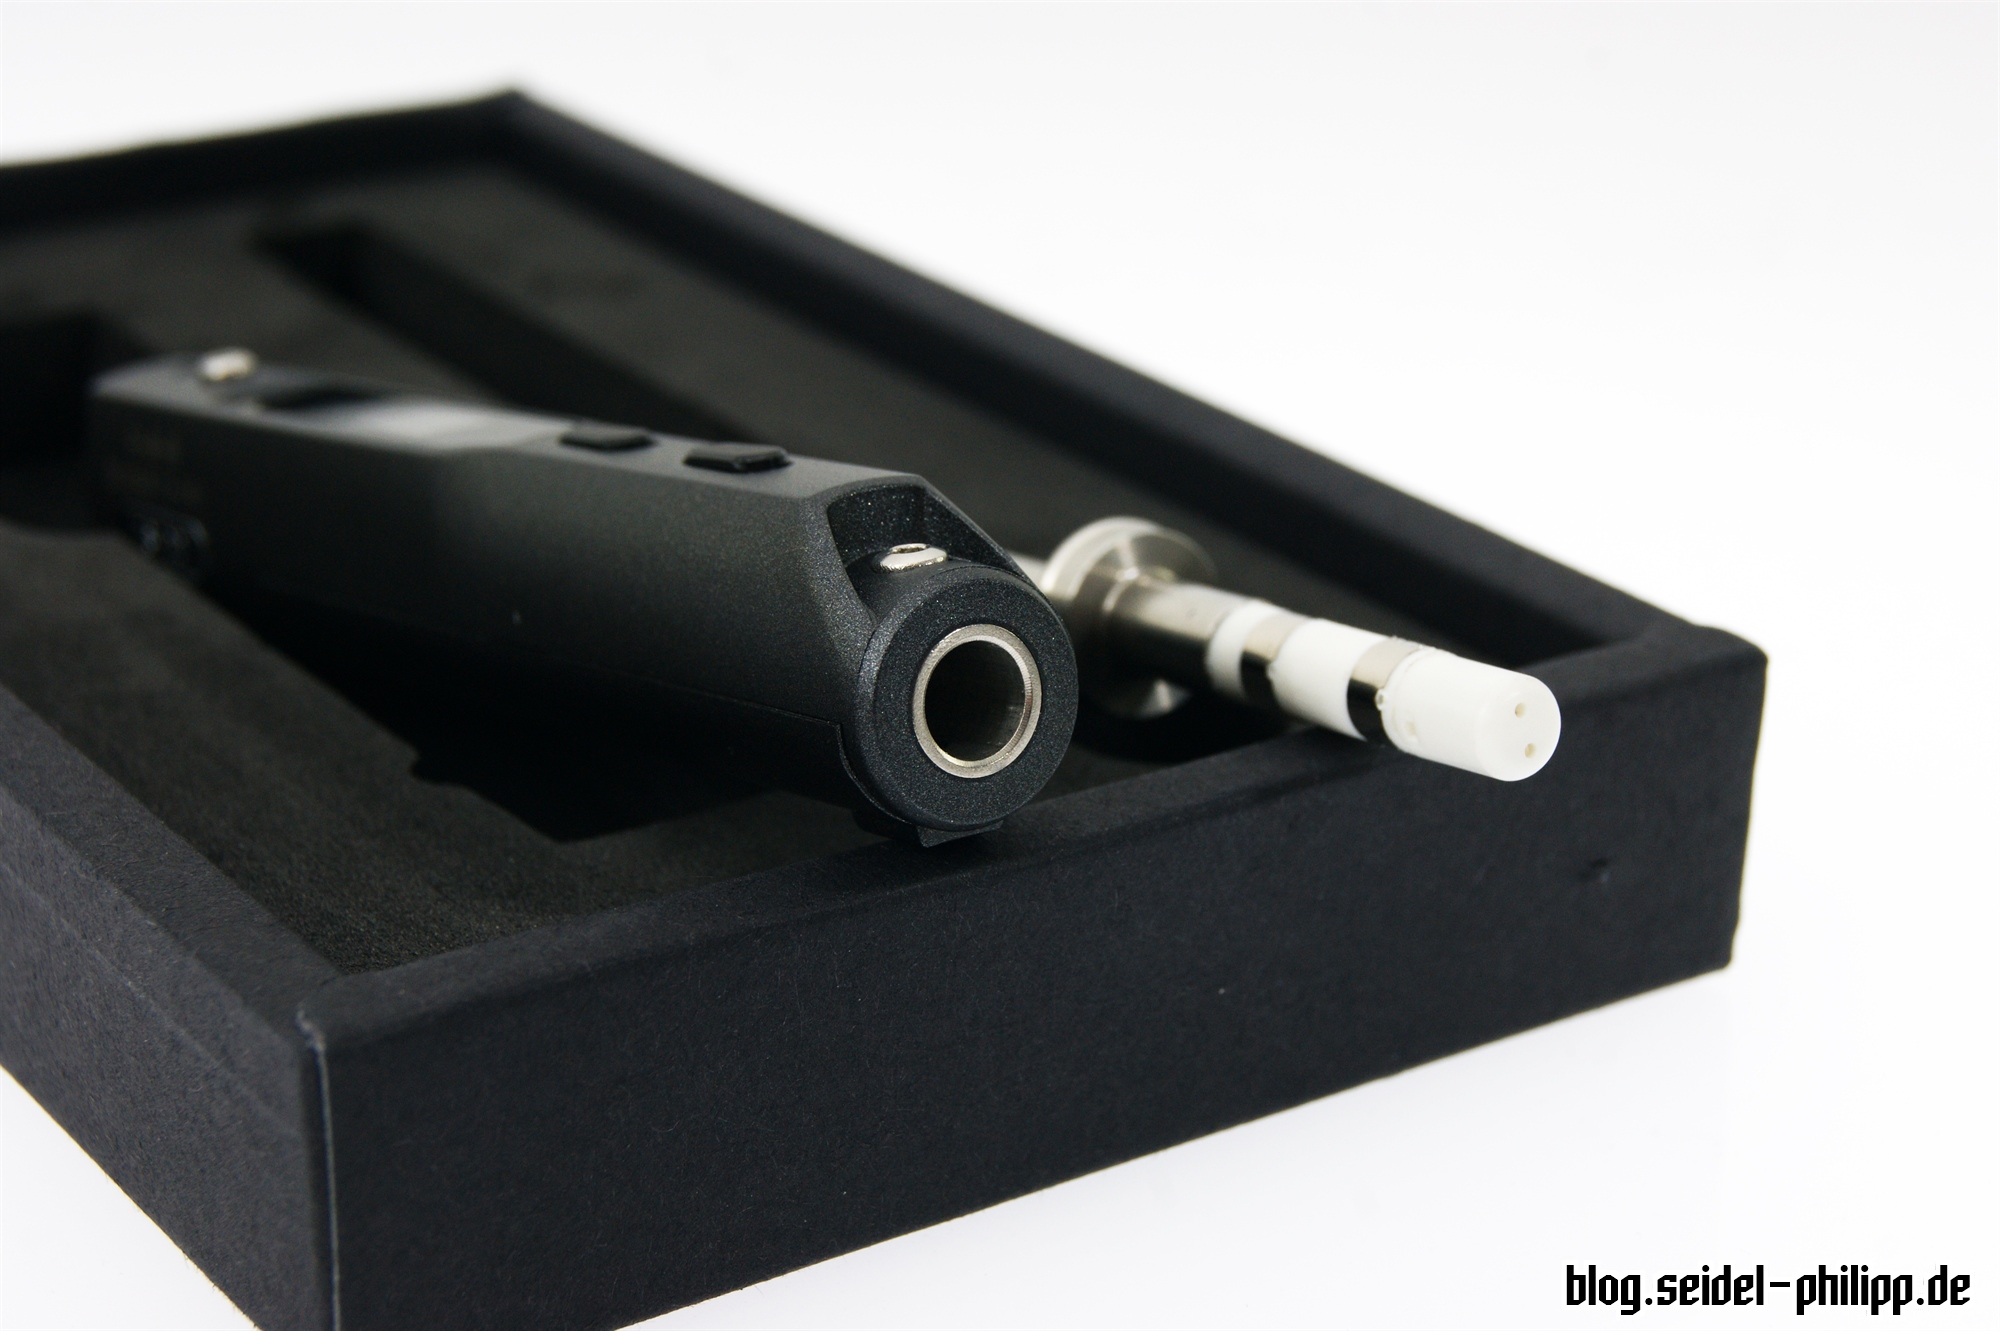
The supplied soldering tip B2 is not too fine and not too thick. Thus, it is also suitable for making larger things, such as, for example, XT60. This makes the tip a true all-rounder.
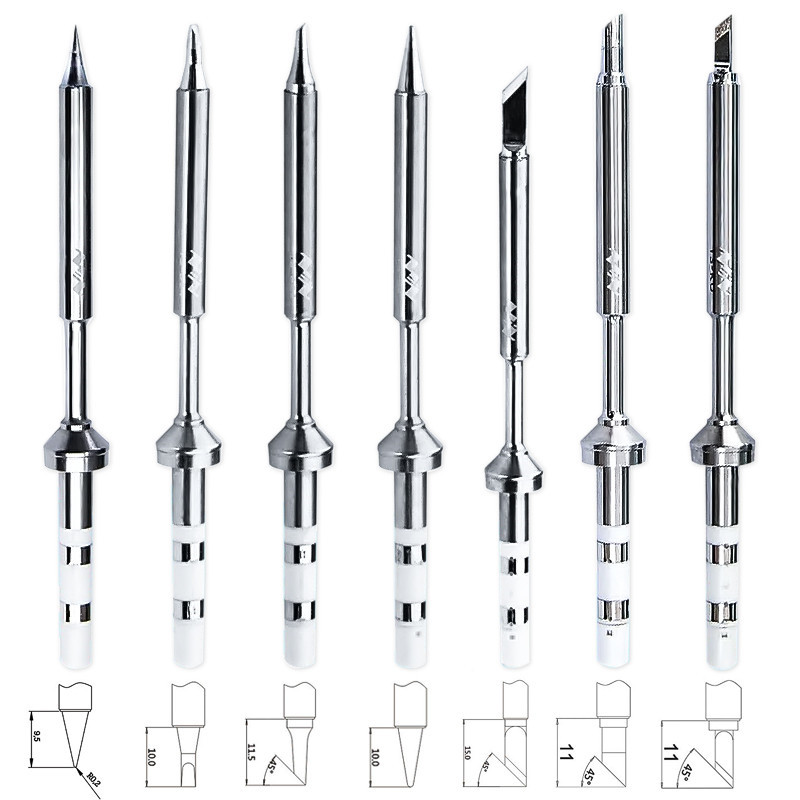
Soldering tip
There are different soldering tips to buy.
Operating
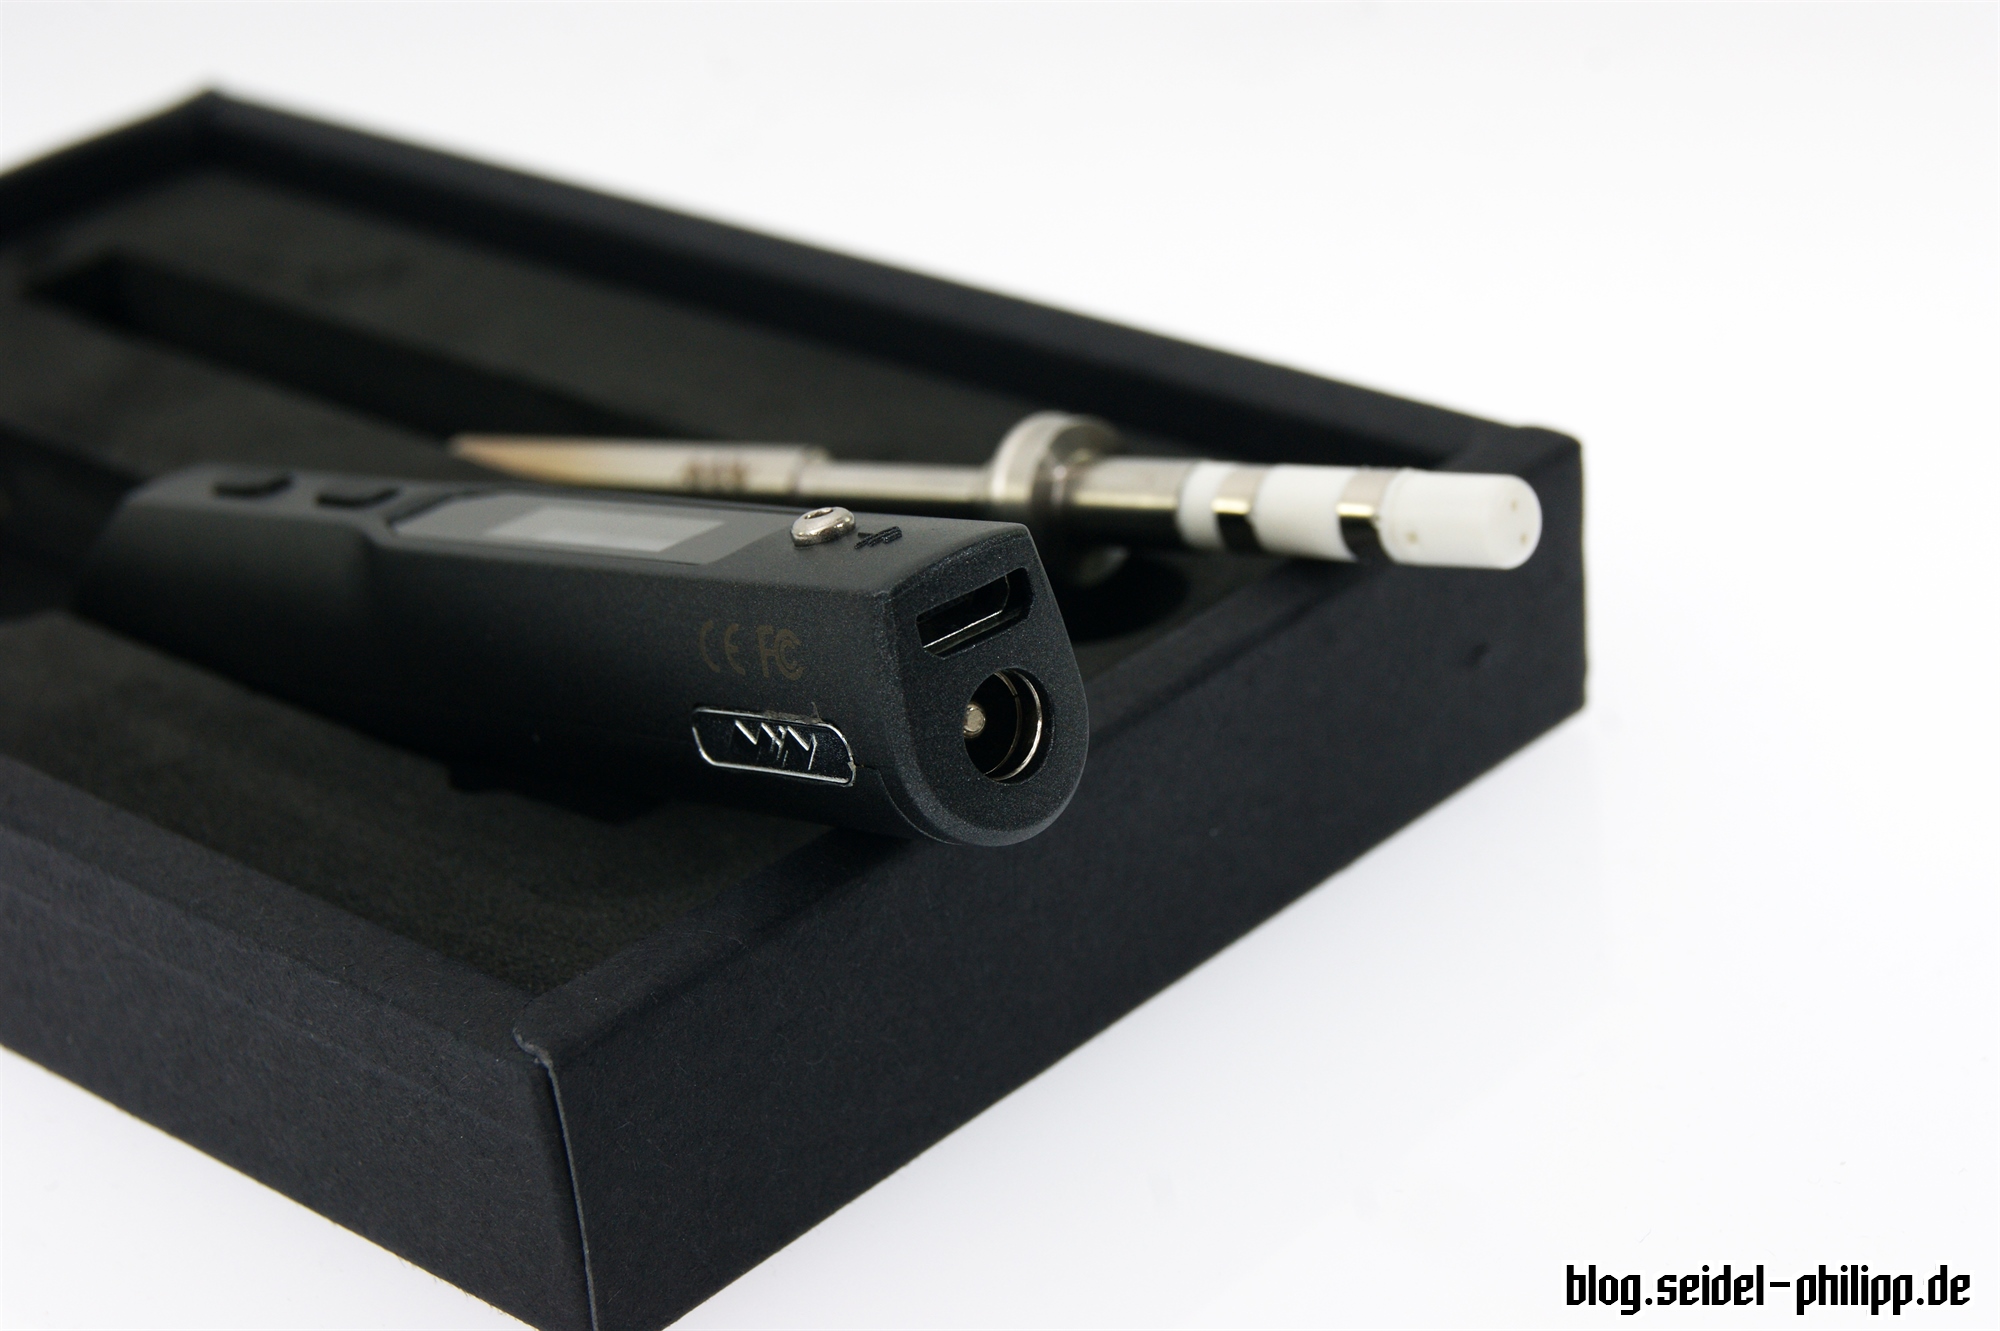
The TS100 can be operated quite intuitively. After the power plug is plugged in, simply press the front button. The soldering iron regulates immediately to the set temperature.
The temperature can be adjusted in 10 steps using the two knobs.
If you place the soldering iron on the side, it automatically switches to the standby temperature after a defined time interval.
The working temperature can be restored with a simple push-button pressure and can be further processed at the same time.
Power via power supply
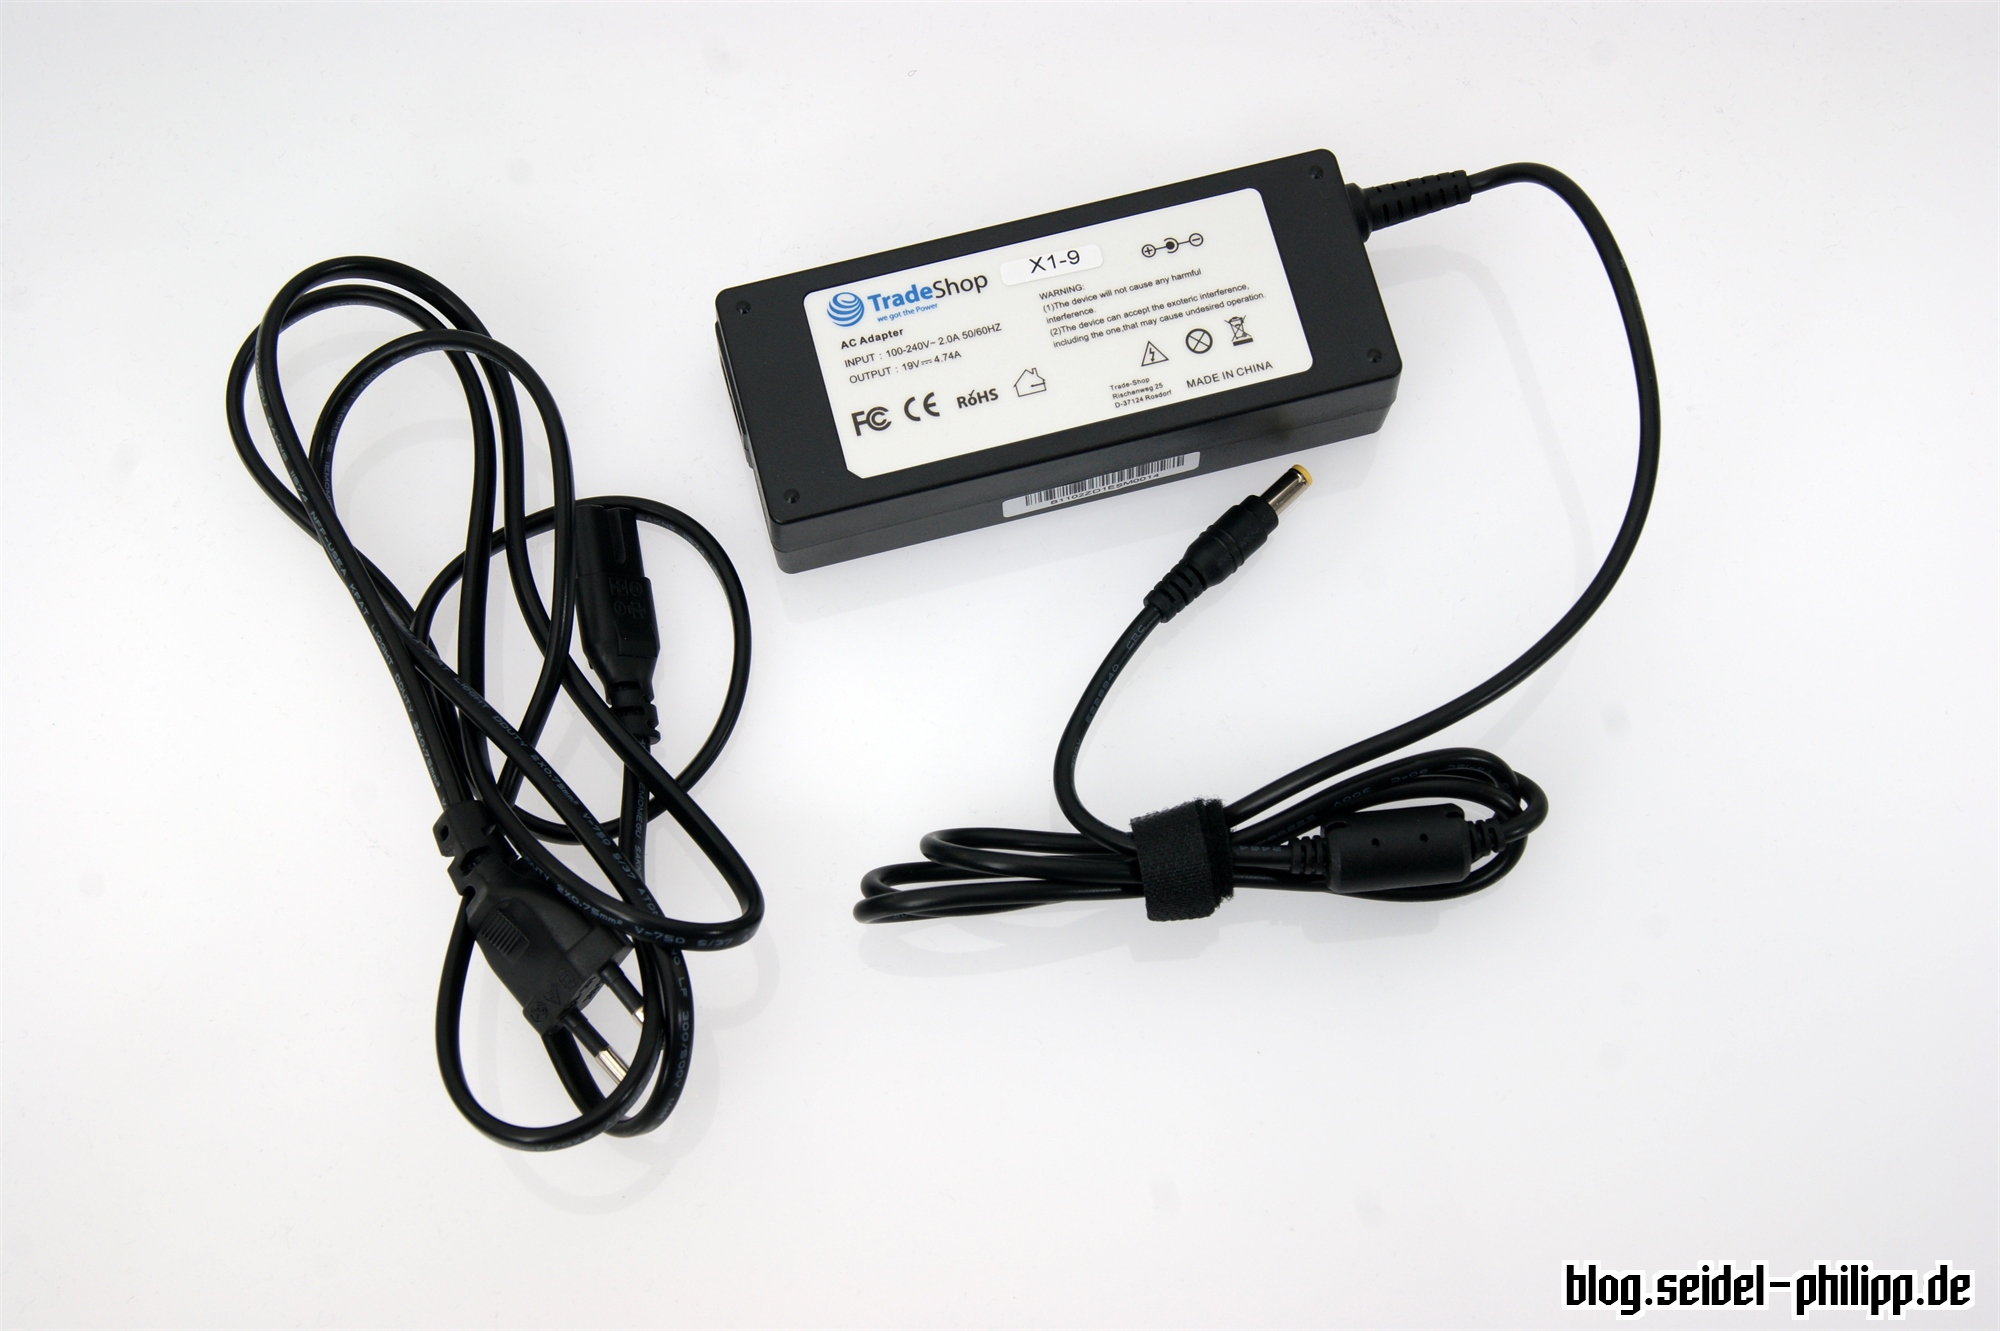
For the use of the soldering iron at home, I bought the following power supply (Banggood / Amazon). This must have a 5.5 / 2.5mm DC plug. You can easily go up to 22 V with the voltage, but you have to make sure that the soldering iron also brings more power. According to this criterion you should choose your power supply:
| Voltage | Power | Current | Heating time from 30->300°C | matching power supply |
| 12 V | 17 W | > 1,4 A | 40 sec | Amazon / Banggood |
| 16 V | 30 W | > 1,9 A | 20 sec | Amazon |
| 19 V | 40 W | > 2,1 A | 15 sec | Banggood / Amazon |
| 24 V | 65 W | > 2,7 A | 11 sec | Amazon |
Power via LiPo

To use the soldering iron also on the field for repairs, I have built an adapter with this cable and an XT60 plug. Also here it must be a 5.5 / 2.5mm DC plug.
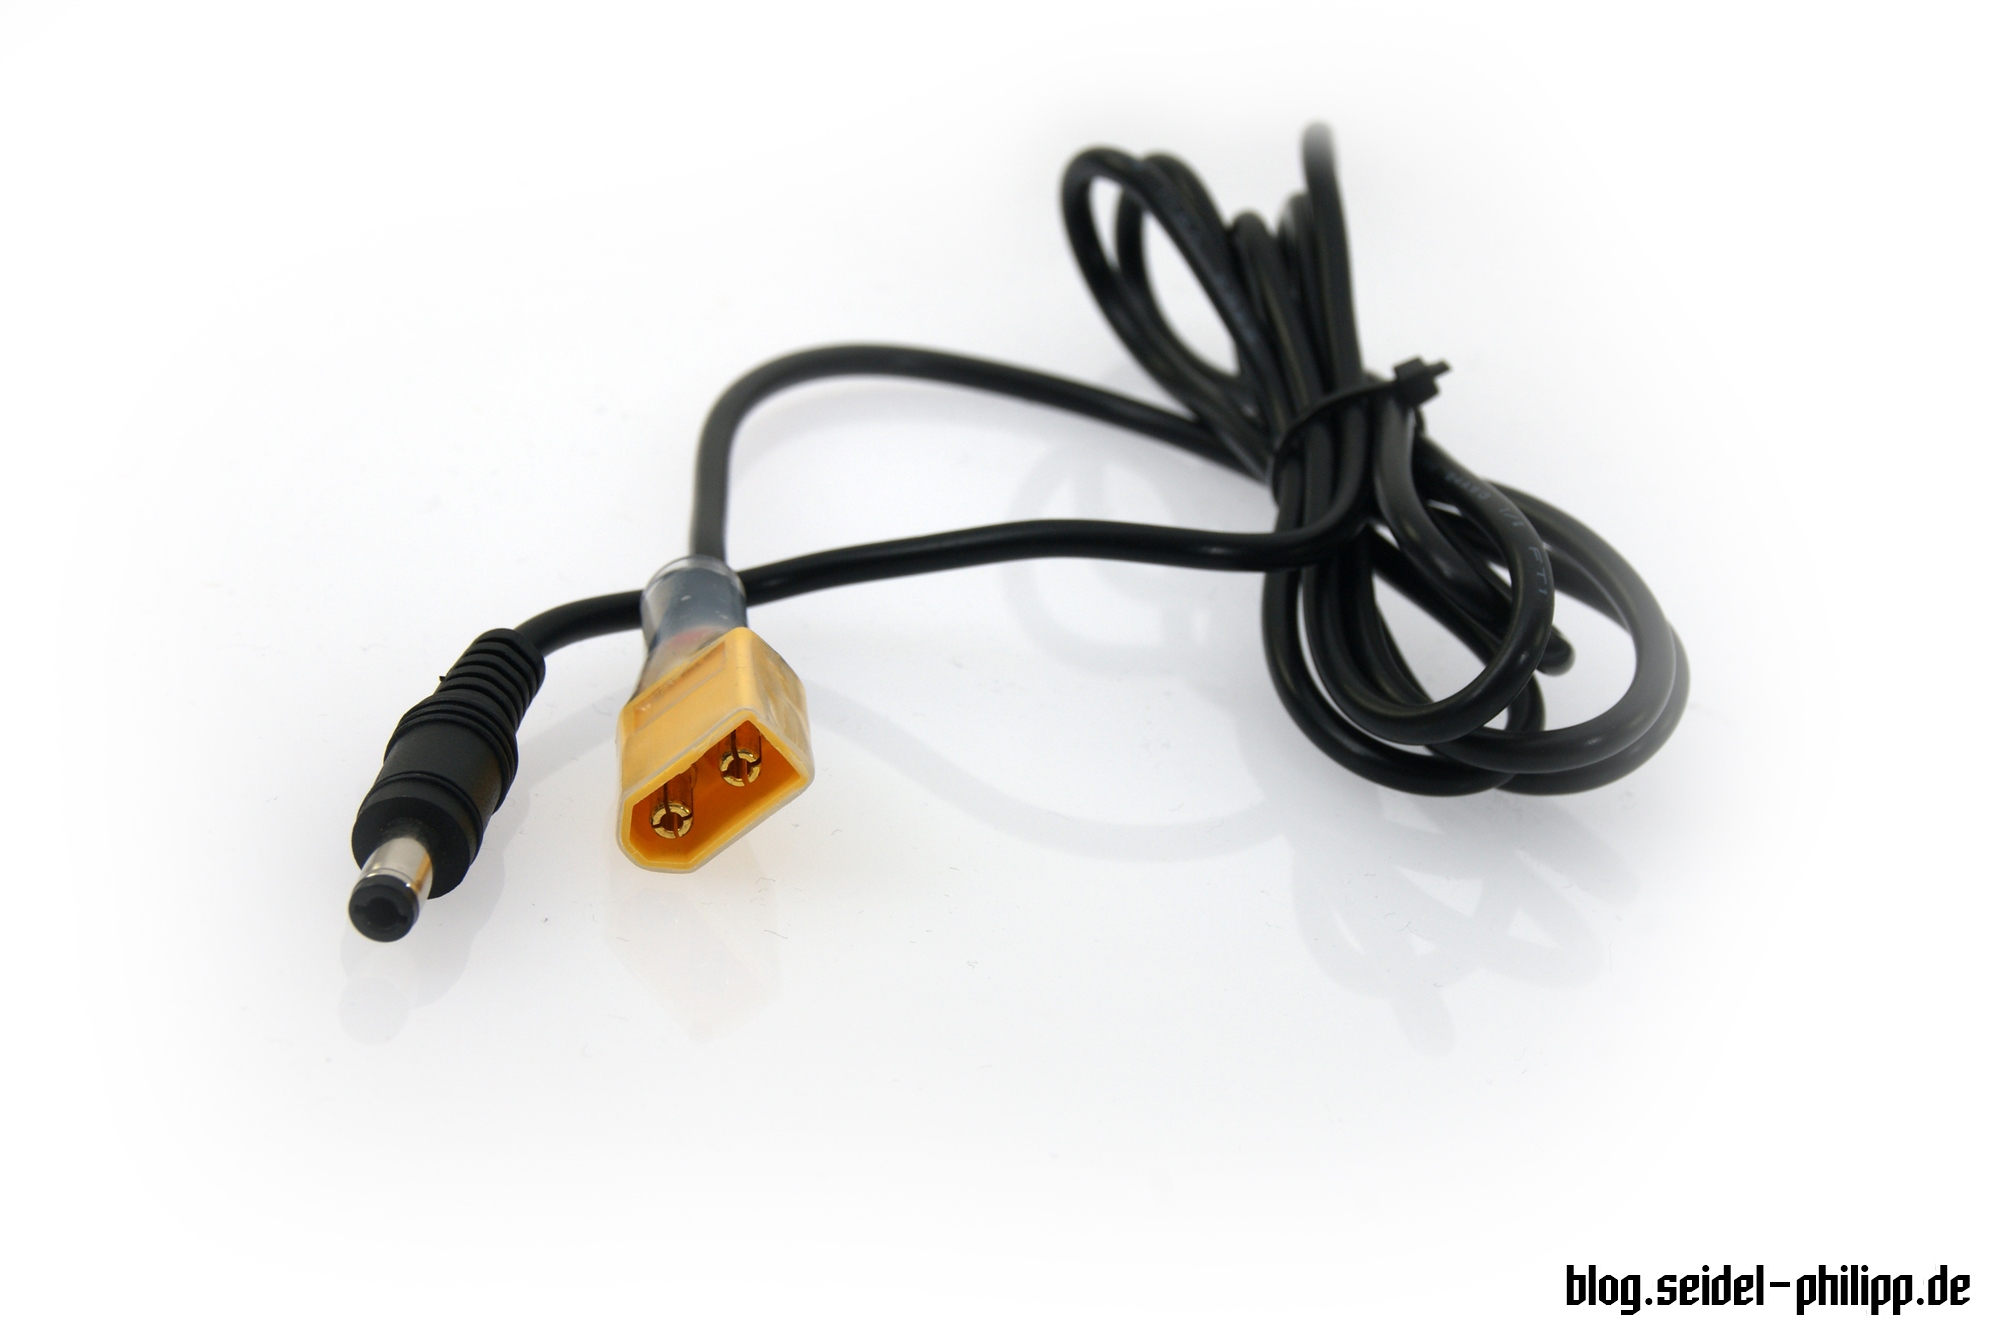
So I can use my regular flight battery as a power source.
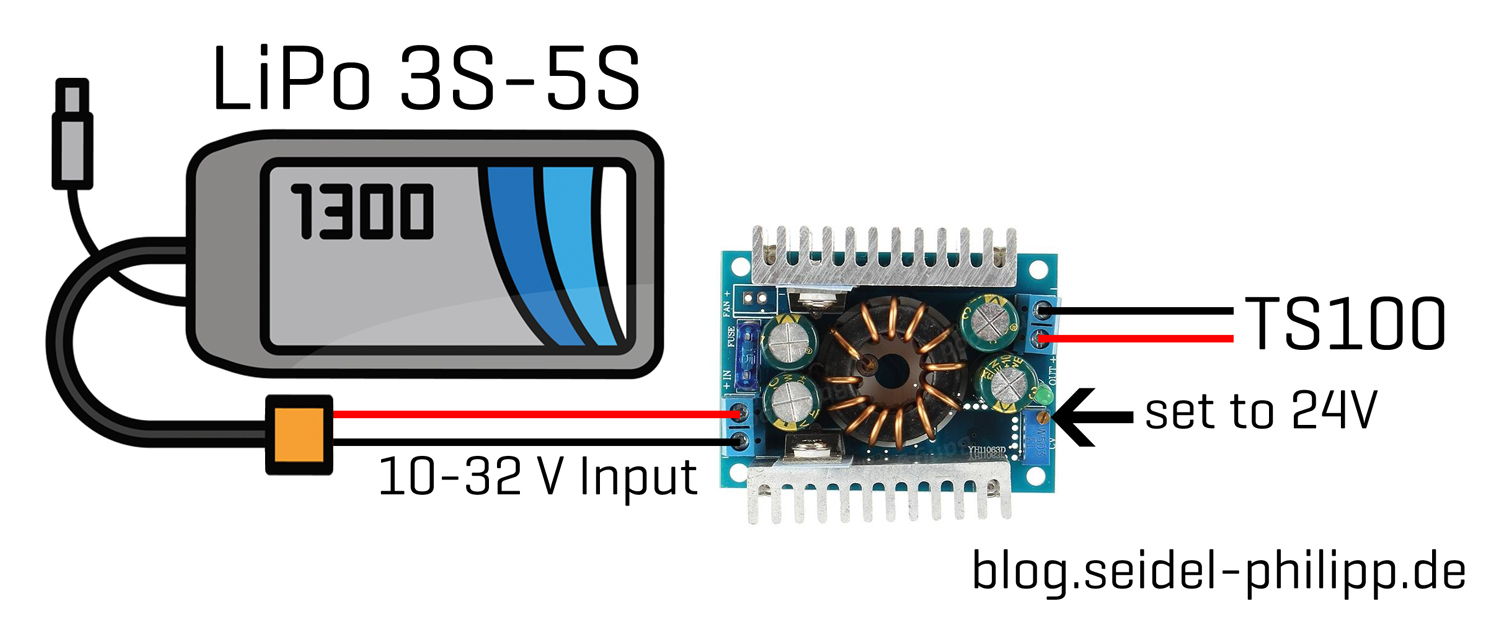
Maximum Performance also from 3S LiPos
A reader of this blog has made me aware of the following Step-Up-Booster (Alternative). With this, it is possible to achieve the maximum power of 65 Watts even with a 3S LiPo. THANK YOU, great idea =)
Configuration
To configure the soldering iron, it is simply connected to a computer. The display will show „CONFIG“ and a removable disc is displayed on the computer. In this drive you will find a text file with which you can configure the soldering iron.
T_Standby=200 #(100~400)
T_Work=400 #(100~400)
Wait_Time=180 #(60~9999)
Idle_Time=360 #(300~9999)
T_Step=10 #(5~25)
Turn_Off_v=12 #(9~12)
TempShowFlag=0 #(0,1)
ZeroP_Ad=239 #ReadOnly
| Parameter | Explanation | Standard | Area |
| T_Standby | Temperature in standby mode | 200°C | 100-400 |
| T_Work | Temperature in stick-mode | 300°C | 100-400 |
| Wait_Time | Time from operating mode to sleep mode | 180 Sekunden | 60-9999 |
| Idle_Time | Time from sleep mode to standby mode | 360 Sekunden | 60-9999 |
| T_Step | Temperature steps (here in 10 ° C steps) | 10 | 5-25 |
| Turn_Off_v | If the voltage falls below this value -> standby mode | 10 V | 9 – 12 V |
| TempShowFlag | Temperature unit | ° C | 0 für ℃,1 für ℉ |
| ZeroP_Ad | Value of temperature calibration (does not need to be changed) |
Firmware-Update
You can find the original firmware here. A firmware update is made as follows:
- Press and hold the front button (near the soldering tip)
- Connect the TS100 to your computer. The display shows „DFU“
- Copy the .hex file to the removable drive, which has automatically created
- The .hex file should change from .hex to .rdy when the flash process is completed successfully.
Bootscreen Logo
It is very easy to create and set your own boot logo. For this purpose a black and white (monochrome) BMP with a resolution of 69 * 16 pixels is created. For example with Paint.NET , Gimp or Photoshop.

This file is named to „LOGOIN.BMP“ and copied to the removable disk drive when the soldering iron is connected to the computer without pressing a key.
Alternative firmware for the TS100
There are already alternative firmware, which can be installed on the device and get more functions from the soldering iron.
- Soldering / Temperature control
- Full PID iron temperature control
- Automatic sleep with selectable sensitivity
- Motion wake support
- Settings menu
- Set a voltage lower limit for Lithium batteries so you dont kill your battery pack. Please calibrate your input voltage first!
- All settings saved
- Improved readability Fonts
- Use hardware features to improve reliability
- Can disable movement detection if desired
- Calibration of the temperature offset
- Boost mode lets you temporarily change the temperature when soldering
- Battery charge level indicatior if power source set to a lipo cell count.
- Custom bootup logo support
- Automatic LCD rotation based on orientation
https://github.com/Ralim/ts100/releases
What I think
I would definitely not miss the small soldering iron anymore. Especially with a LiPo, he has become my faithful companion at FPV Session on the meadow or at events. With a maximum soldering temperature of 400 ° C and fast heating, working with it is a lot of fun. Thanks to the open source firmware and the STM32 chip, we will certainly be able to look forward to firmware updates and new features in the future.
|
|
|

1 Response
[…] TS100 – portable soldering iron 11. Juli 2017 […]