
How to flash a FrSKY SmartPort receiver with Taranis 9XD or QX7/S

![]()
Depending on which firmware is installed on a FrSky SmartPort receiver, such as the FrSky XSR or R-XSR , it is necessary to flash it in order to use other firmware variants. This includes, for example, the Non-EU, EU or CPPM Firmware.
Since the Taranis OpenTX firmware version 2.1, the flashing is very simple and completed in a few minutes. The actual process differs only slightly from that of flashing the Taranis internal XJT module..
Inhaltsverzeichnis
Warning
Since most receivers are only designed for 4 – 10 V (eg X4R / X8R / XSR / R-XSR), be careful when operating your Taranis with a voltage above 10 V (eg 3S LiPo). Damage to the receiver may occur because the supply voltage of the Taranis is also applied to the pins in the module bay.
Therefore check the voltage before or use the original NiMh batteries of the Taranis.
What you need
- Taranis 9XD or QX7/S with OpenTX 2.2 [Instructions for flashing]
- if needed, a modified SmartPort cable
- a receiver with (X8R, X6R, X4RSB, XSR, XM, XM+, R-XSR, etc.)
Firmware download
First you download your desired firmware. They can be found on this page next to all necessary firmware packages for FrSky products.
Copy firmware to SD card
Option 1: You remove the SD card from the Taranis.
Option 2: You connect the Taranis via USB and copy the files.
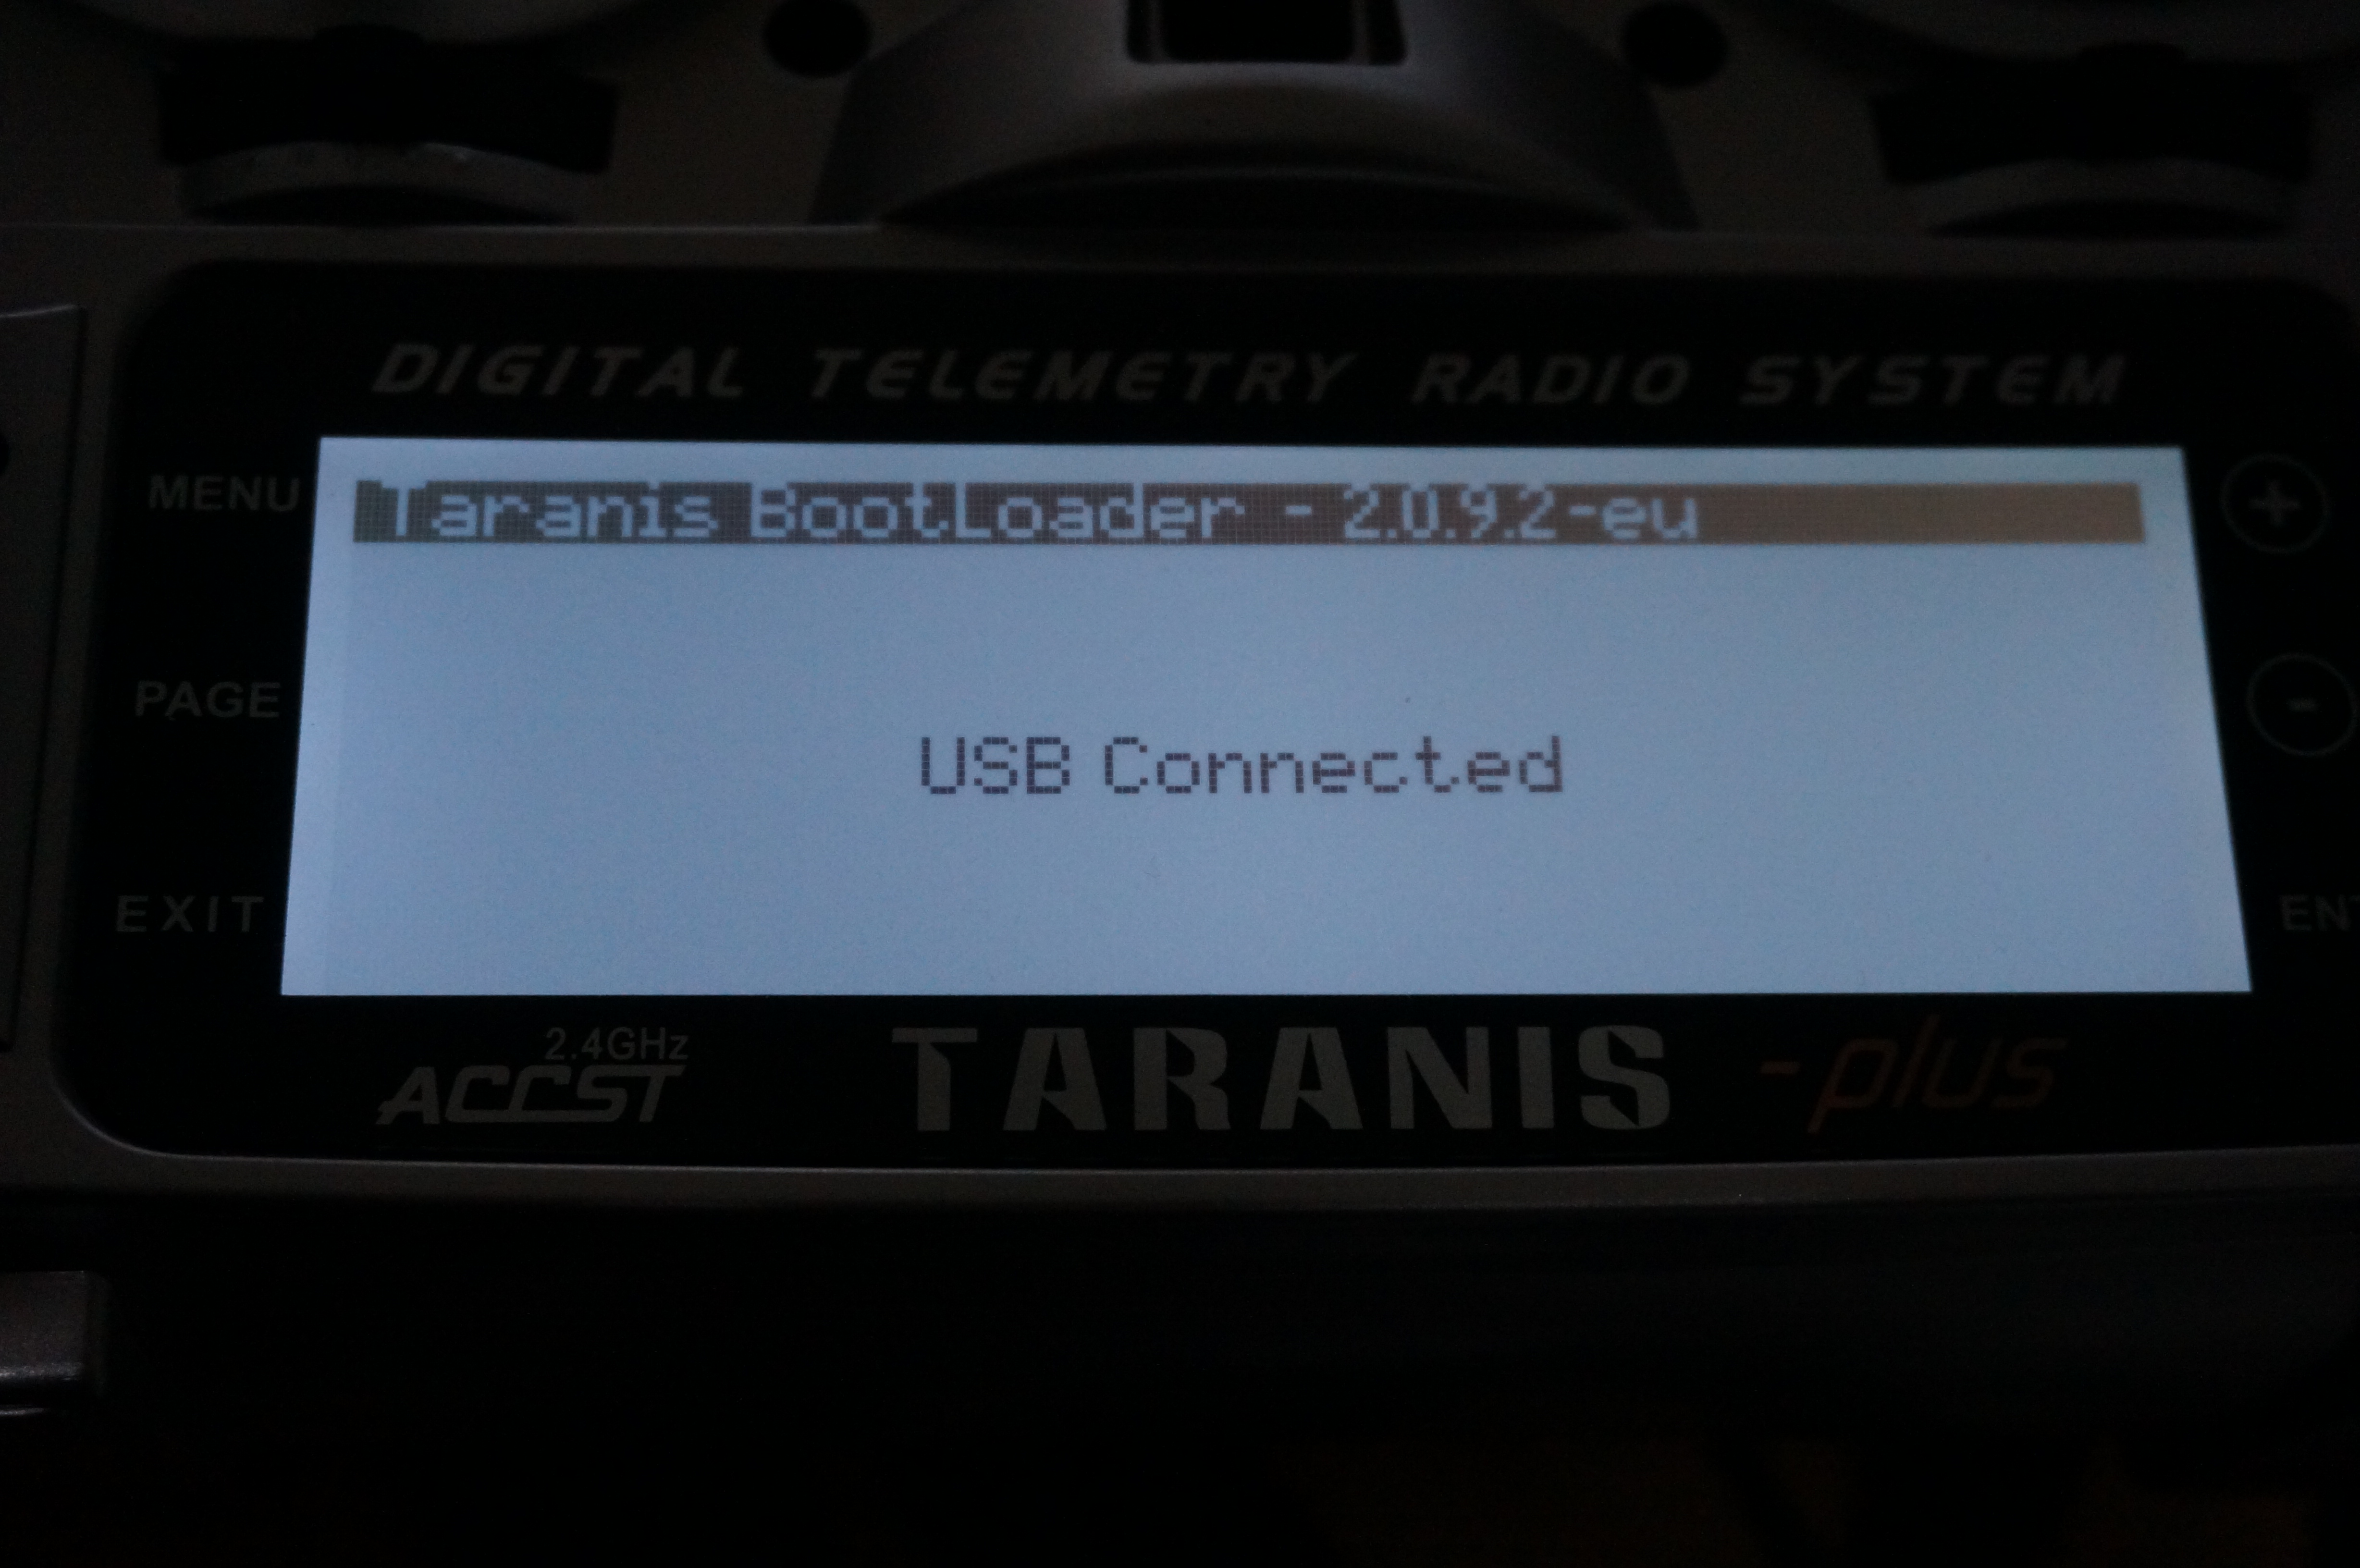
For option 2 you have to bring the Taranis into the bootloader mode.
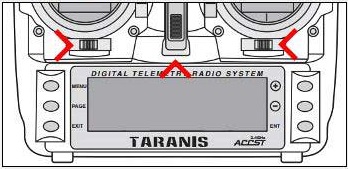
First you press the two marked trim buttons in the direction indicated and then switch on the Taranis at the same time.
Then you can connect the USB cable to the Taranis.

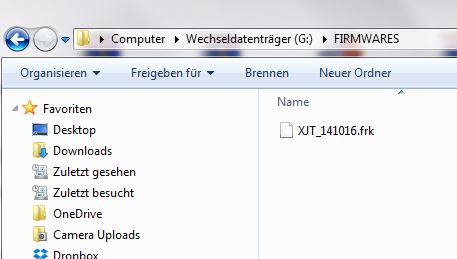
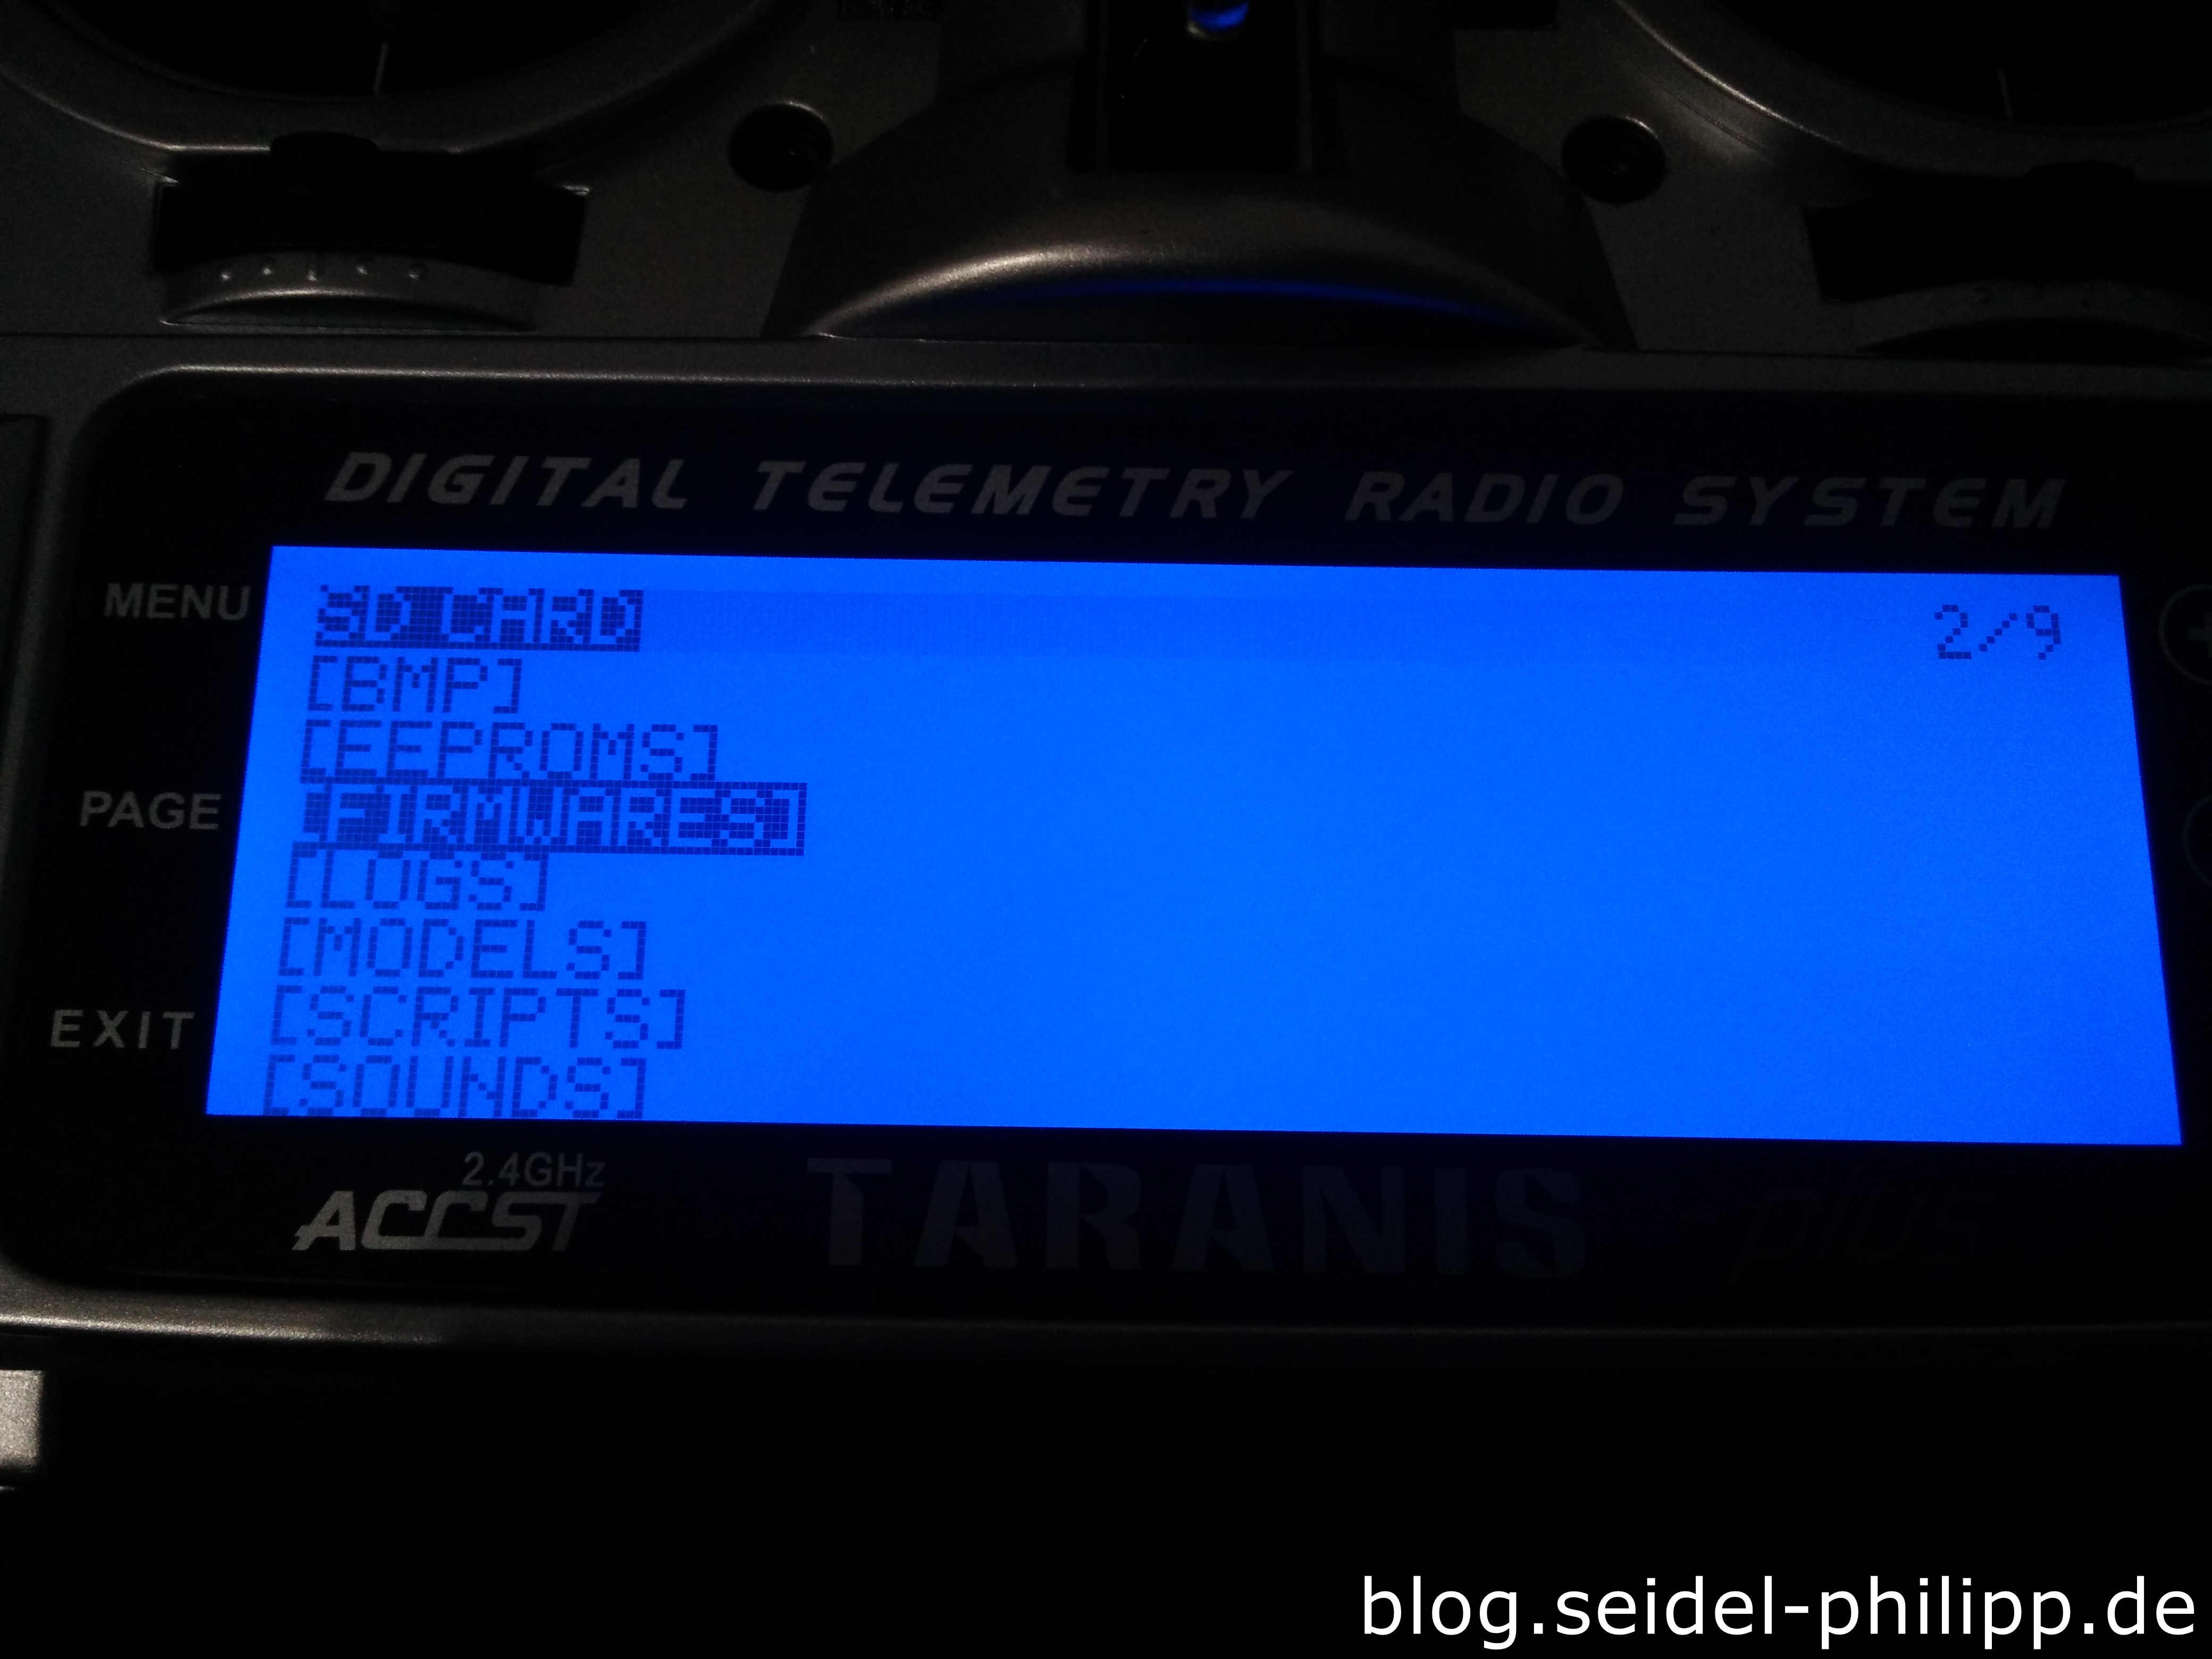
Sample image of a firmware file on the SD card
Then you can copy the downloaded firmware to the SD card of the Taranis in the directory „FIRMWARES“
Connect receiver to Taranis
Note to Taranis 9XD
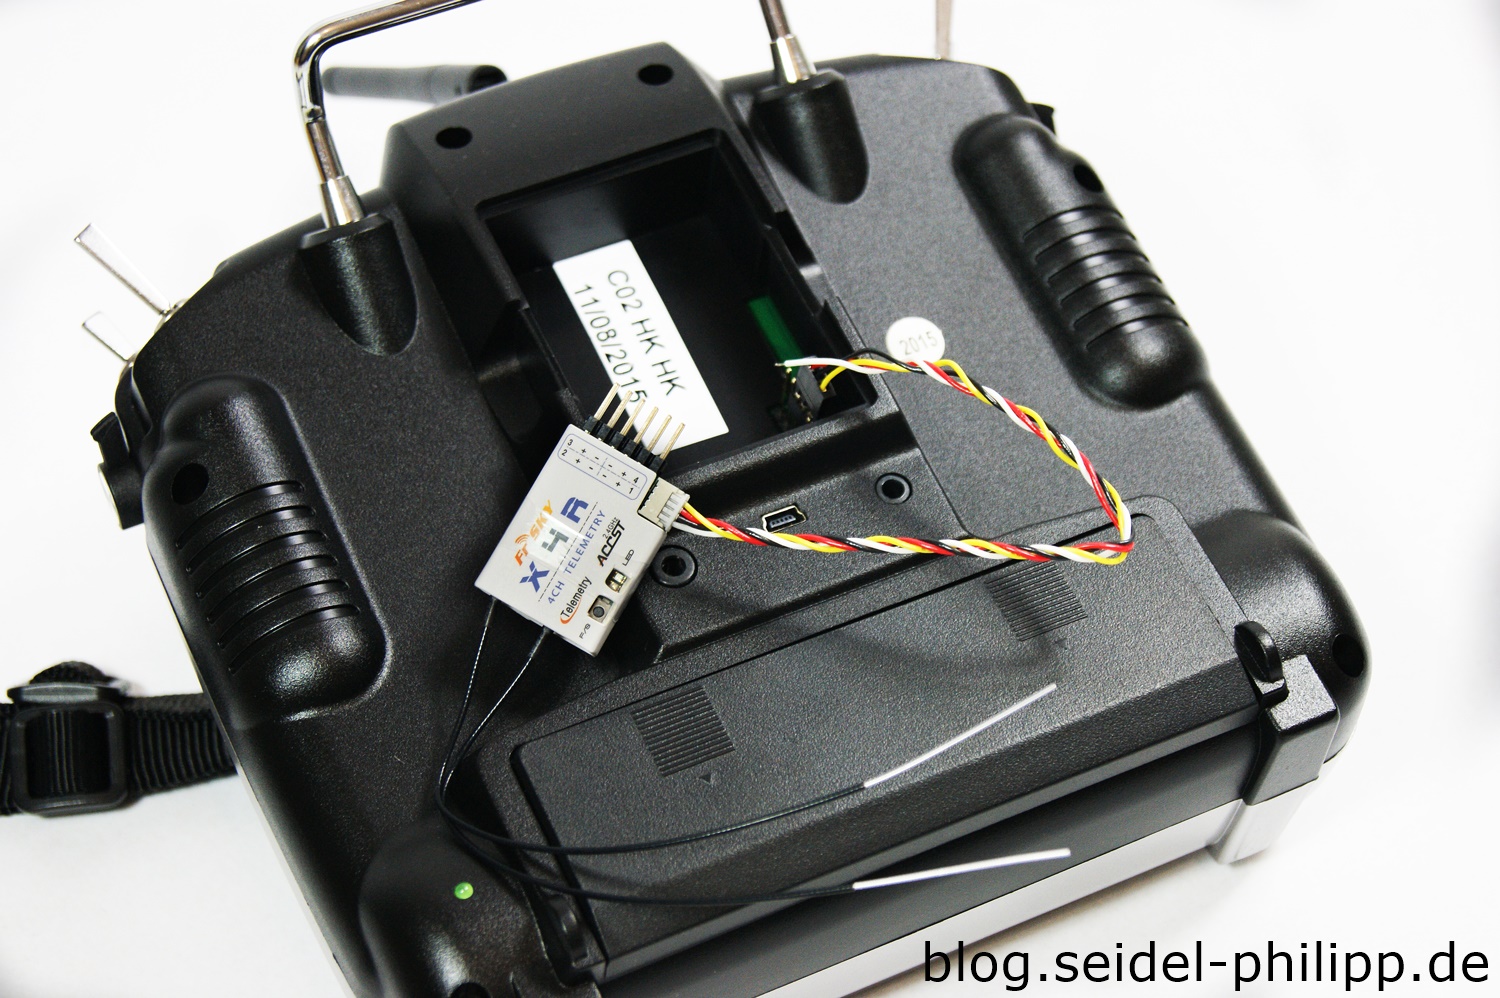
Since the firmware is flashed via the Taranis itself, the receiver must be connected to the Taranis with a modified SmartPort cable.
Note to Taranis QX7/S
On the Taranis QX7/S, however, you do not have to modify the cable and can use the SmartPort on the bottom of the transmitter next to the SD card slot.

Usually, such a cable is always supplied with the receiver.
Modify cable
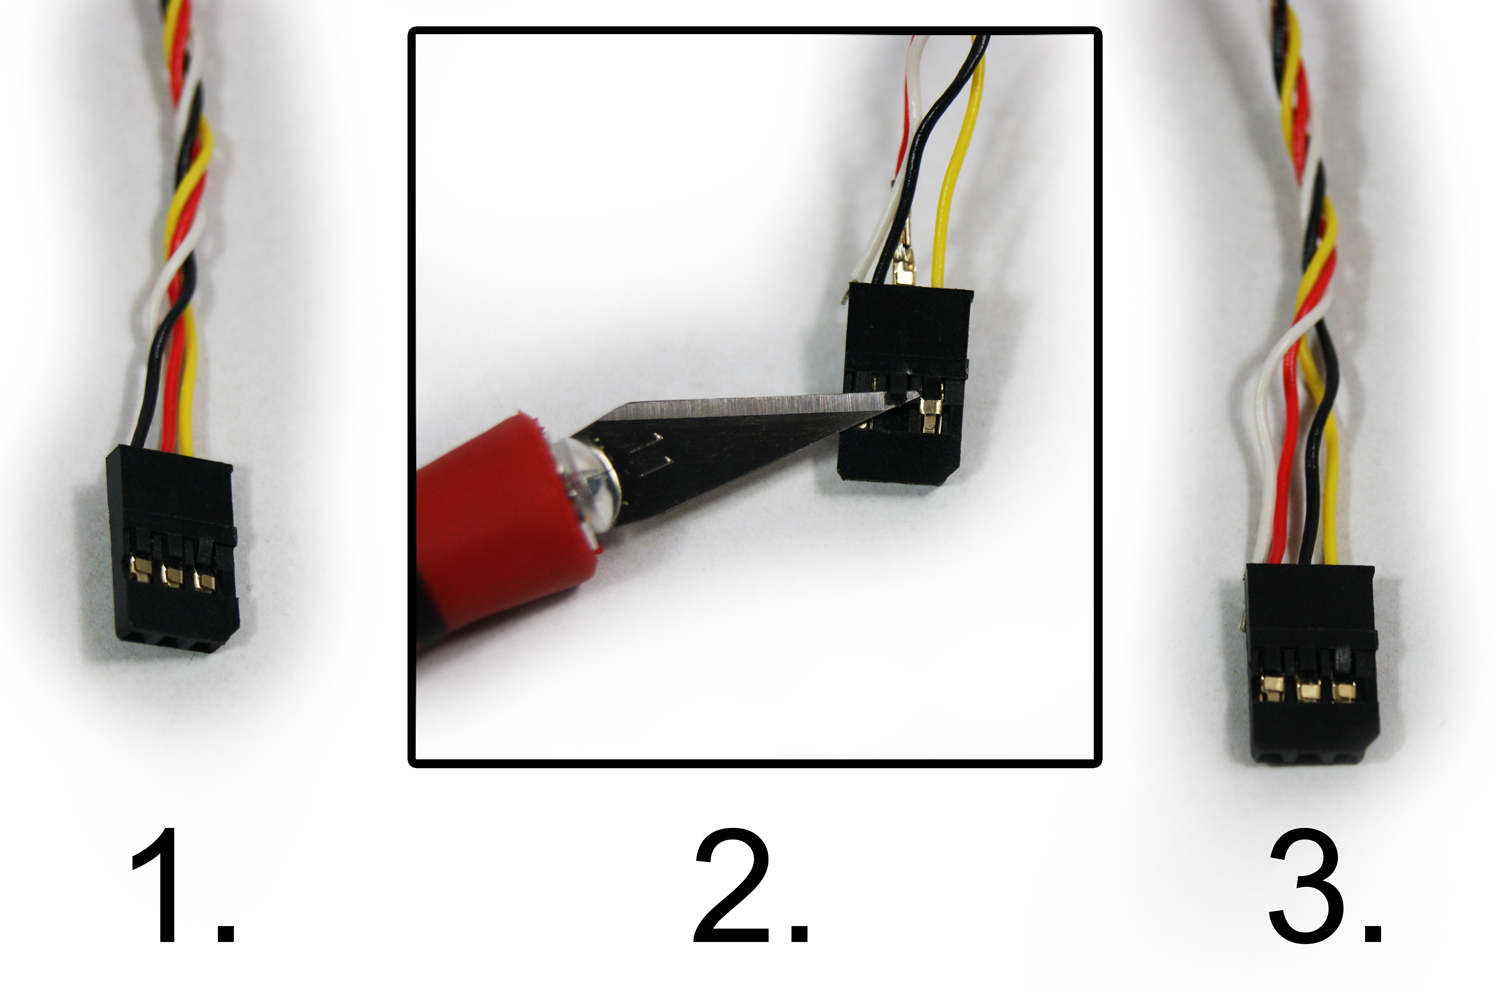
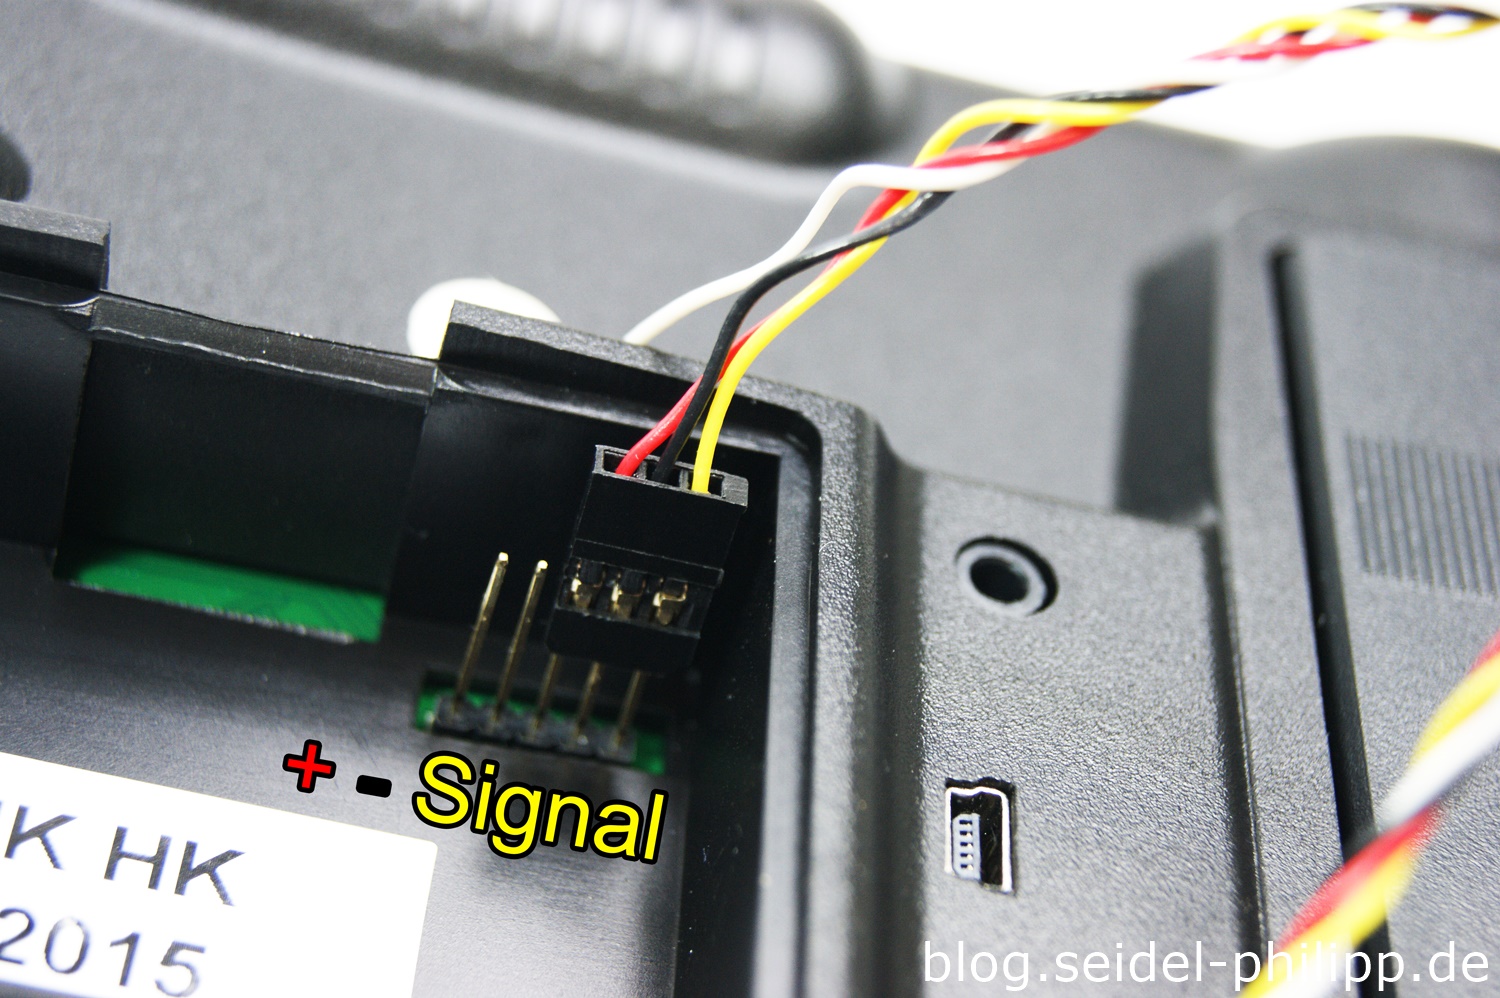
First, replace the red and the black cable, as you can see in the picture. With a scalpel you can carefully lift the plastic hook on the plug and remove the contact from the plastic sheath without destroying anything.
Then you can connect the receiver to the Taranis:
Flash the firmware
Plug the USB cable from the Taranis and restart it. Then press the following keys:
1x long on „MENU“
1x short on „PAGE“
Select „FIRMWARES“ and confirm with „ENT“
There you will find the firmware file to be flashed.
If you want to flash an X4R / X4R-SB, take „X4R-X4RSB_cppm_non-EU_150630.frk“.
If you want to flashen another receiver(X8R, X6R, X4RSB, XSR, XM, XM+, R-XSR, etc.) you have to download the appropriate firmware on the FrSky page.

Press „ENT“ long again and select „FLASH EXTERNAL DEVICE“
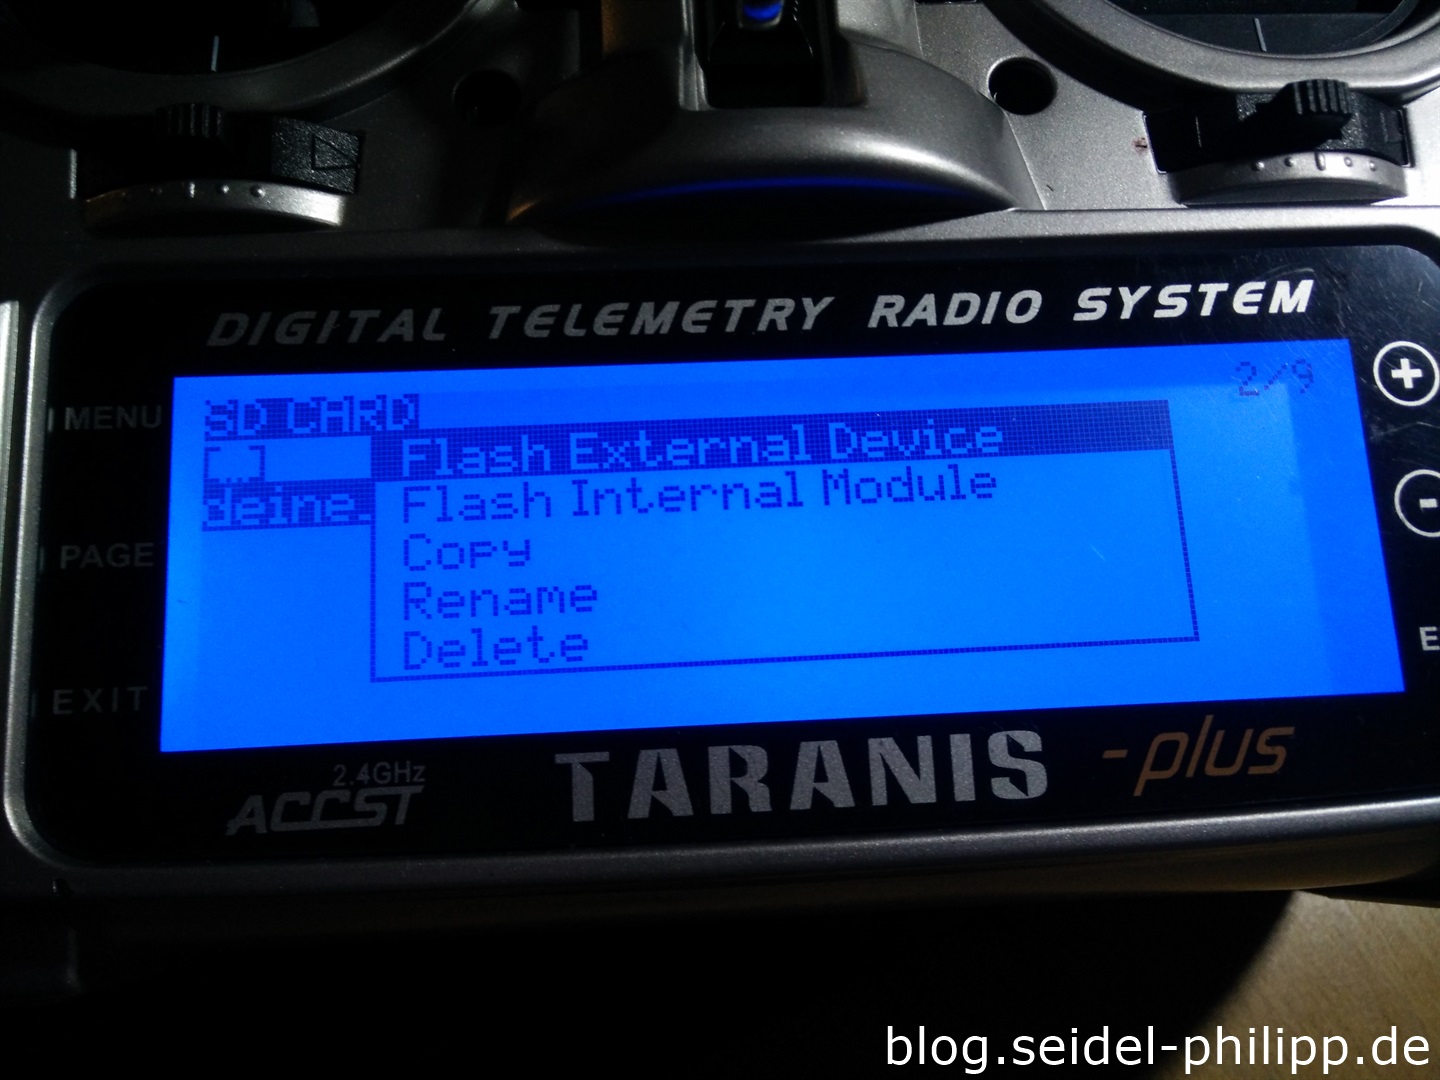
After confirming with „ENT“, the flash operation should be started.
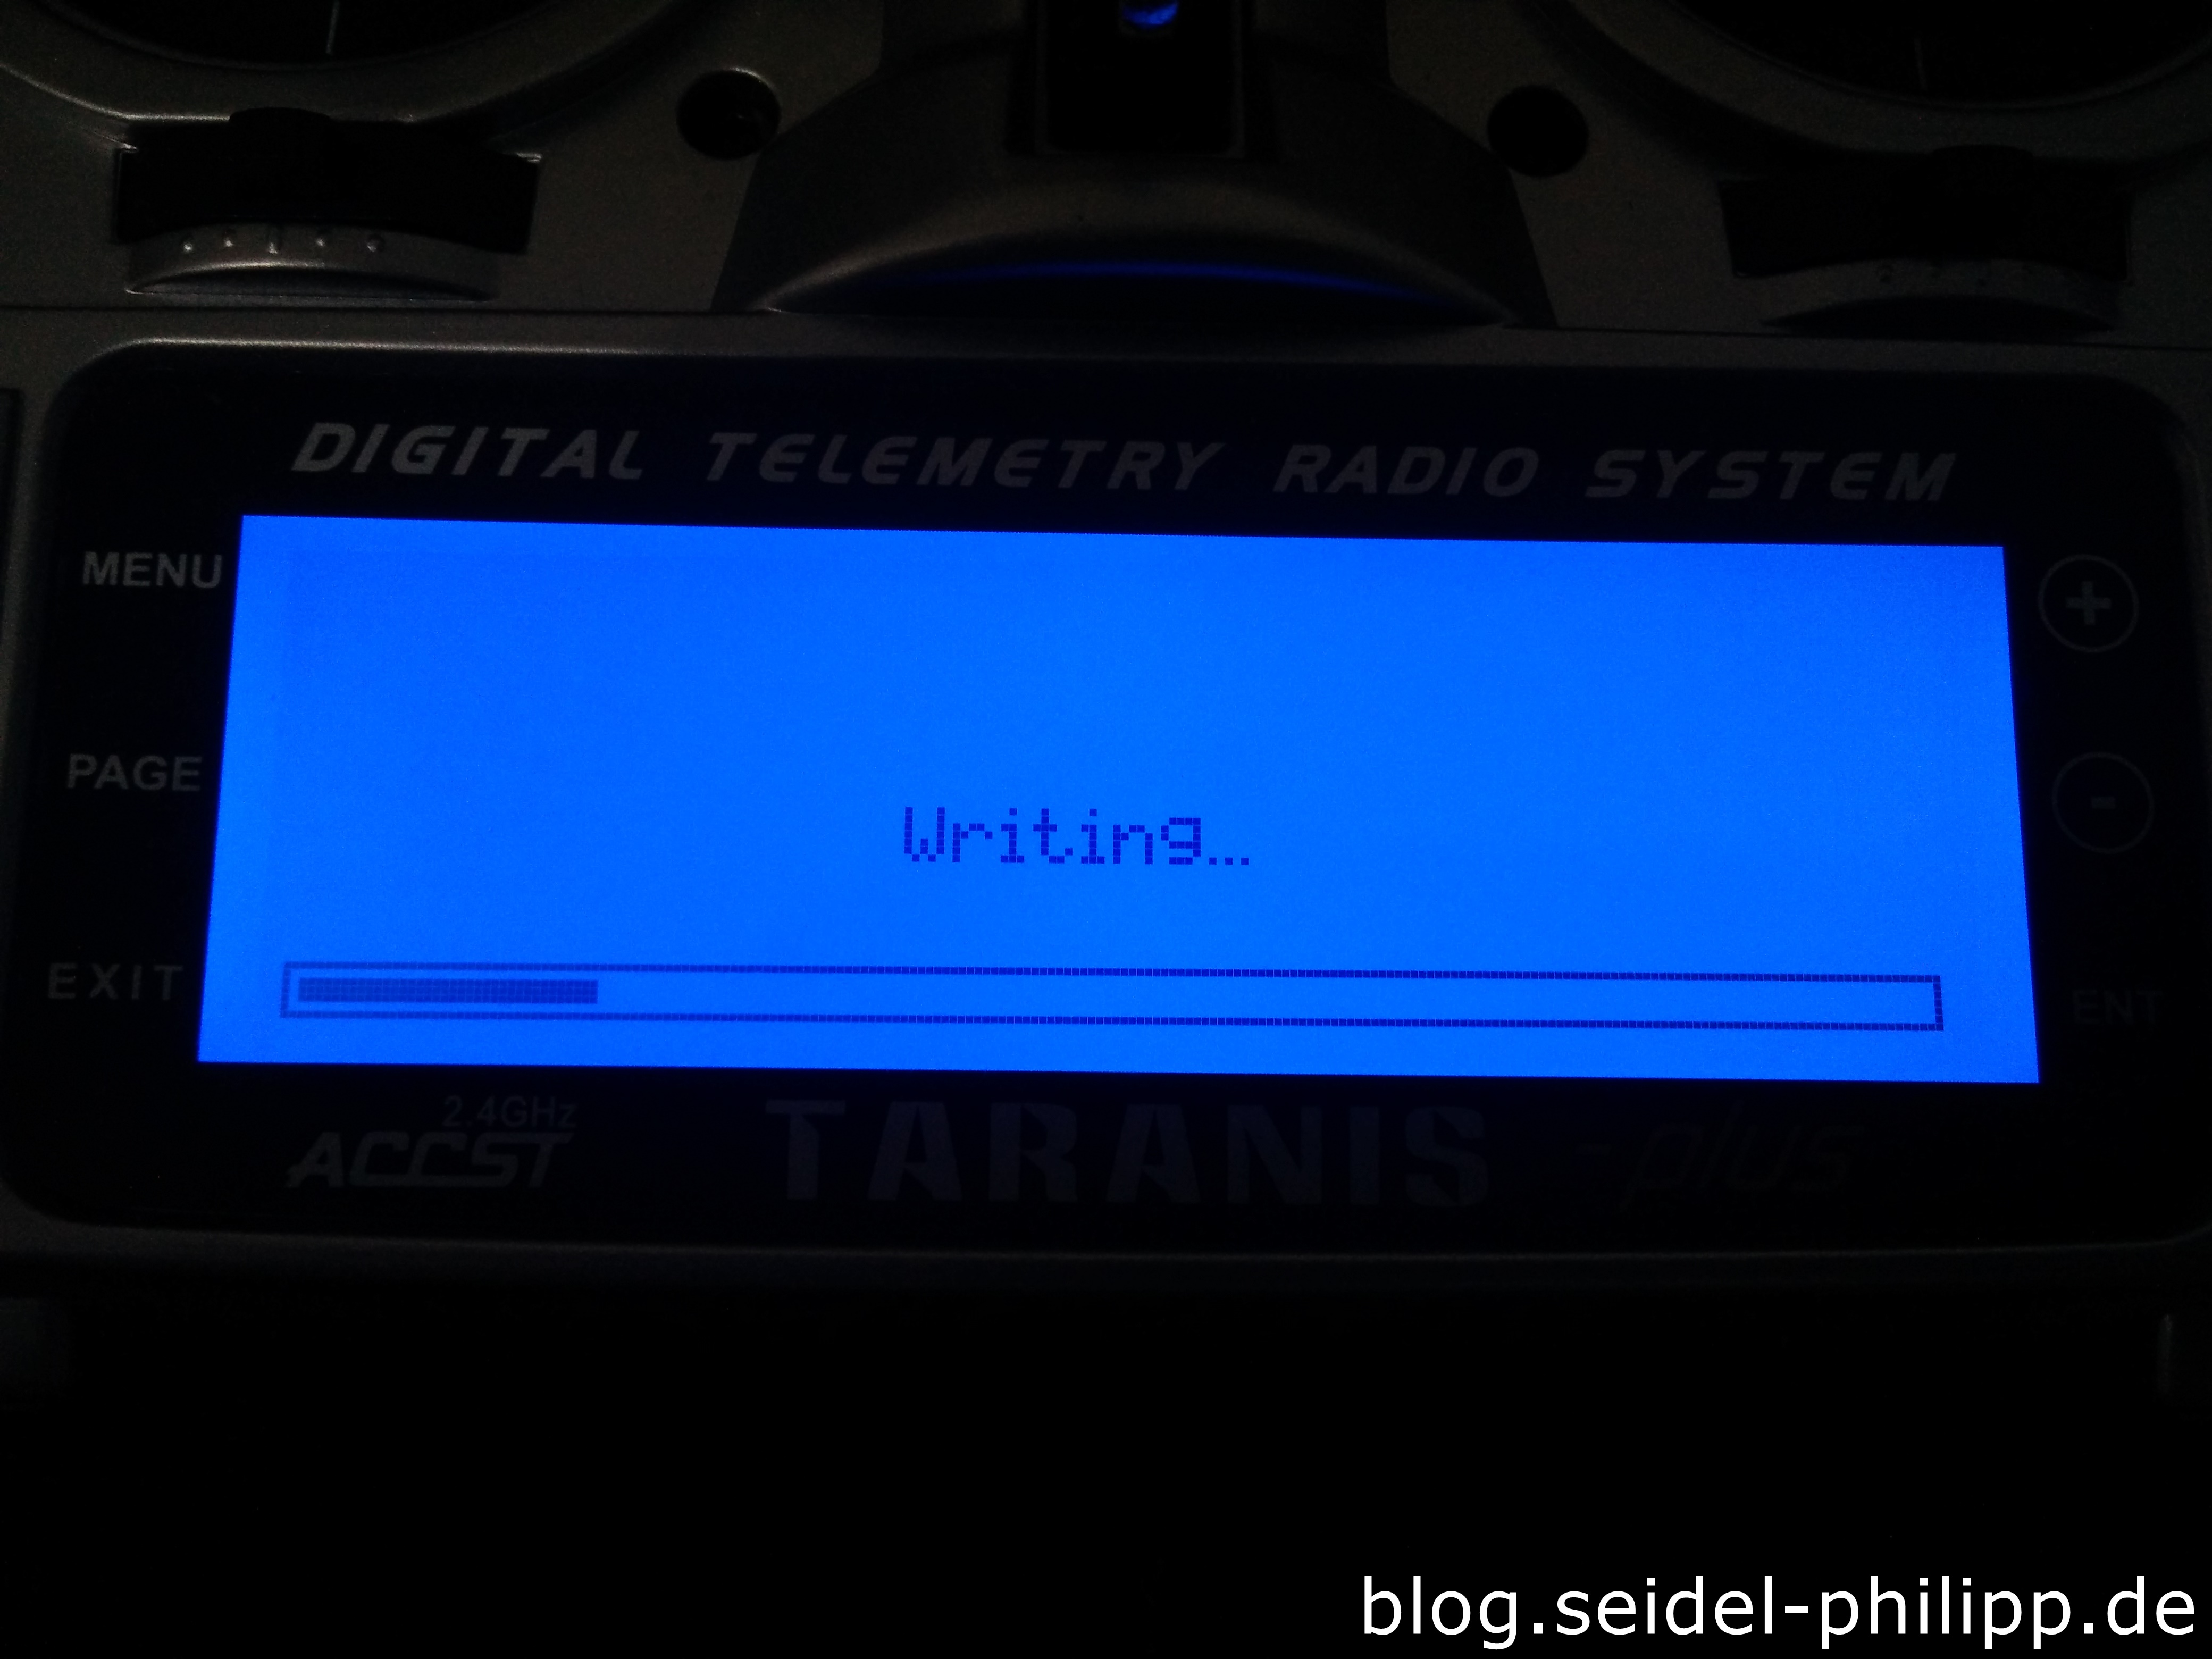
Finished, you have successfully flashed your receiver.

Neueste Kommentare